
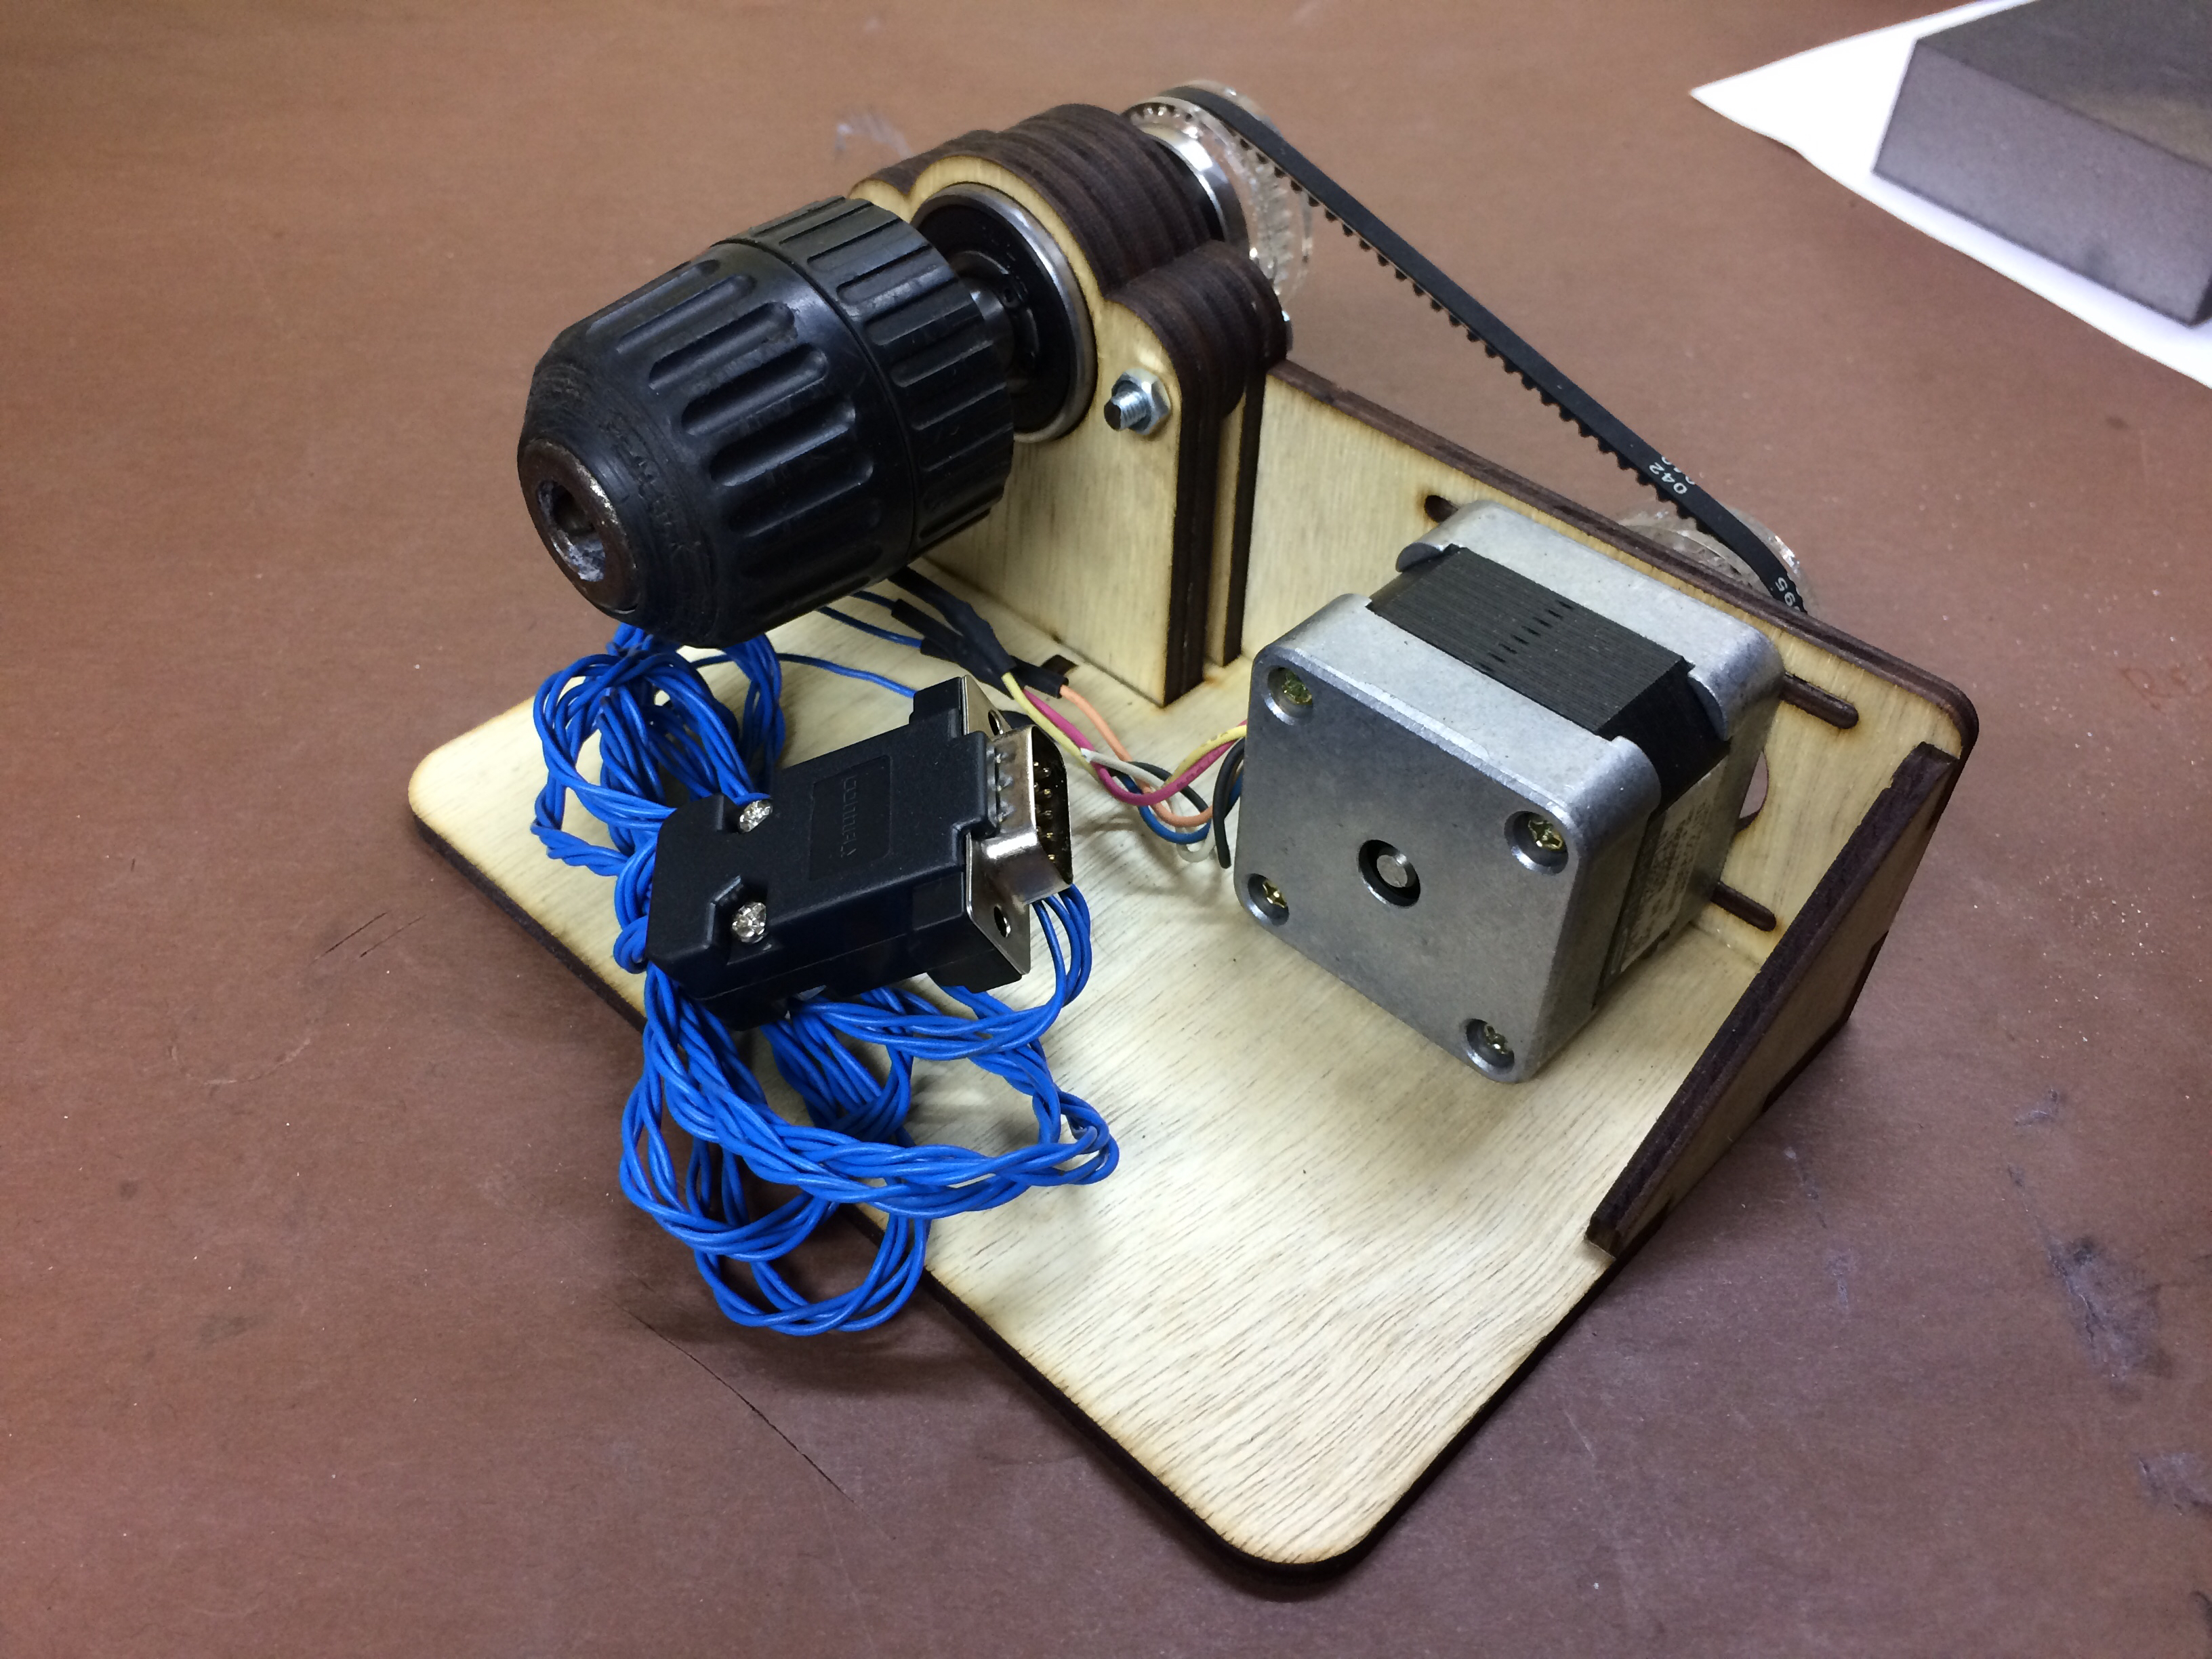
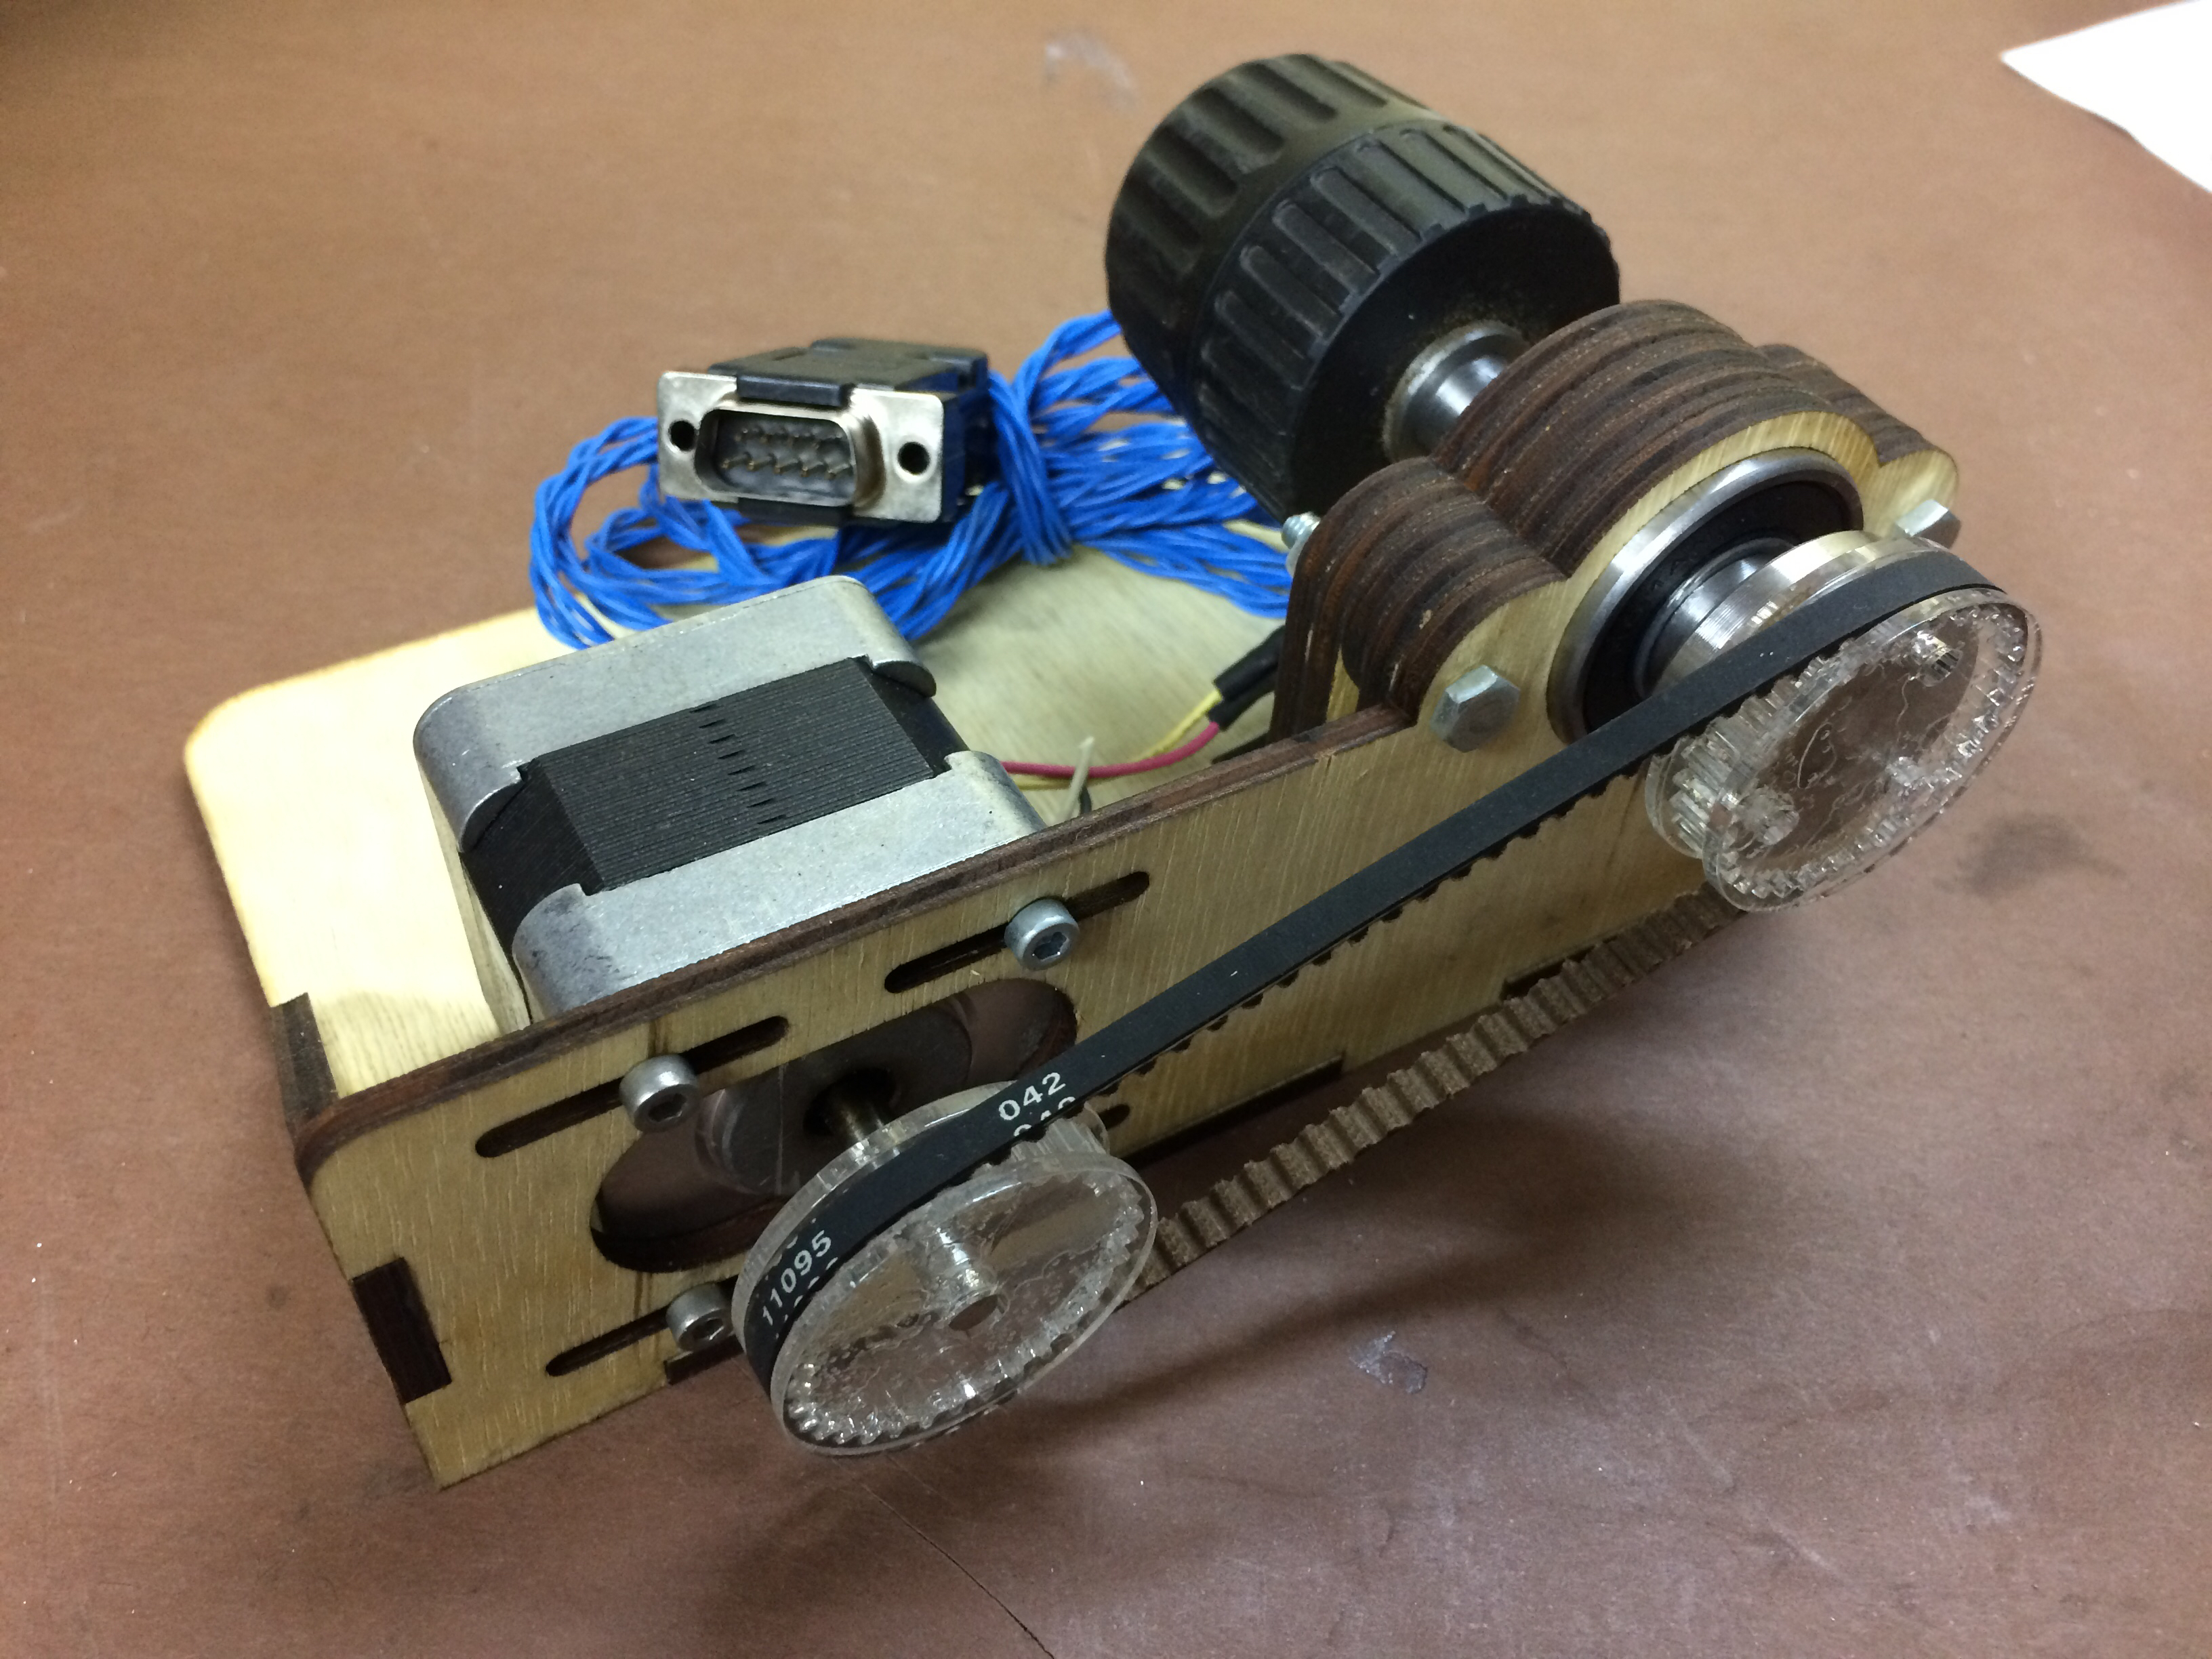
Rotary axis for the laser cutter
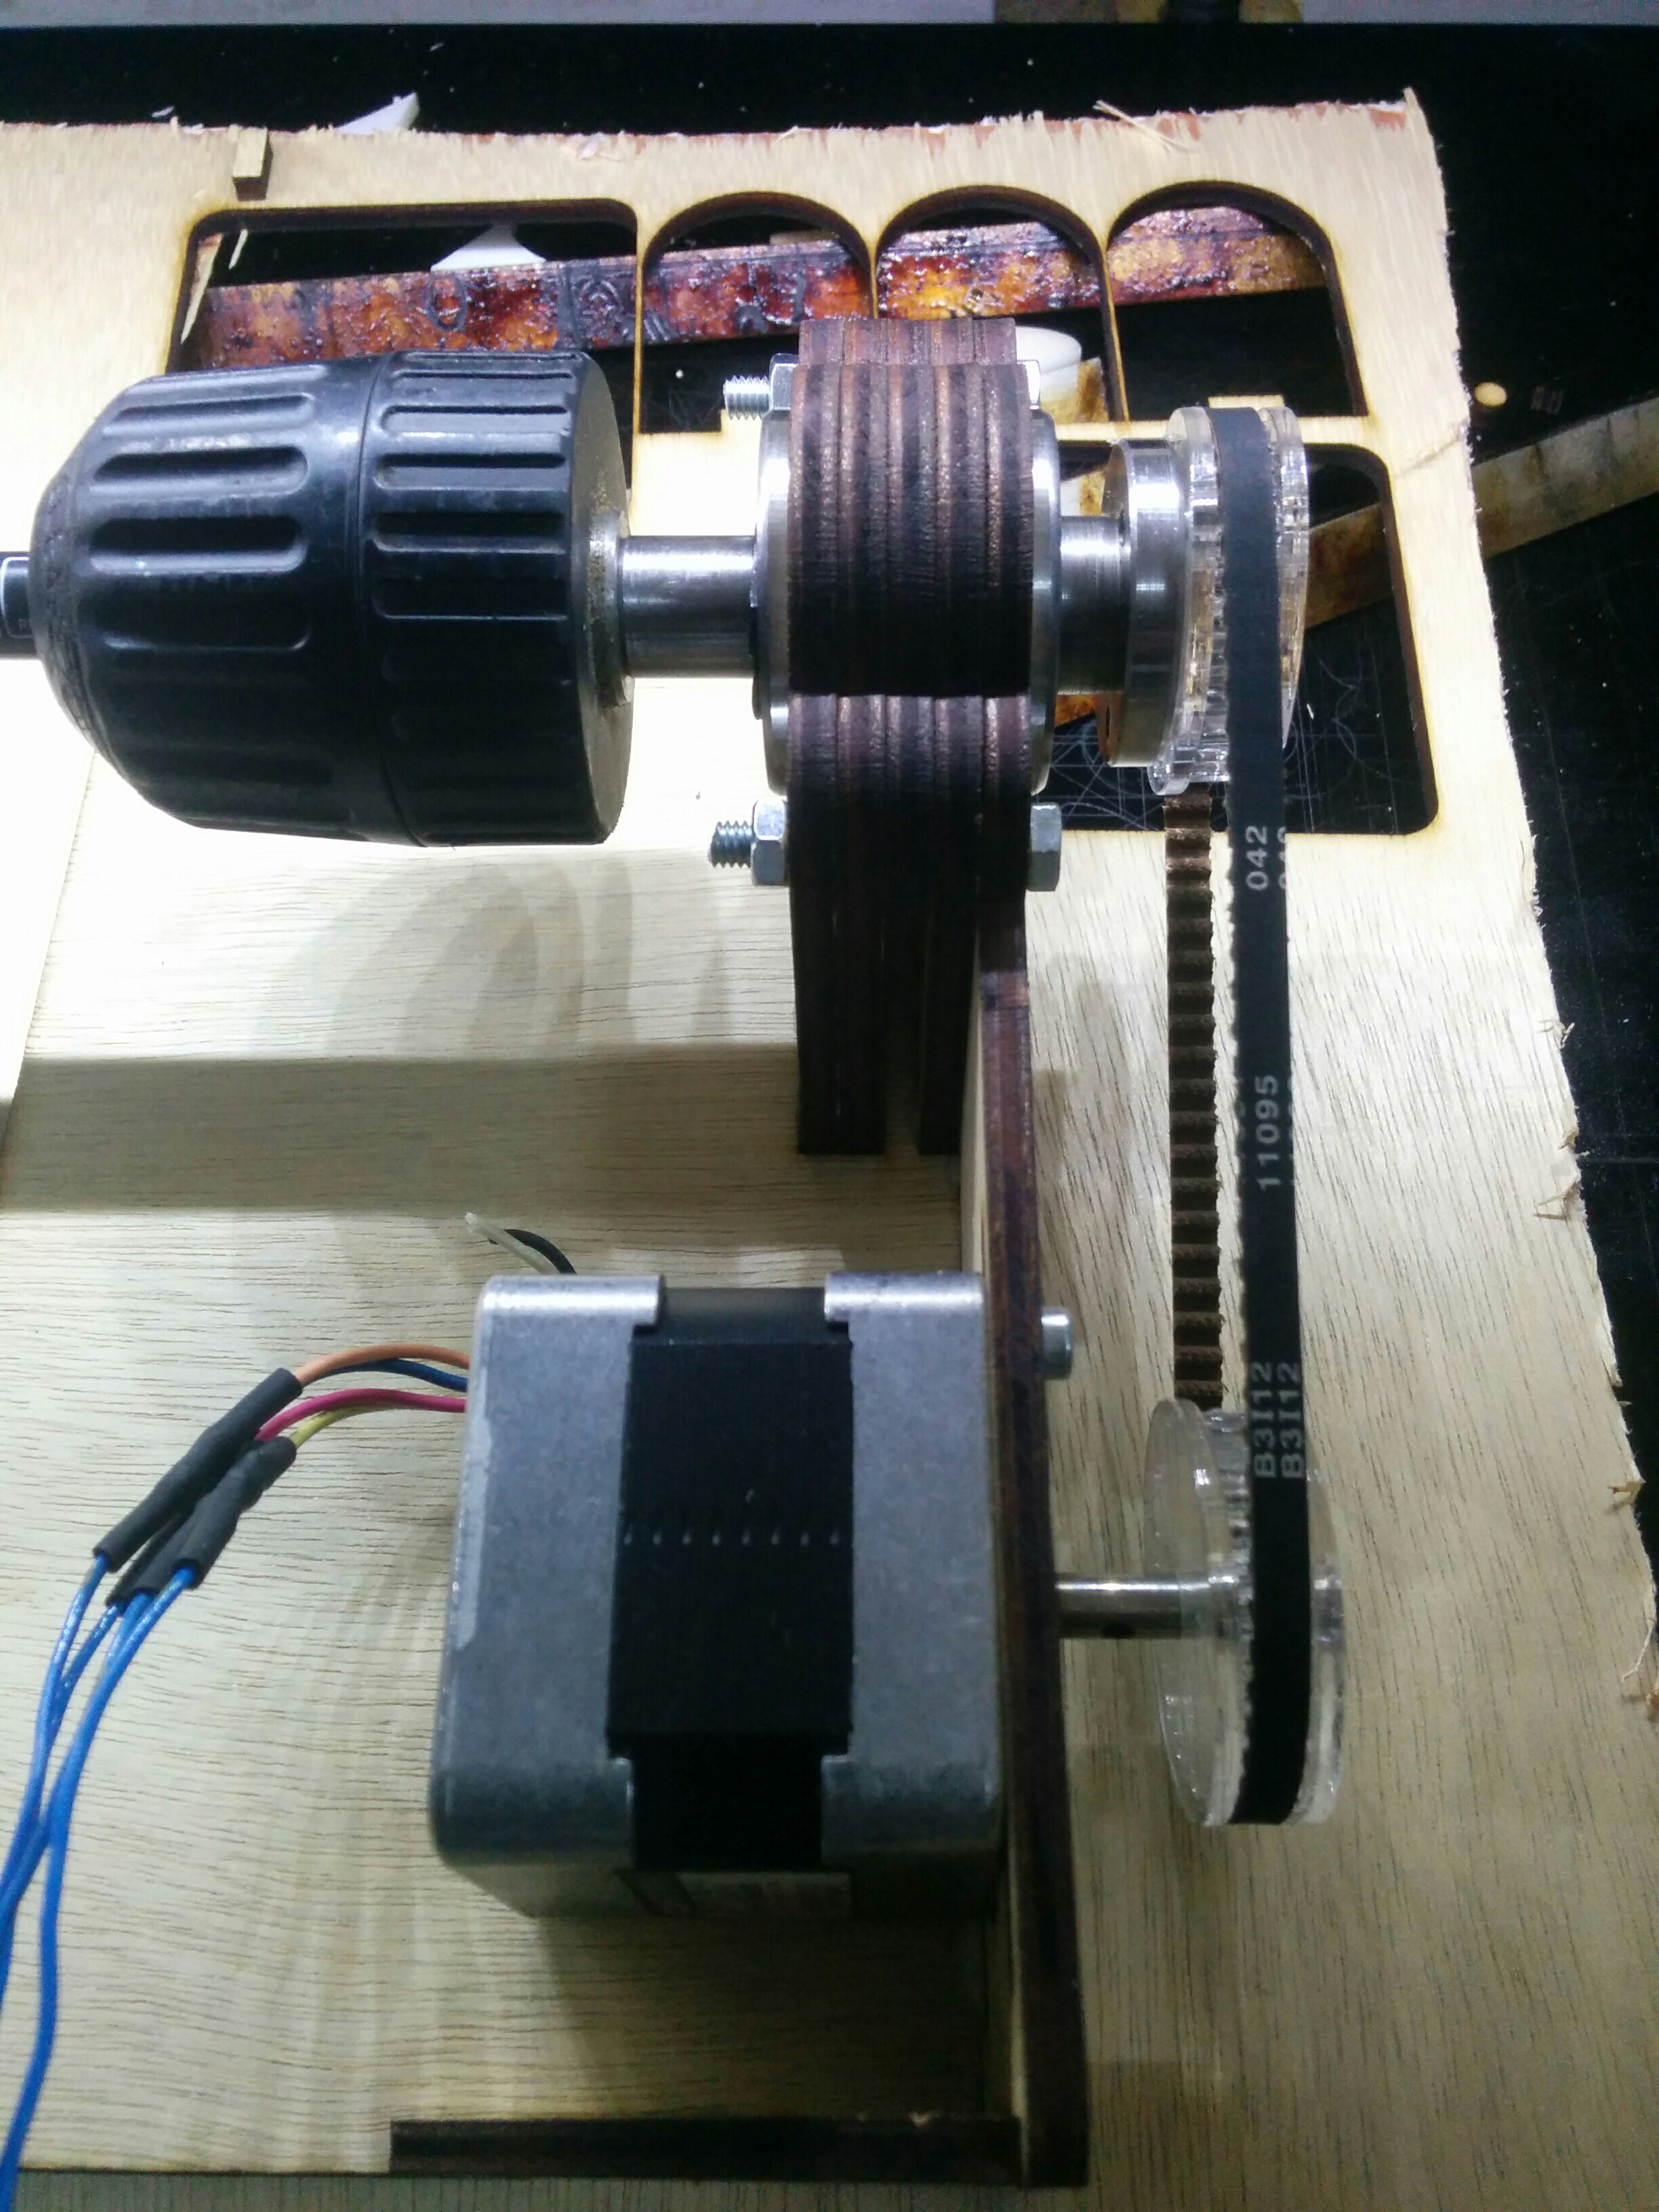
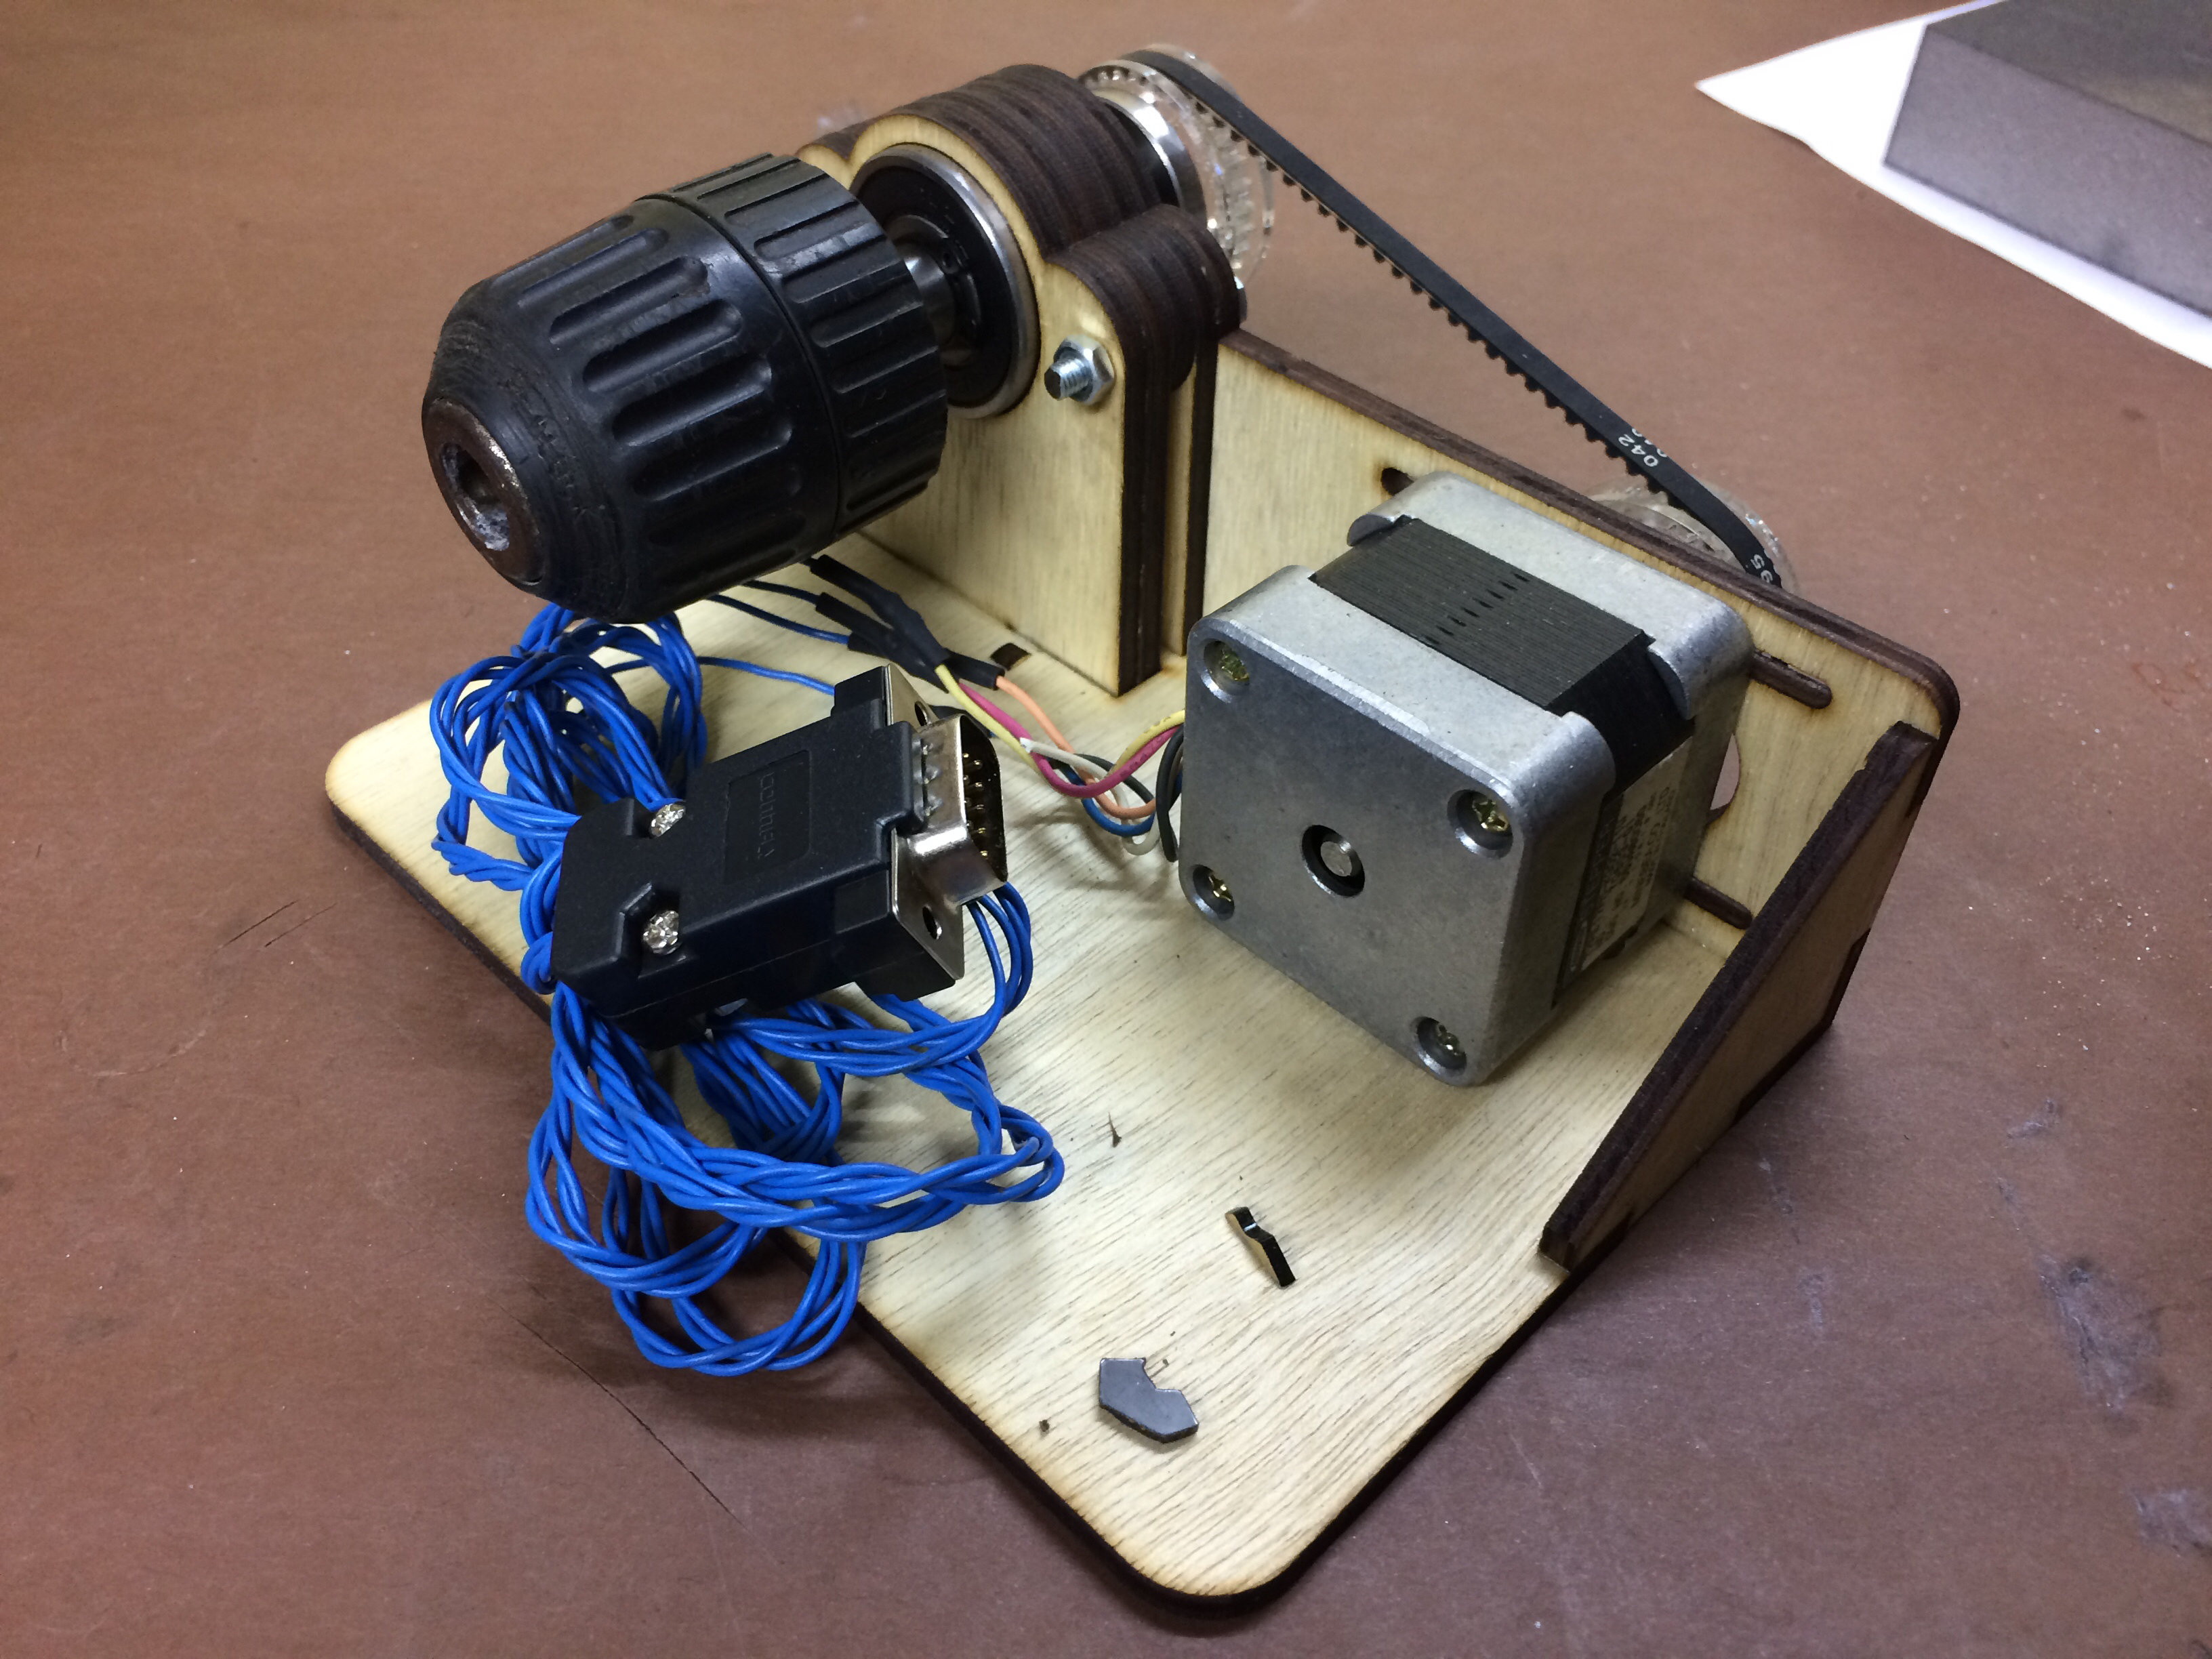
I needed to engrave some round parts so I decided to build a rotary axis for the laser cutter. Nothing too fancy, just a drill chuck connected through a belt to a stepper motor.
Hardware
The belt was scavenged from something a while ago and the pulleys are laser cut acrylic. They both have the same number of teeth because the precision of the stepper motor and microstepping would be enough for the small diameters I would be working with.
A quick calculation shows:
A resolution of 1.8deg/step results in 200 steps/revolution. For a 10mm diameter stock, this equates to 31.4mm/200 = 0.157mm/step of surface displacement. With 1/16 microstepping factored in, you get 0.0098mm/step. The resolution I use to engrave is 0.06mm. So more than enough.
Having dismantled an old cordless drill a couple of months ago, I had the chuck and the original shaft of the gearbox. Luckily it had three prongs sticking out, which I used to mount the pulley on. Upon realizing I had no bearings of this size in stock, I went to the autoparts store next to my workshop (it was a late Saturday). Luckily, alternator bearings matched the shaft and they were cheap, too.
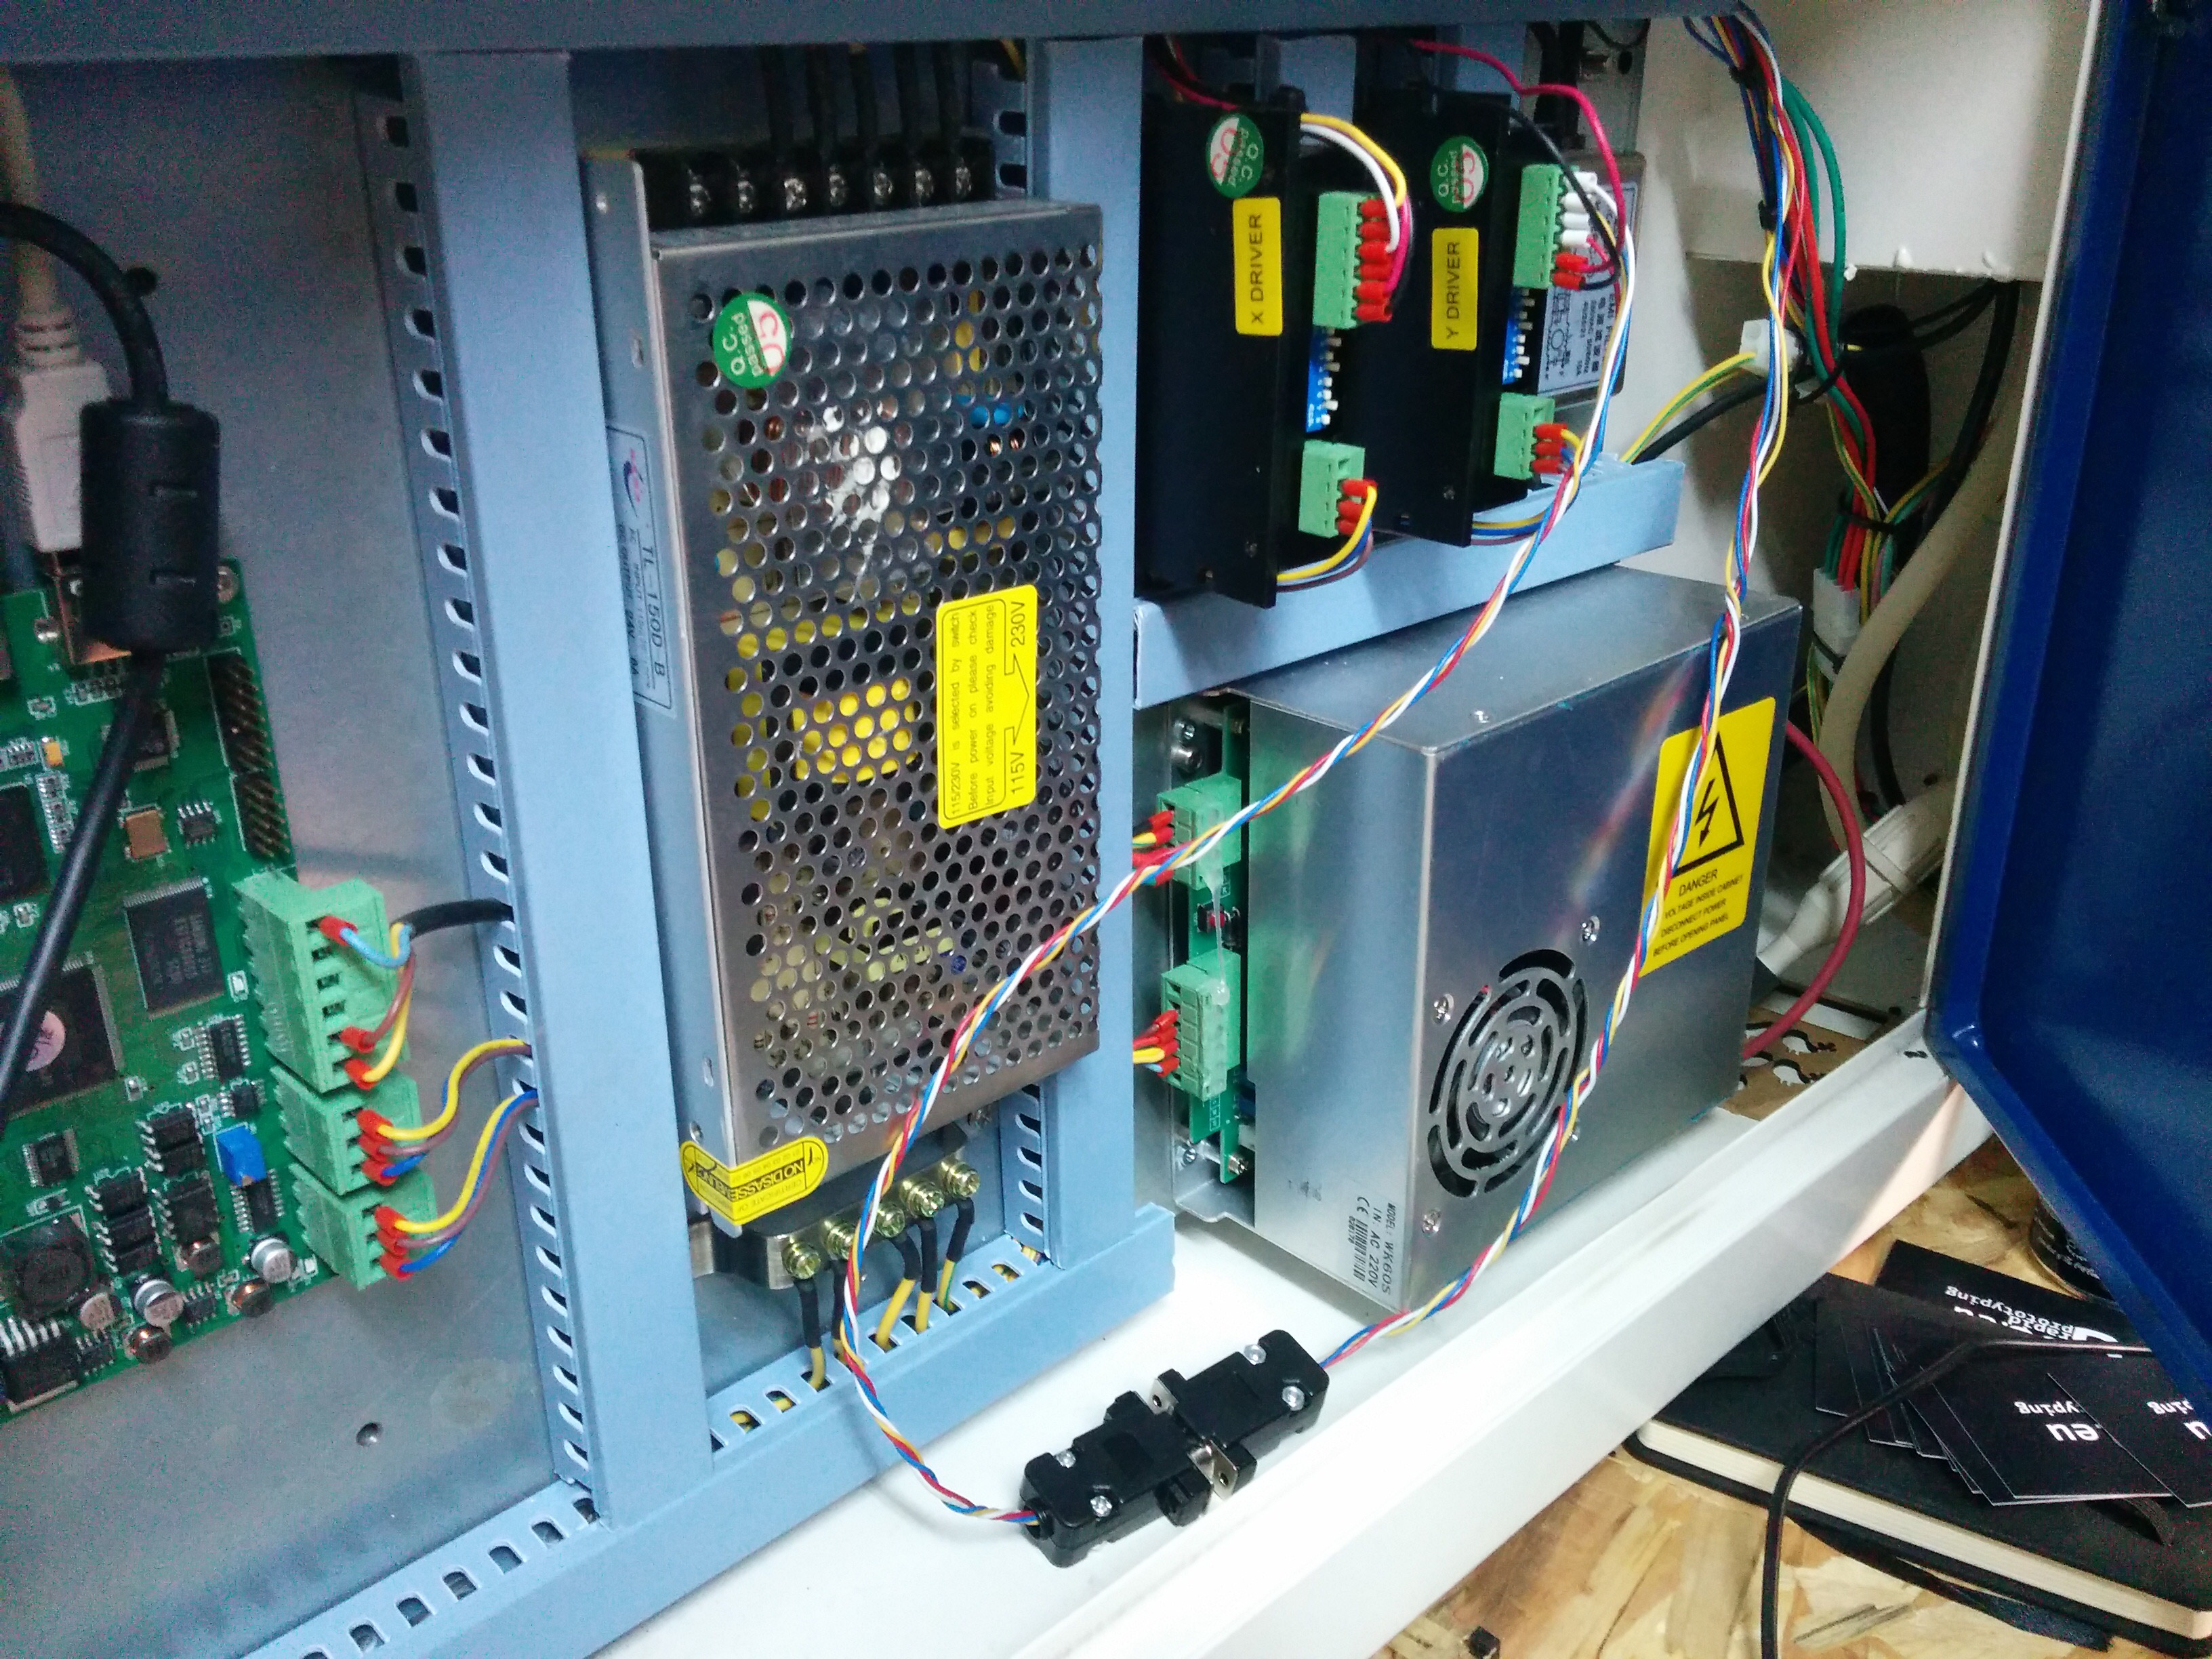
After using some DB9 connectors to easily exchange the motors for the Y axis, I was good to go.
Here’s what it looks like (I’ll upload some non-potato pictures when I get around to it):
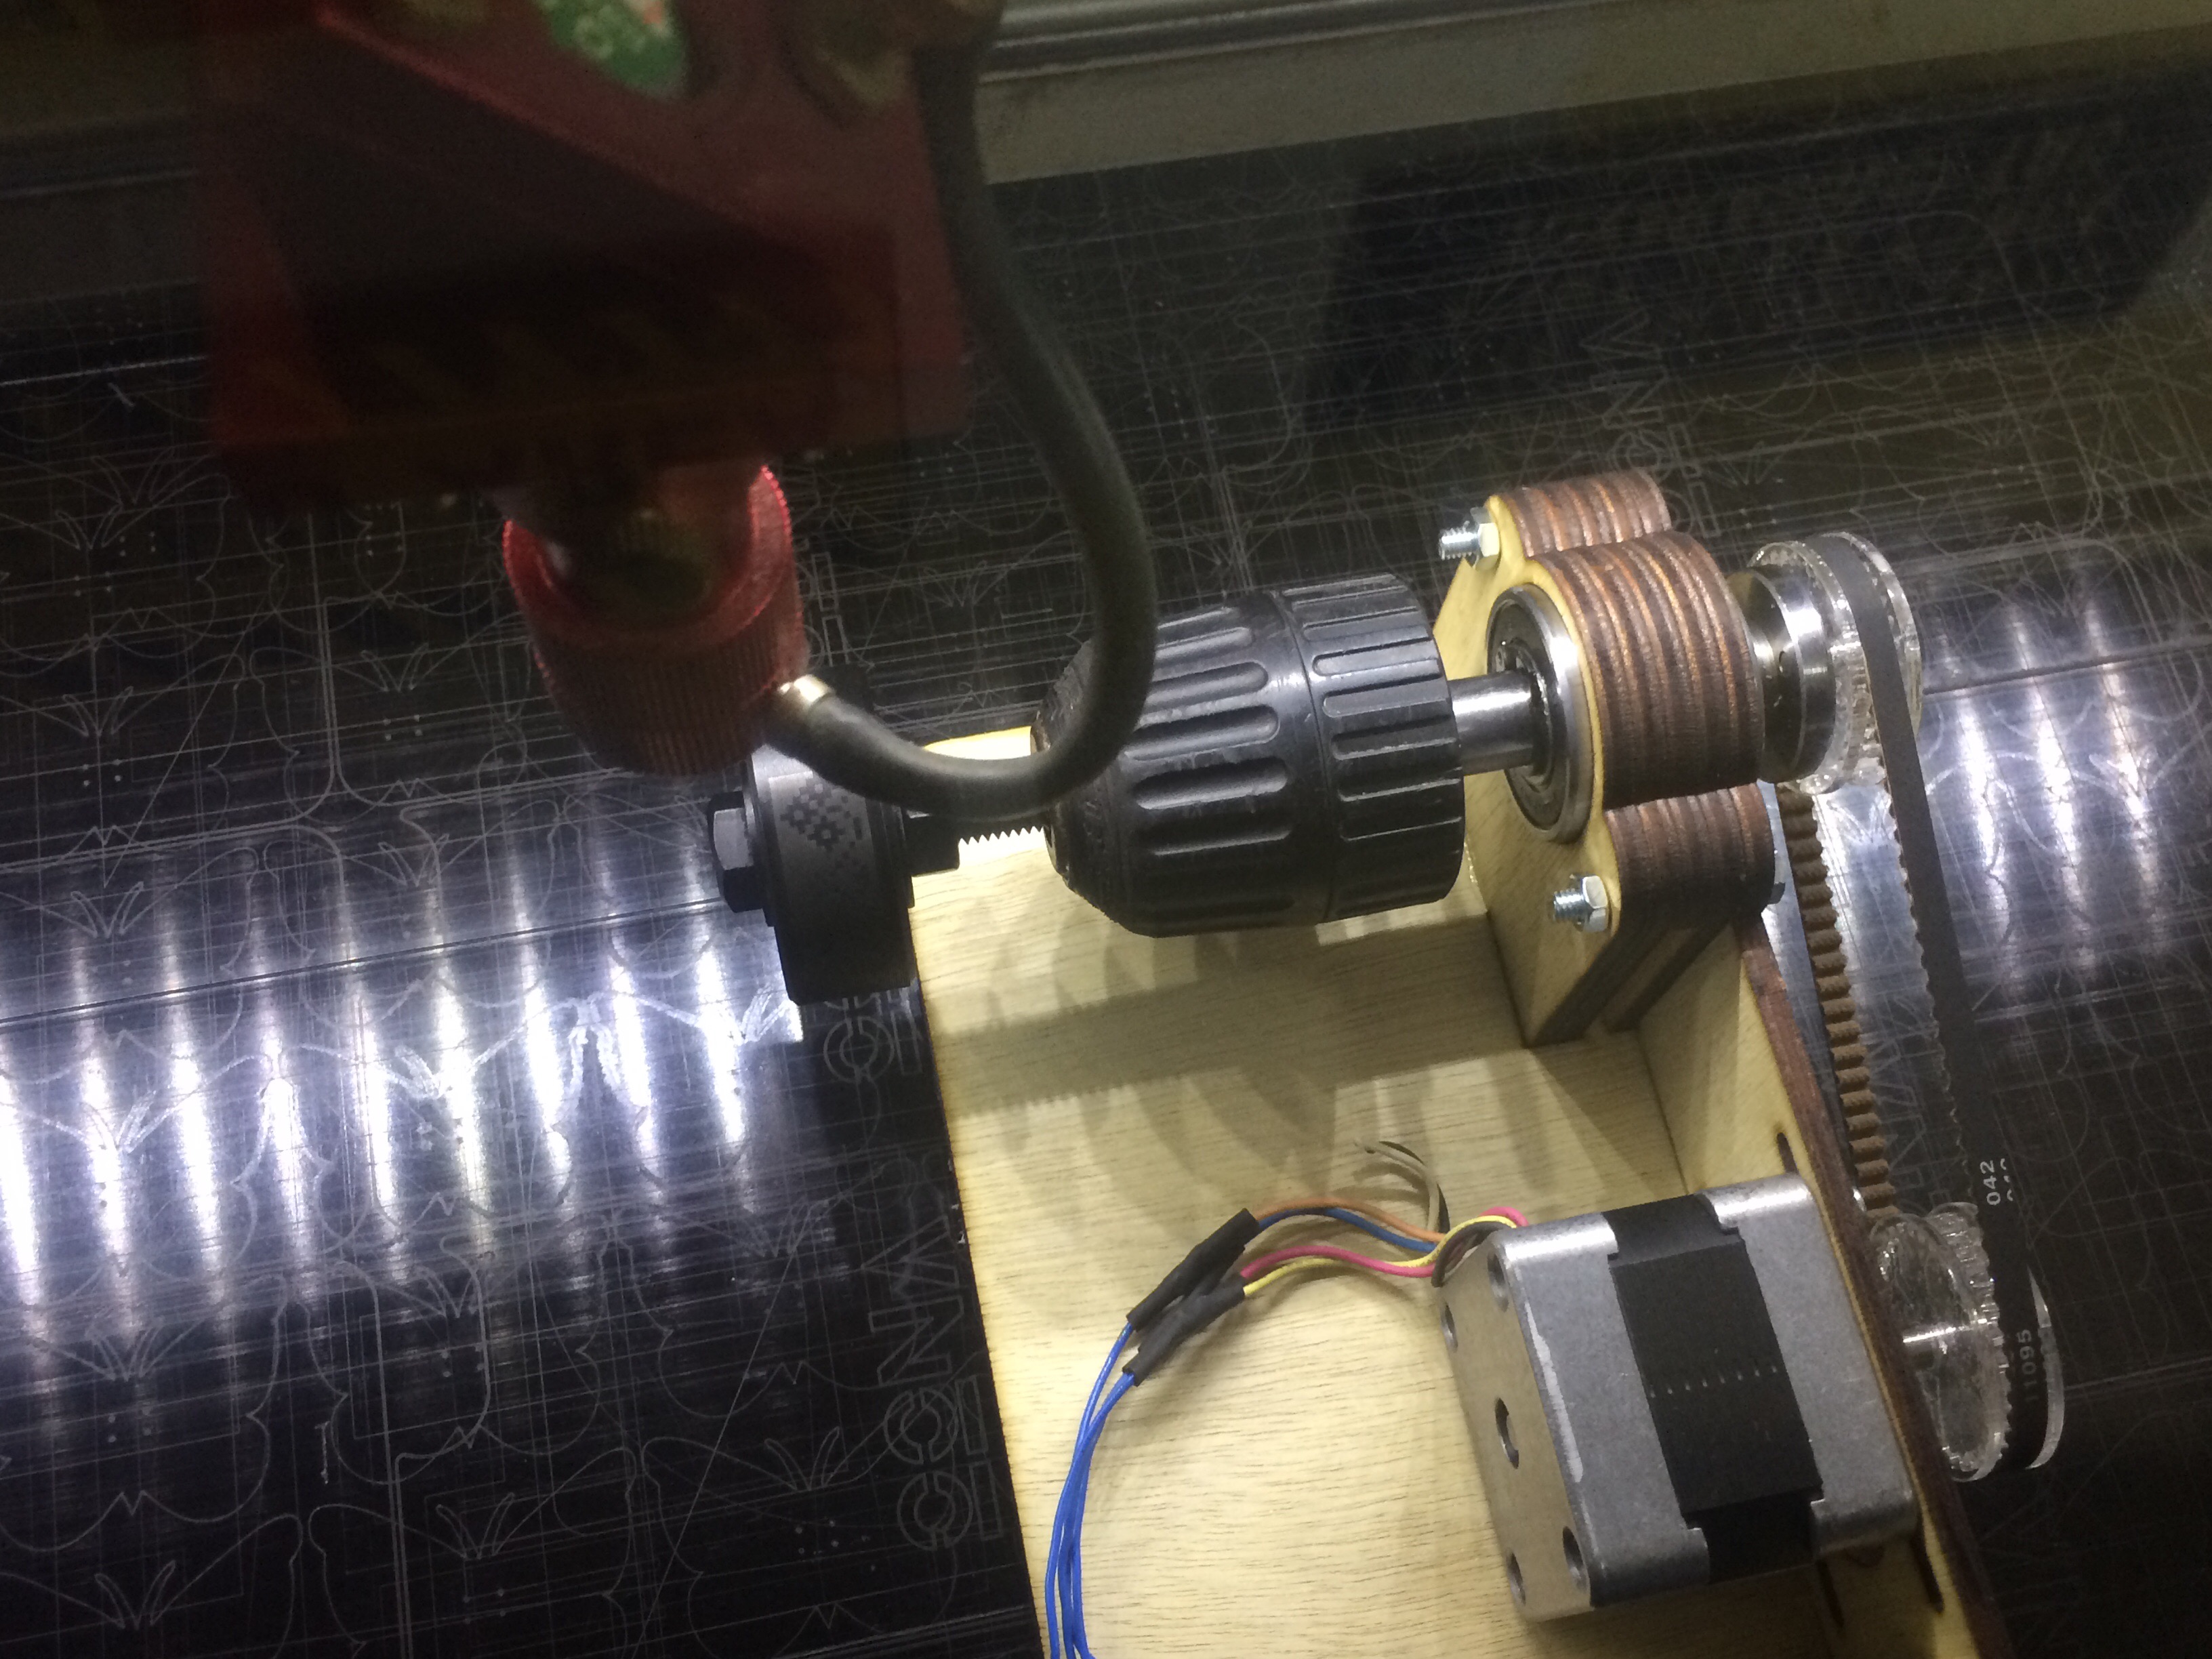

Edit: Here are some more pictures:
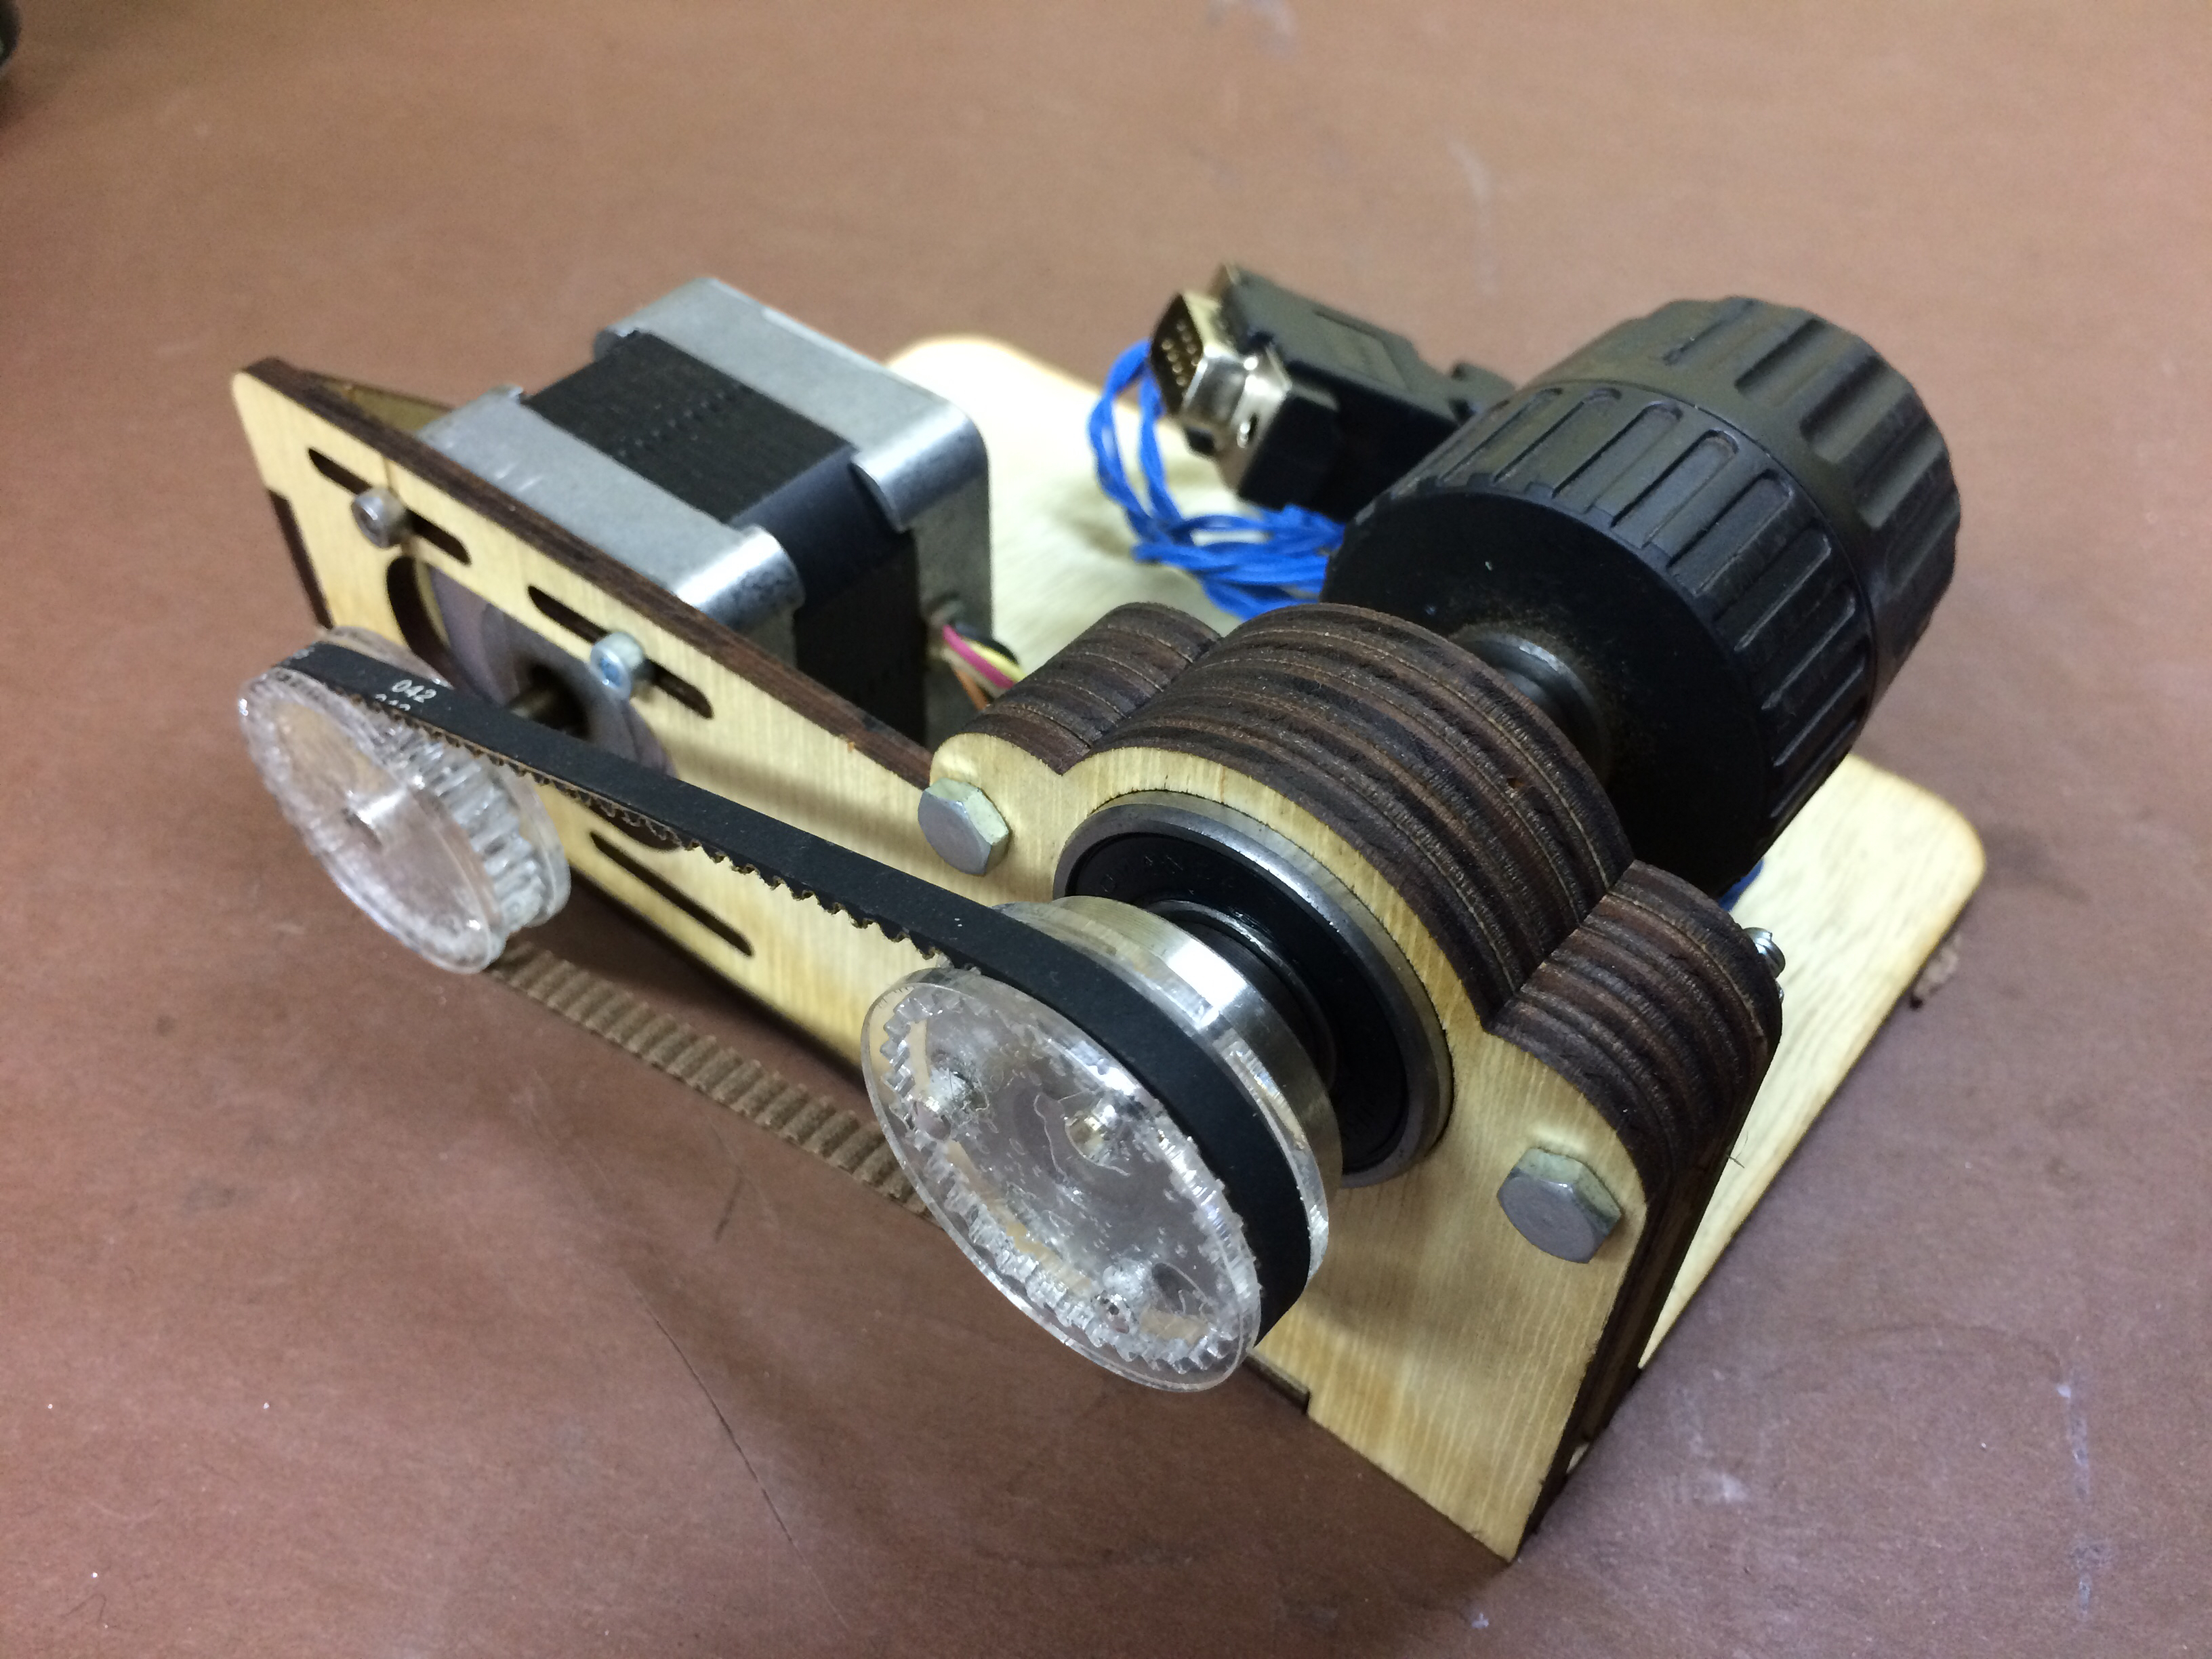
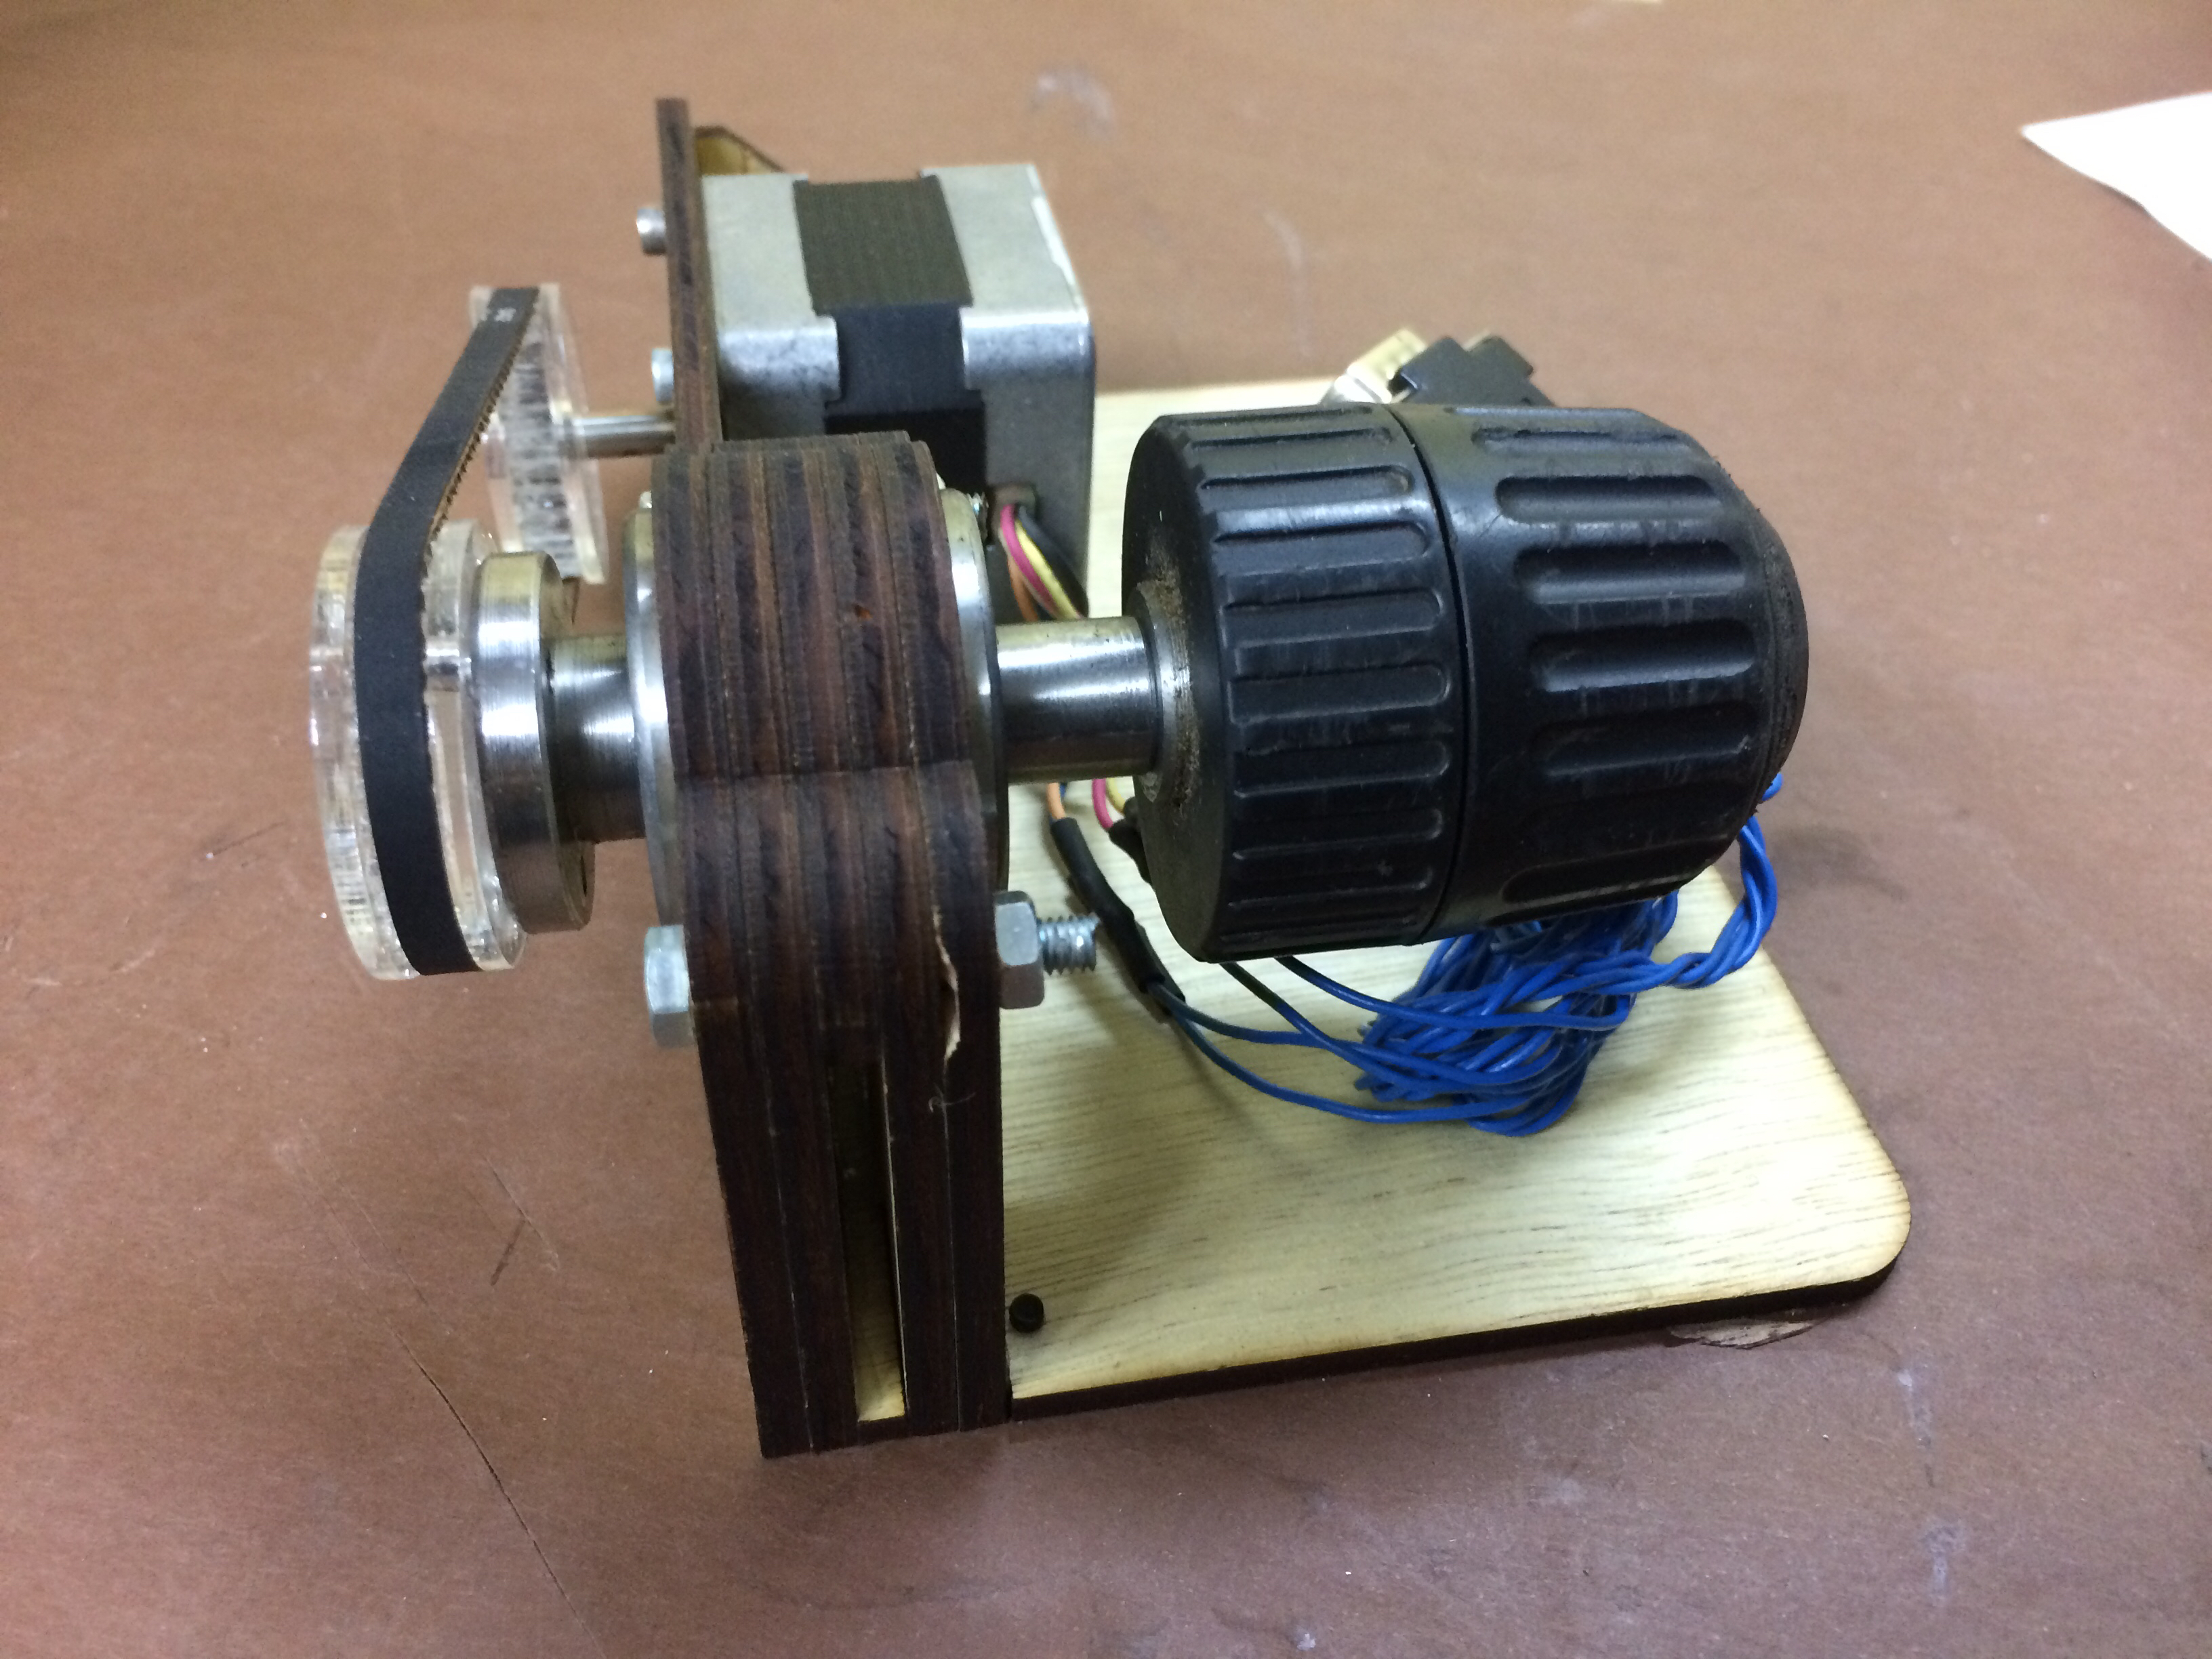
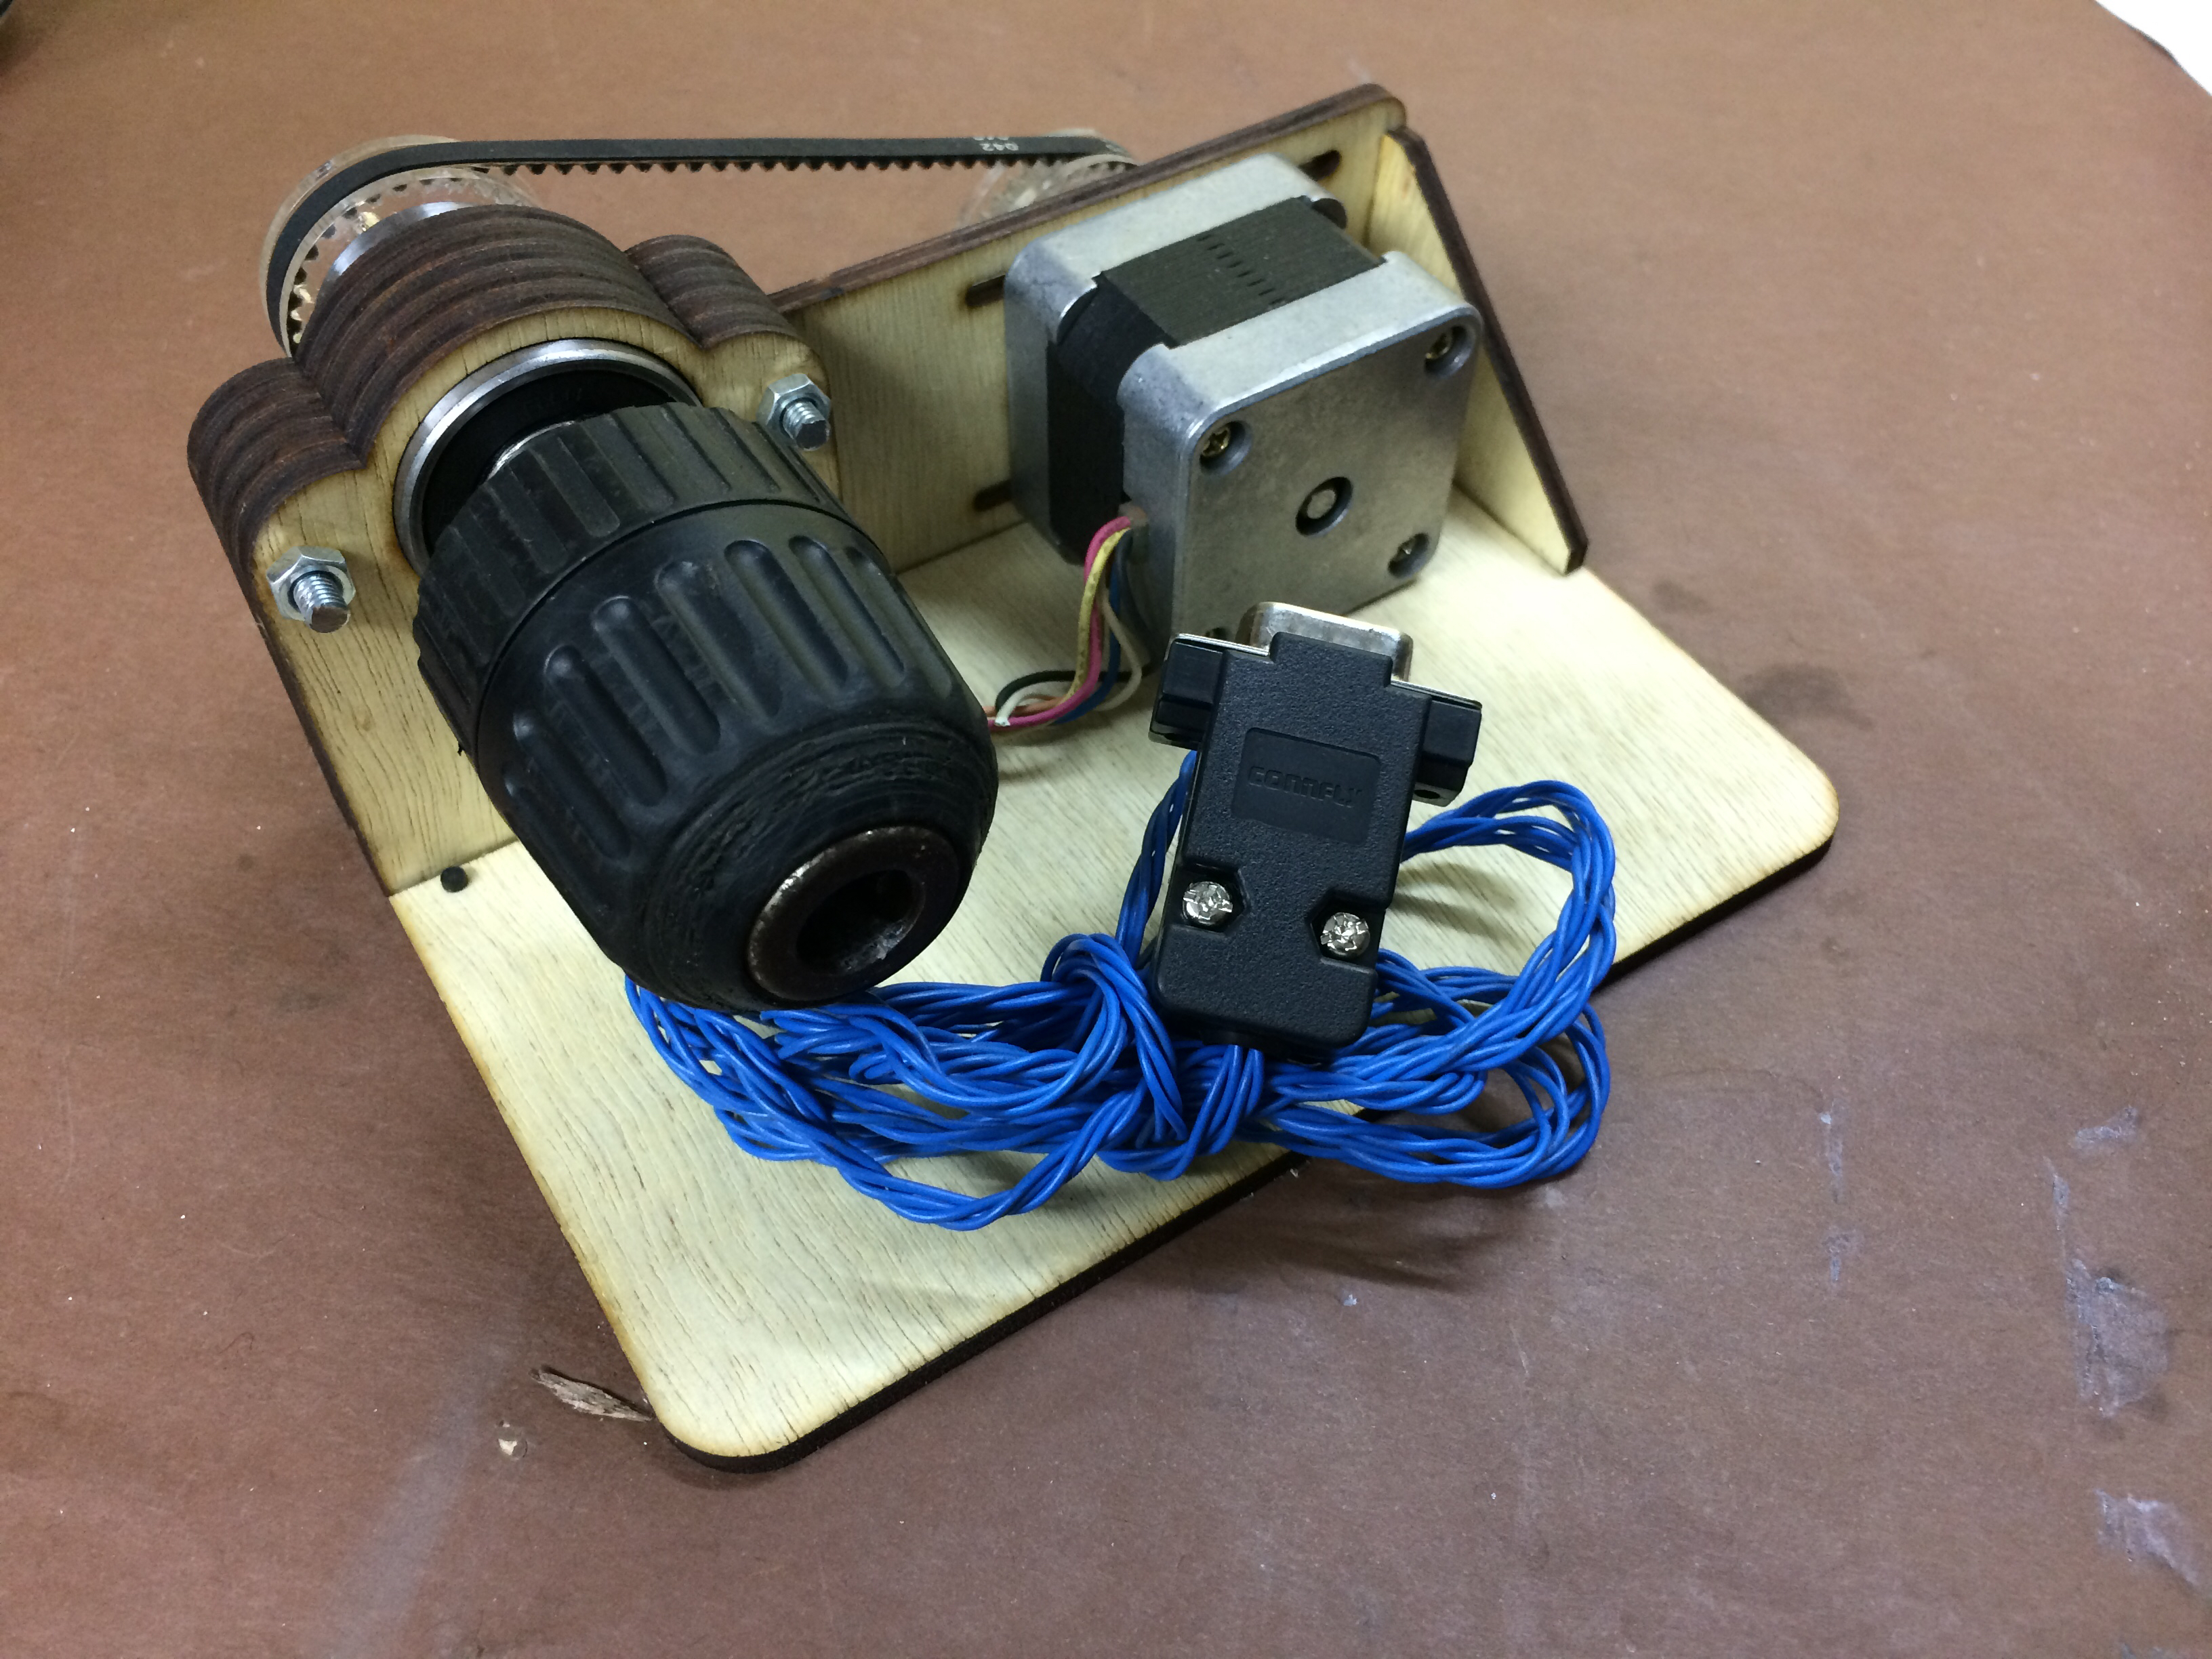
It may not have been such a good idea to use plywood for this build but it is stiff enough for now.
IMPORTANT: Turn your laser cutter OFF completely when connecting/disconnecting stepper motors. Not doing this may damage your stepper drivers.
Software
On the software side of things, the only thing I had to do was enable “rotate engrave”. In this screenshot, the option is inactive. I’m not sure why, because on the workshop PC it’s active. In the workshop I have the original “Laser CNC” software that I received on the CD with the machine; on this laptop I’ve downloaded RDWorks 8.01.18 and the UI is a bit different, and the machine is not connected.
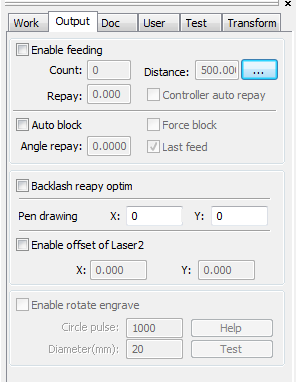
“Circle pulse” here, a bit obviously is the number of steps for a complete rotation.
Also, the end-stop for the axis which is replaced (for me it’s the Y axis) needs to be manually triggered twice during machine initialization.
Action!
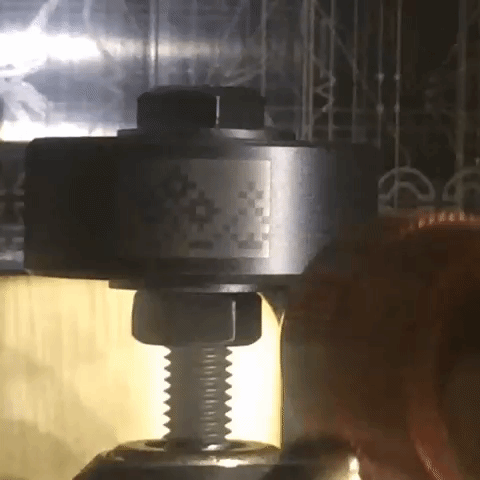
Here’s a GIF of it working on it’s first project (write-up coming soon!):
Thanks for reading!
Leave a Reply