
First try with investment casting
My wife Victoria makes brilliant silver jewelry and we need to check out investment casting as well. Check out her website www.margica.net
The next step we want to take is casting 3D printed rings. This would allow us to transition a bit more smoothly from silver to gold and we could make quite complicated designs with less effort.
One important note is that we wanted to keep the monetary investment as low as possible, so we took the cheap route. What I mean by this is that we could have just bought a vacuum casting machine and have everything already set up, but the cost is to say the least, prohibitive.
What follows is our first foray into the investment casting process. Certainly not a guide or tutorial but more of a technical diary for our future trials. Also note that I may have mixed up the terminology.
Act 1. The model
There are different ways of creating a model for a casting. One of the ways is by sculpting wax, for this you need a certain amount of skill which we certainly don’t have. Therefore, we went with 3d printing.
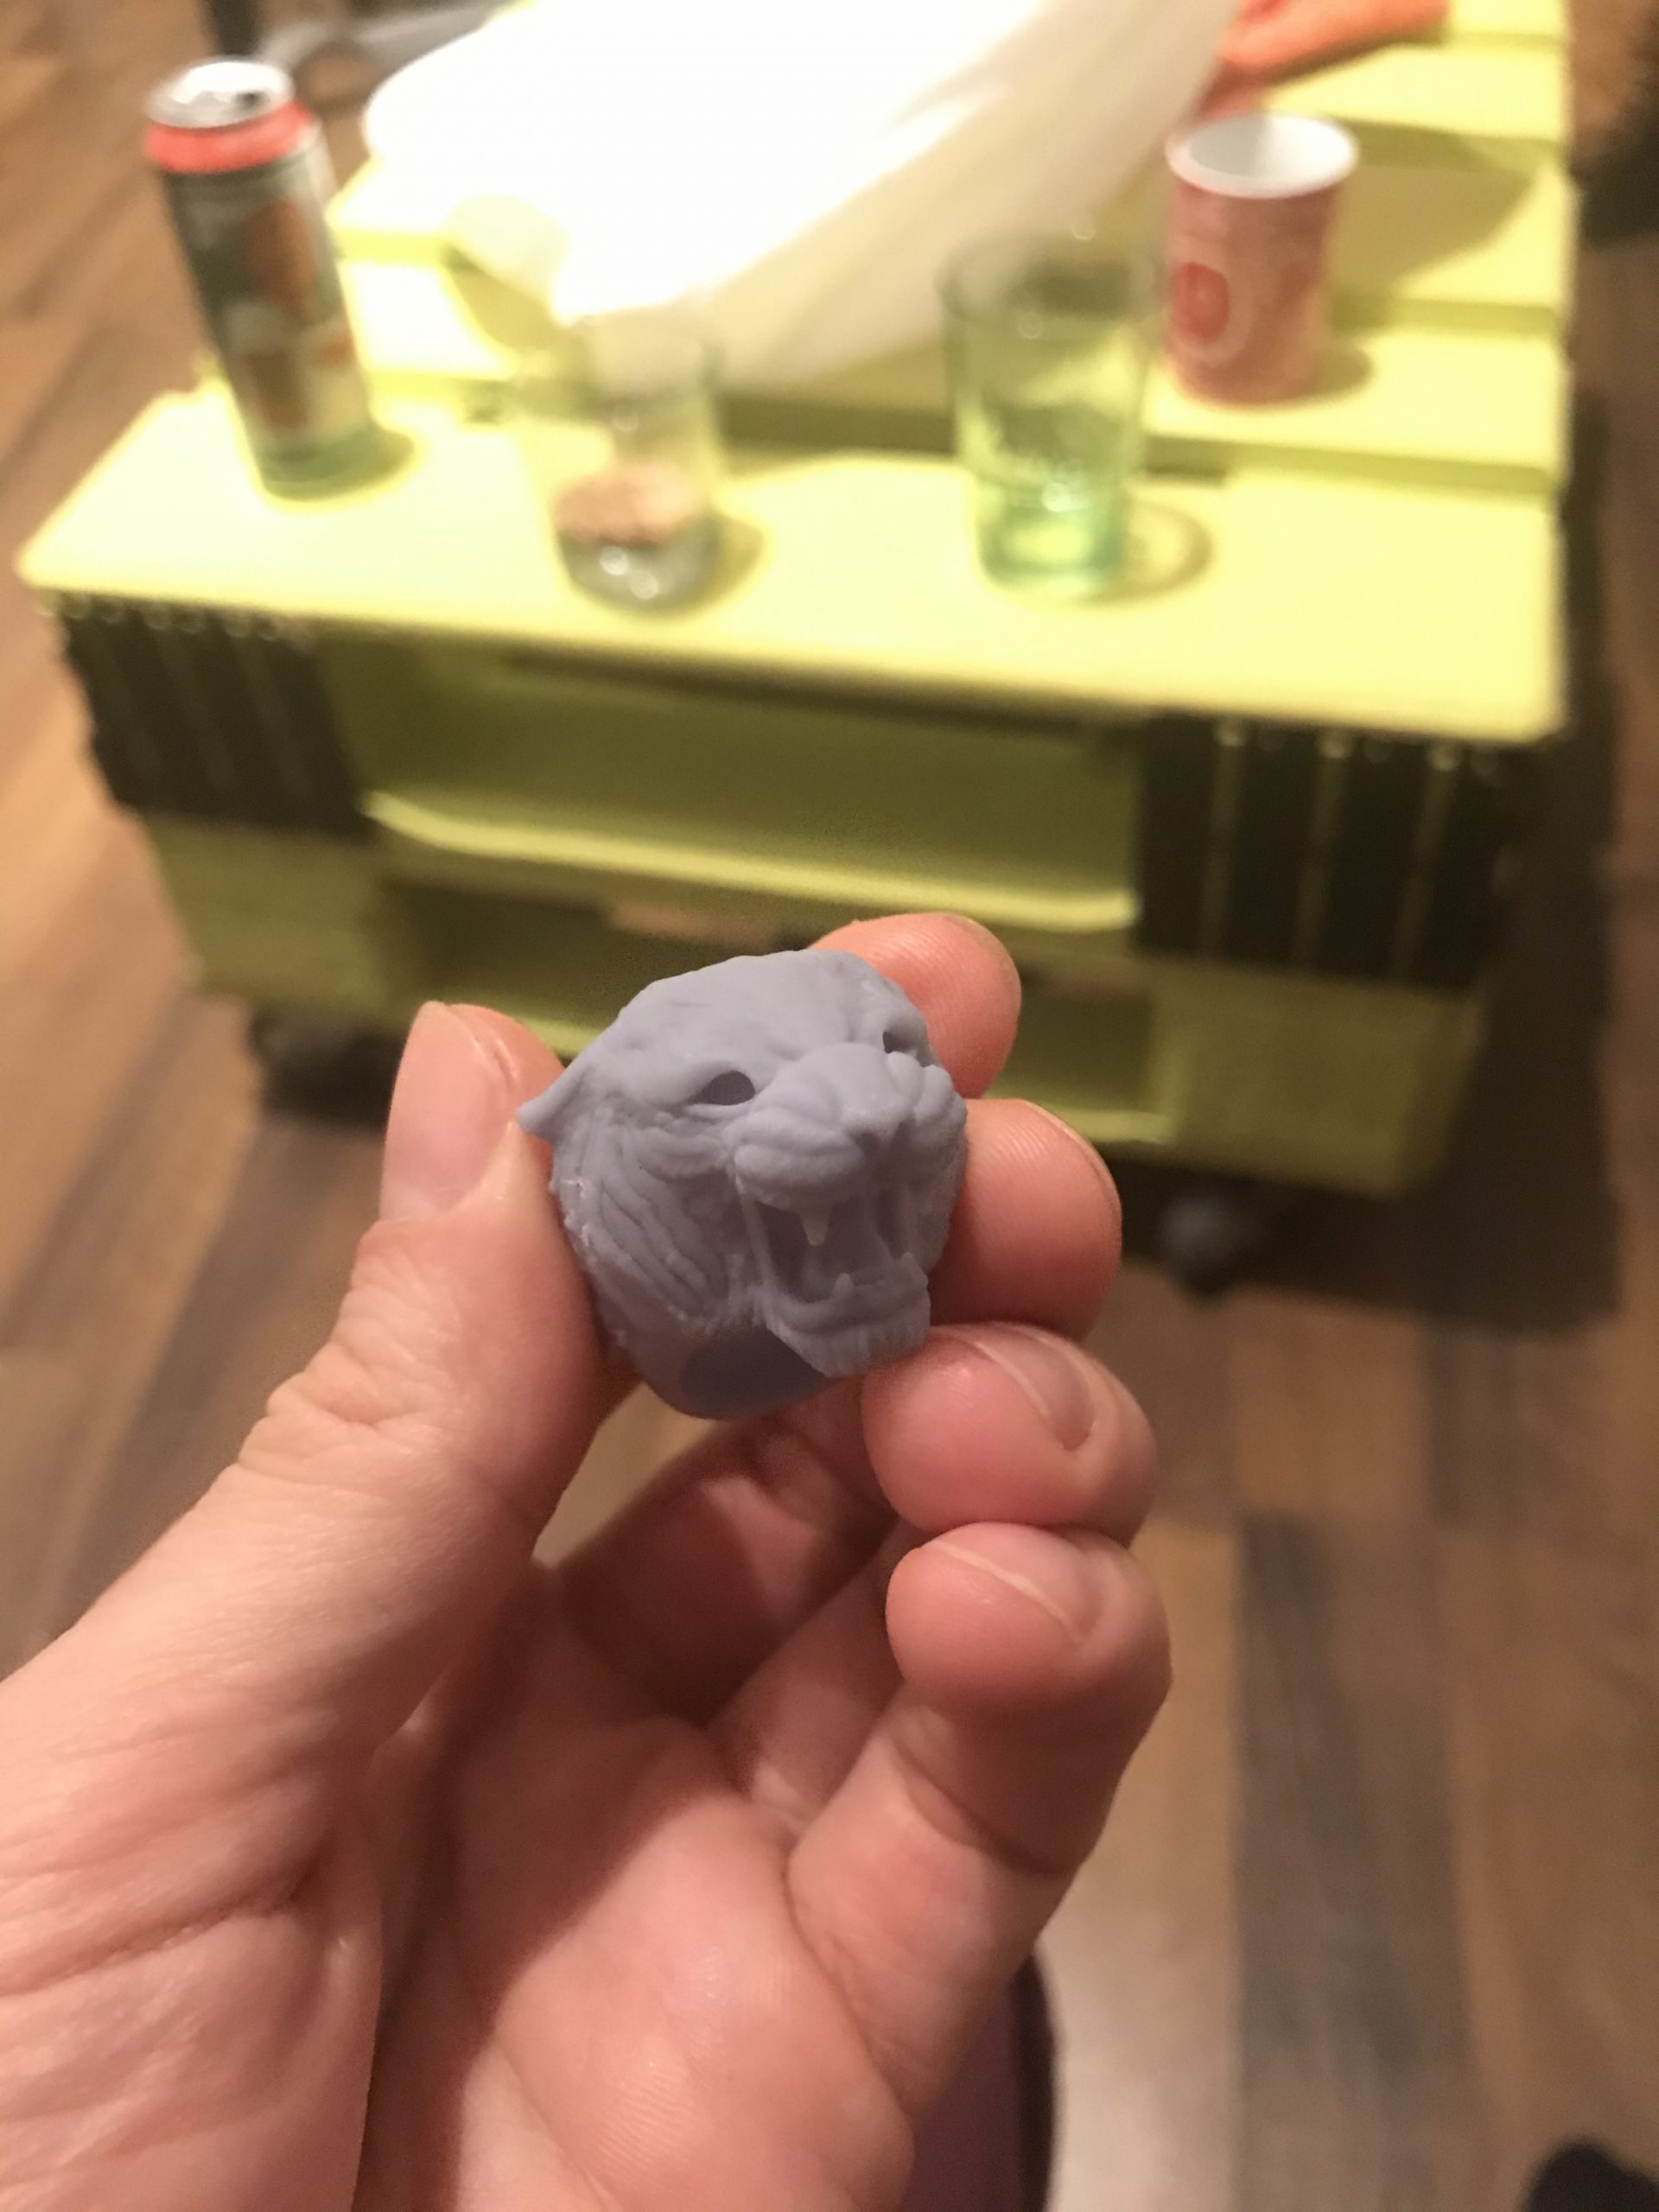
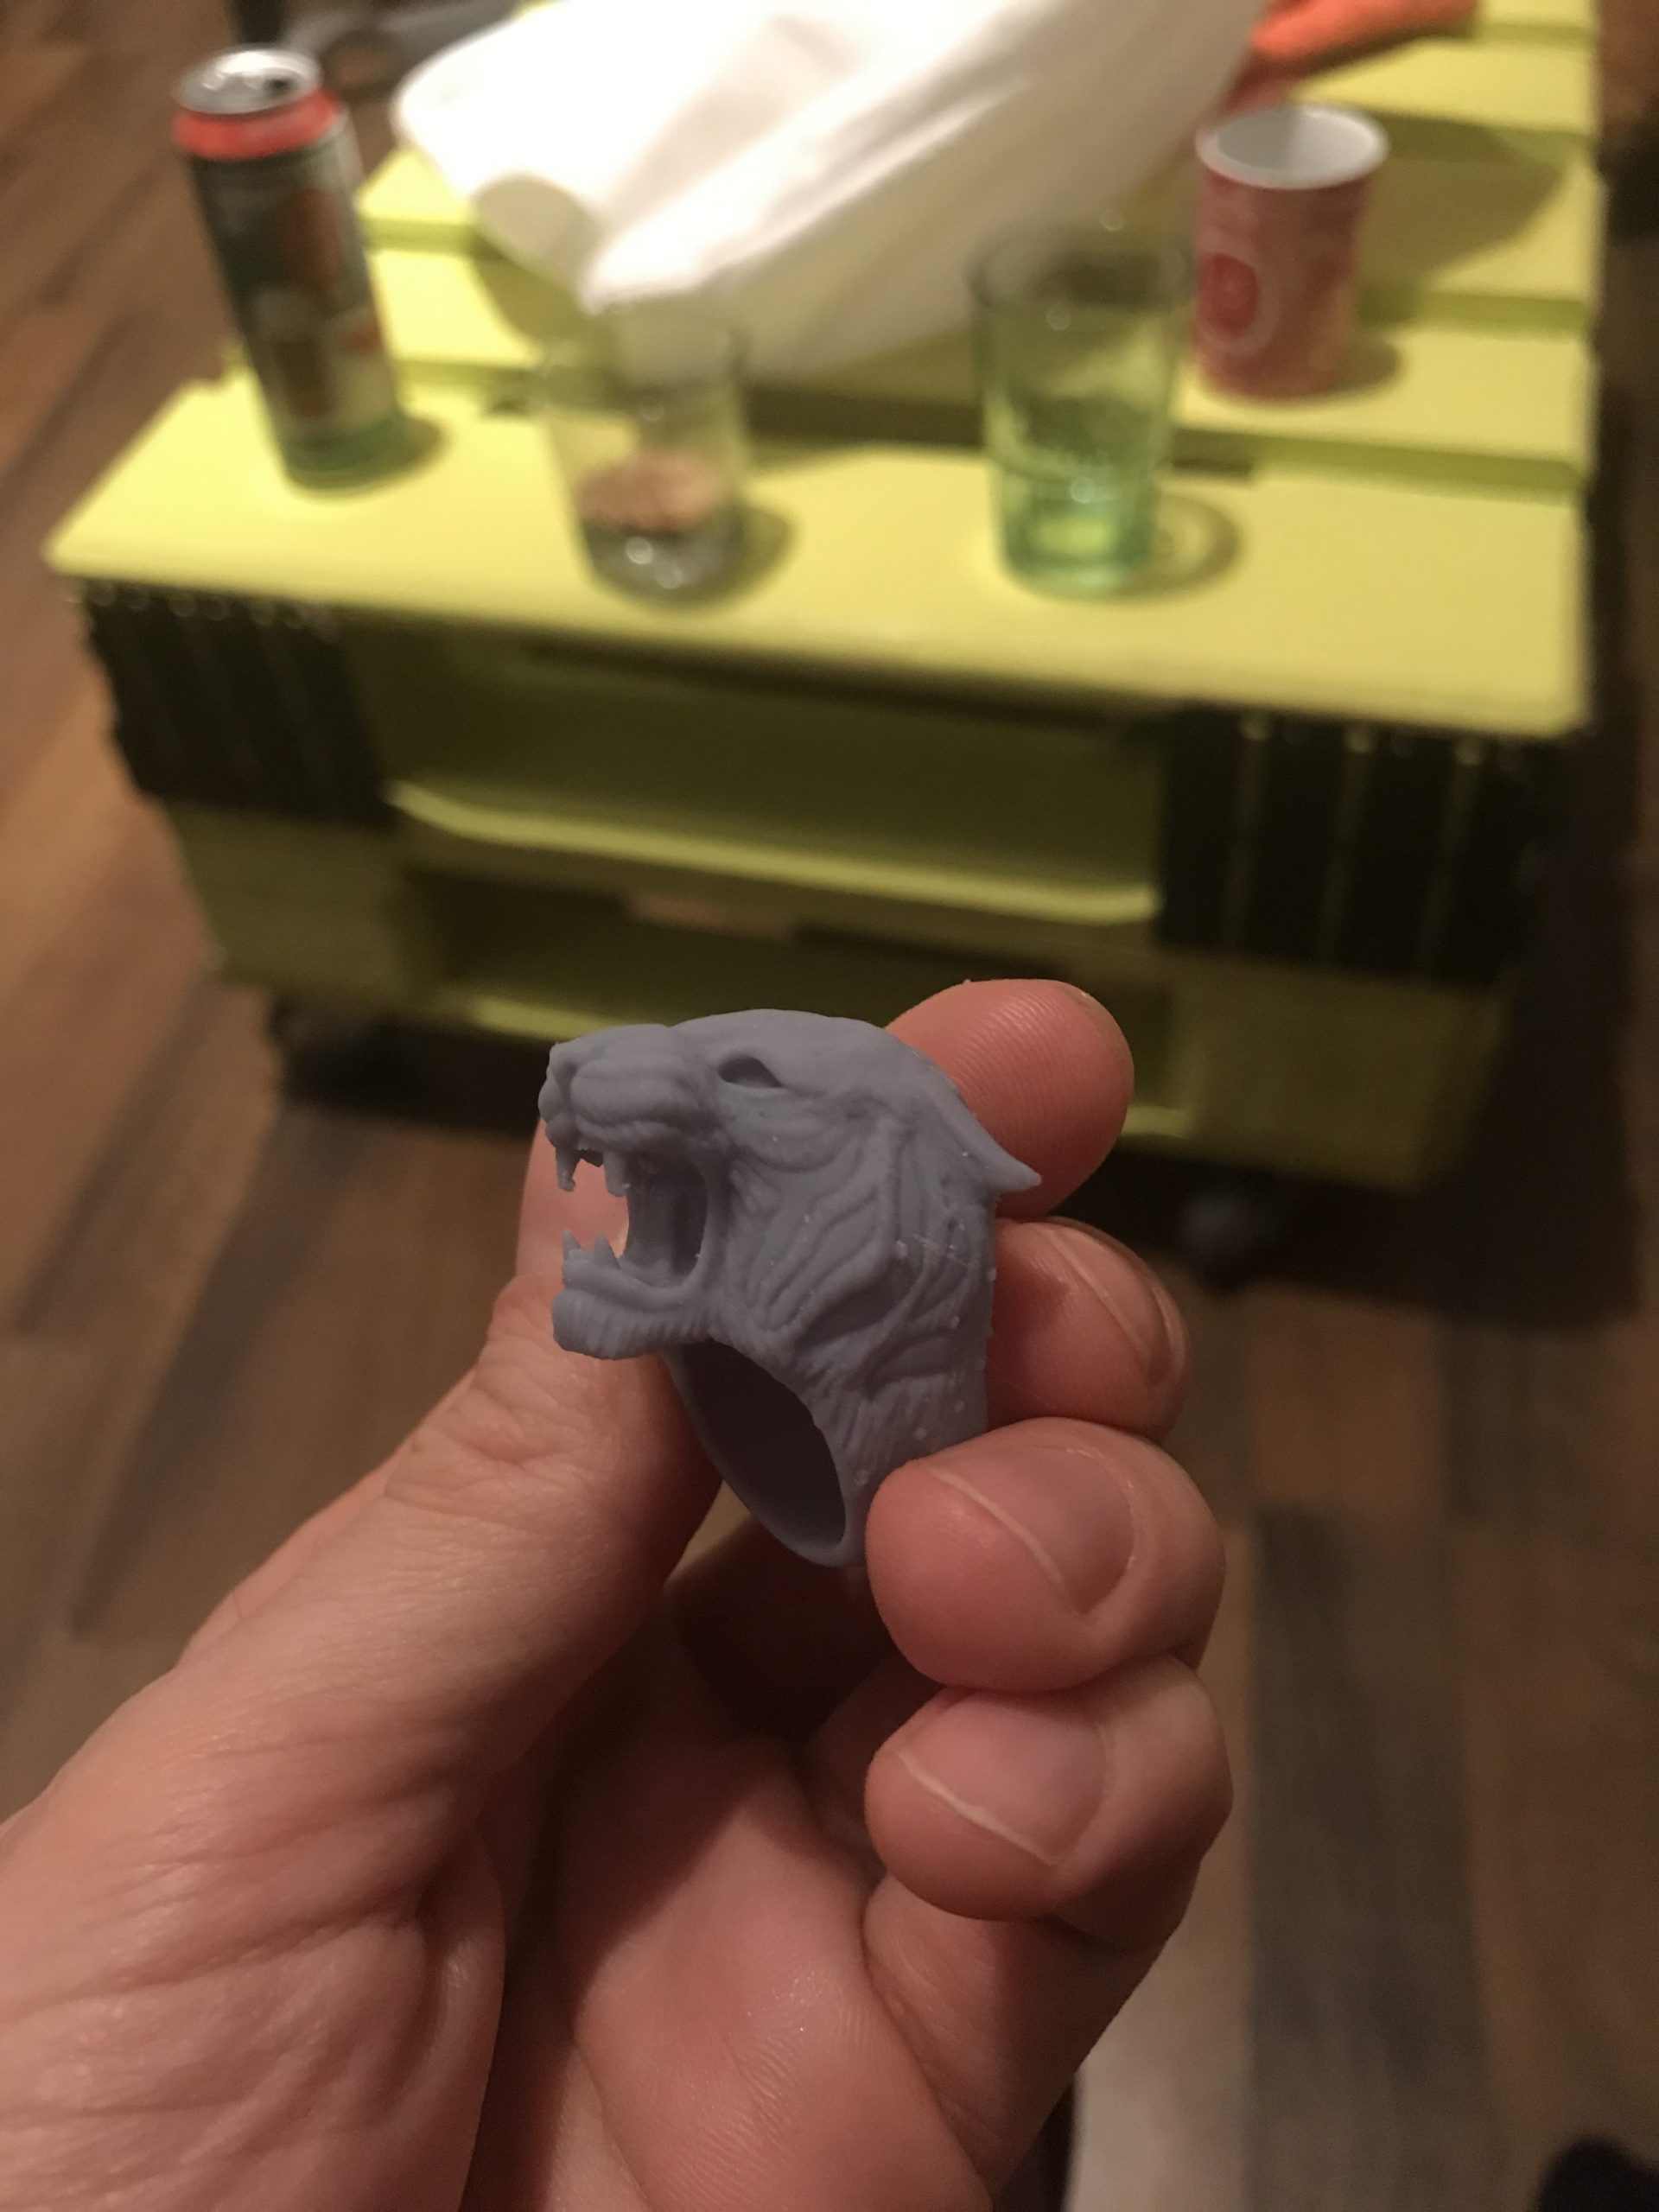
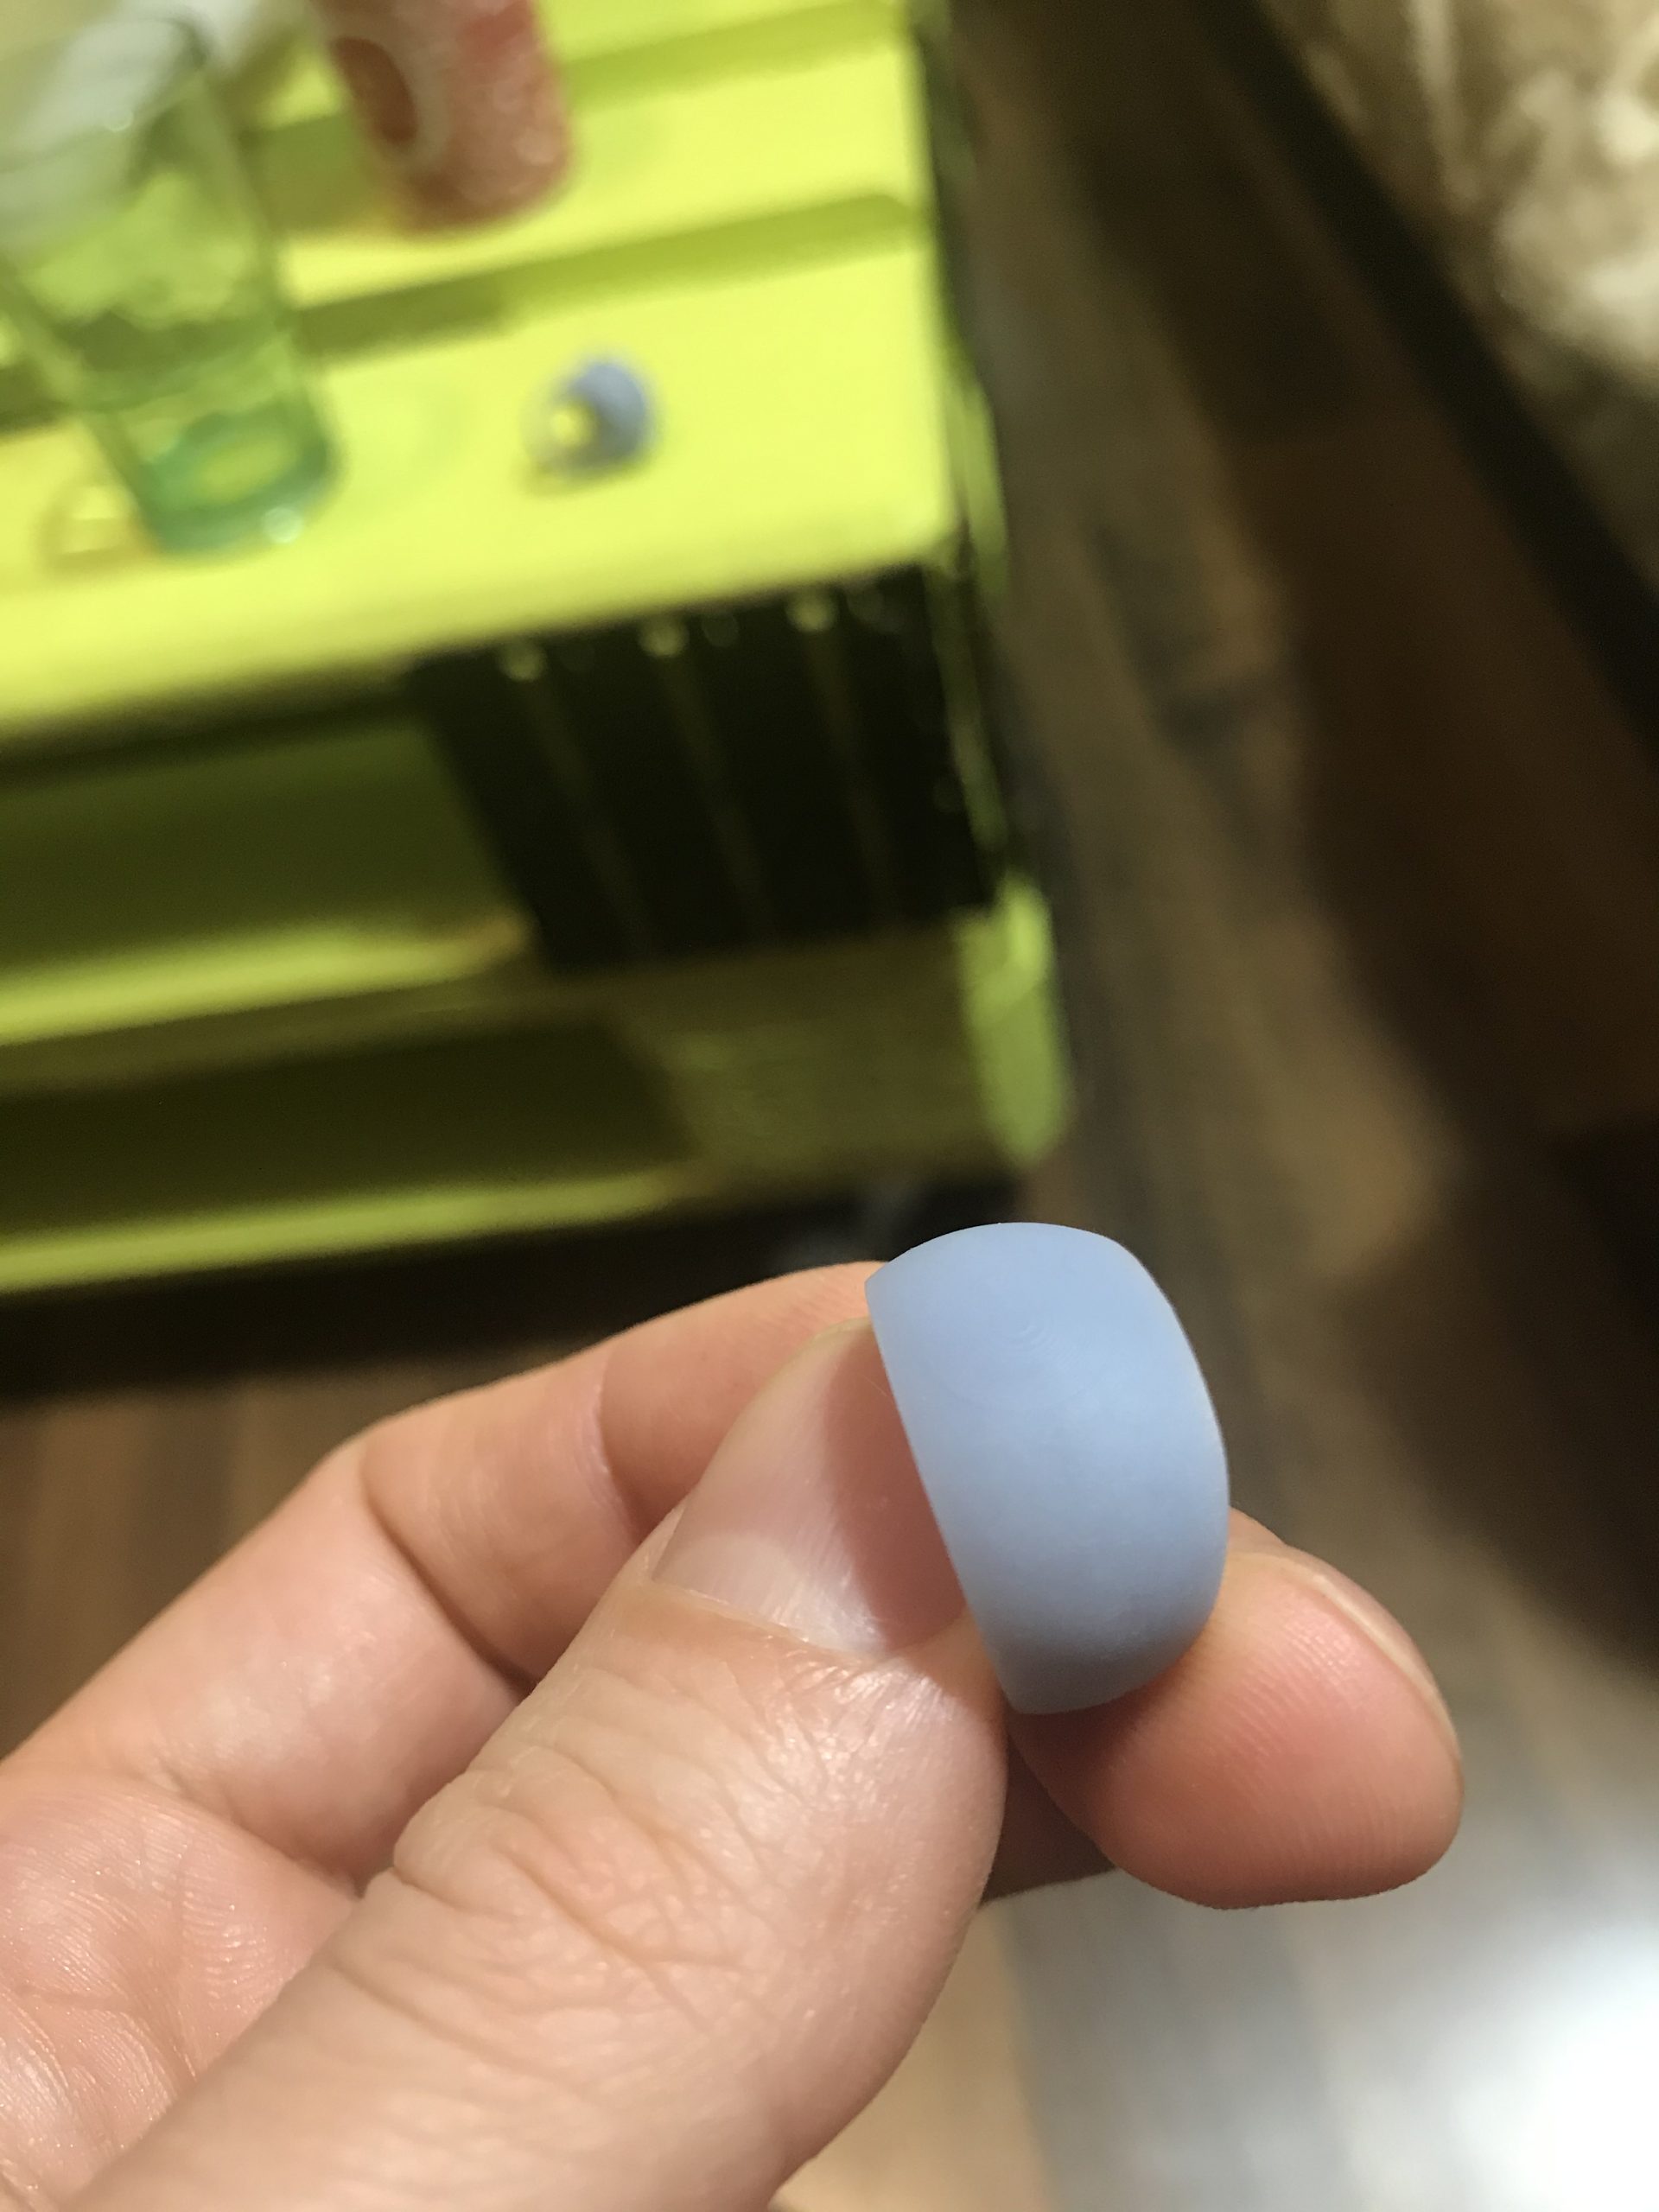
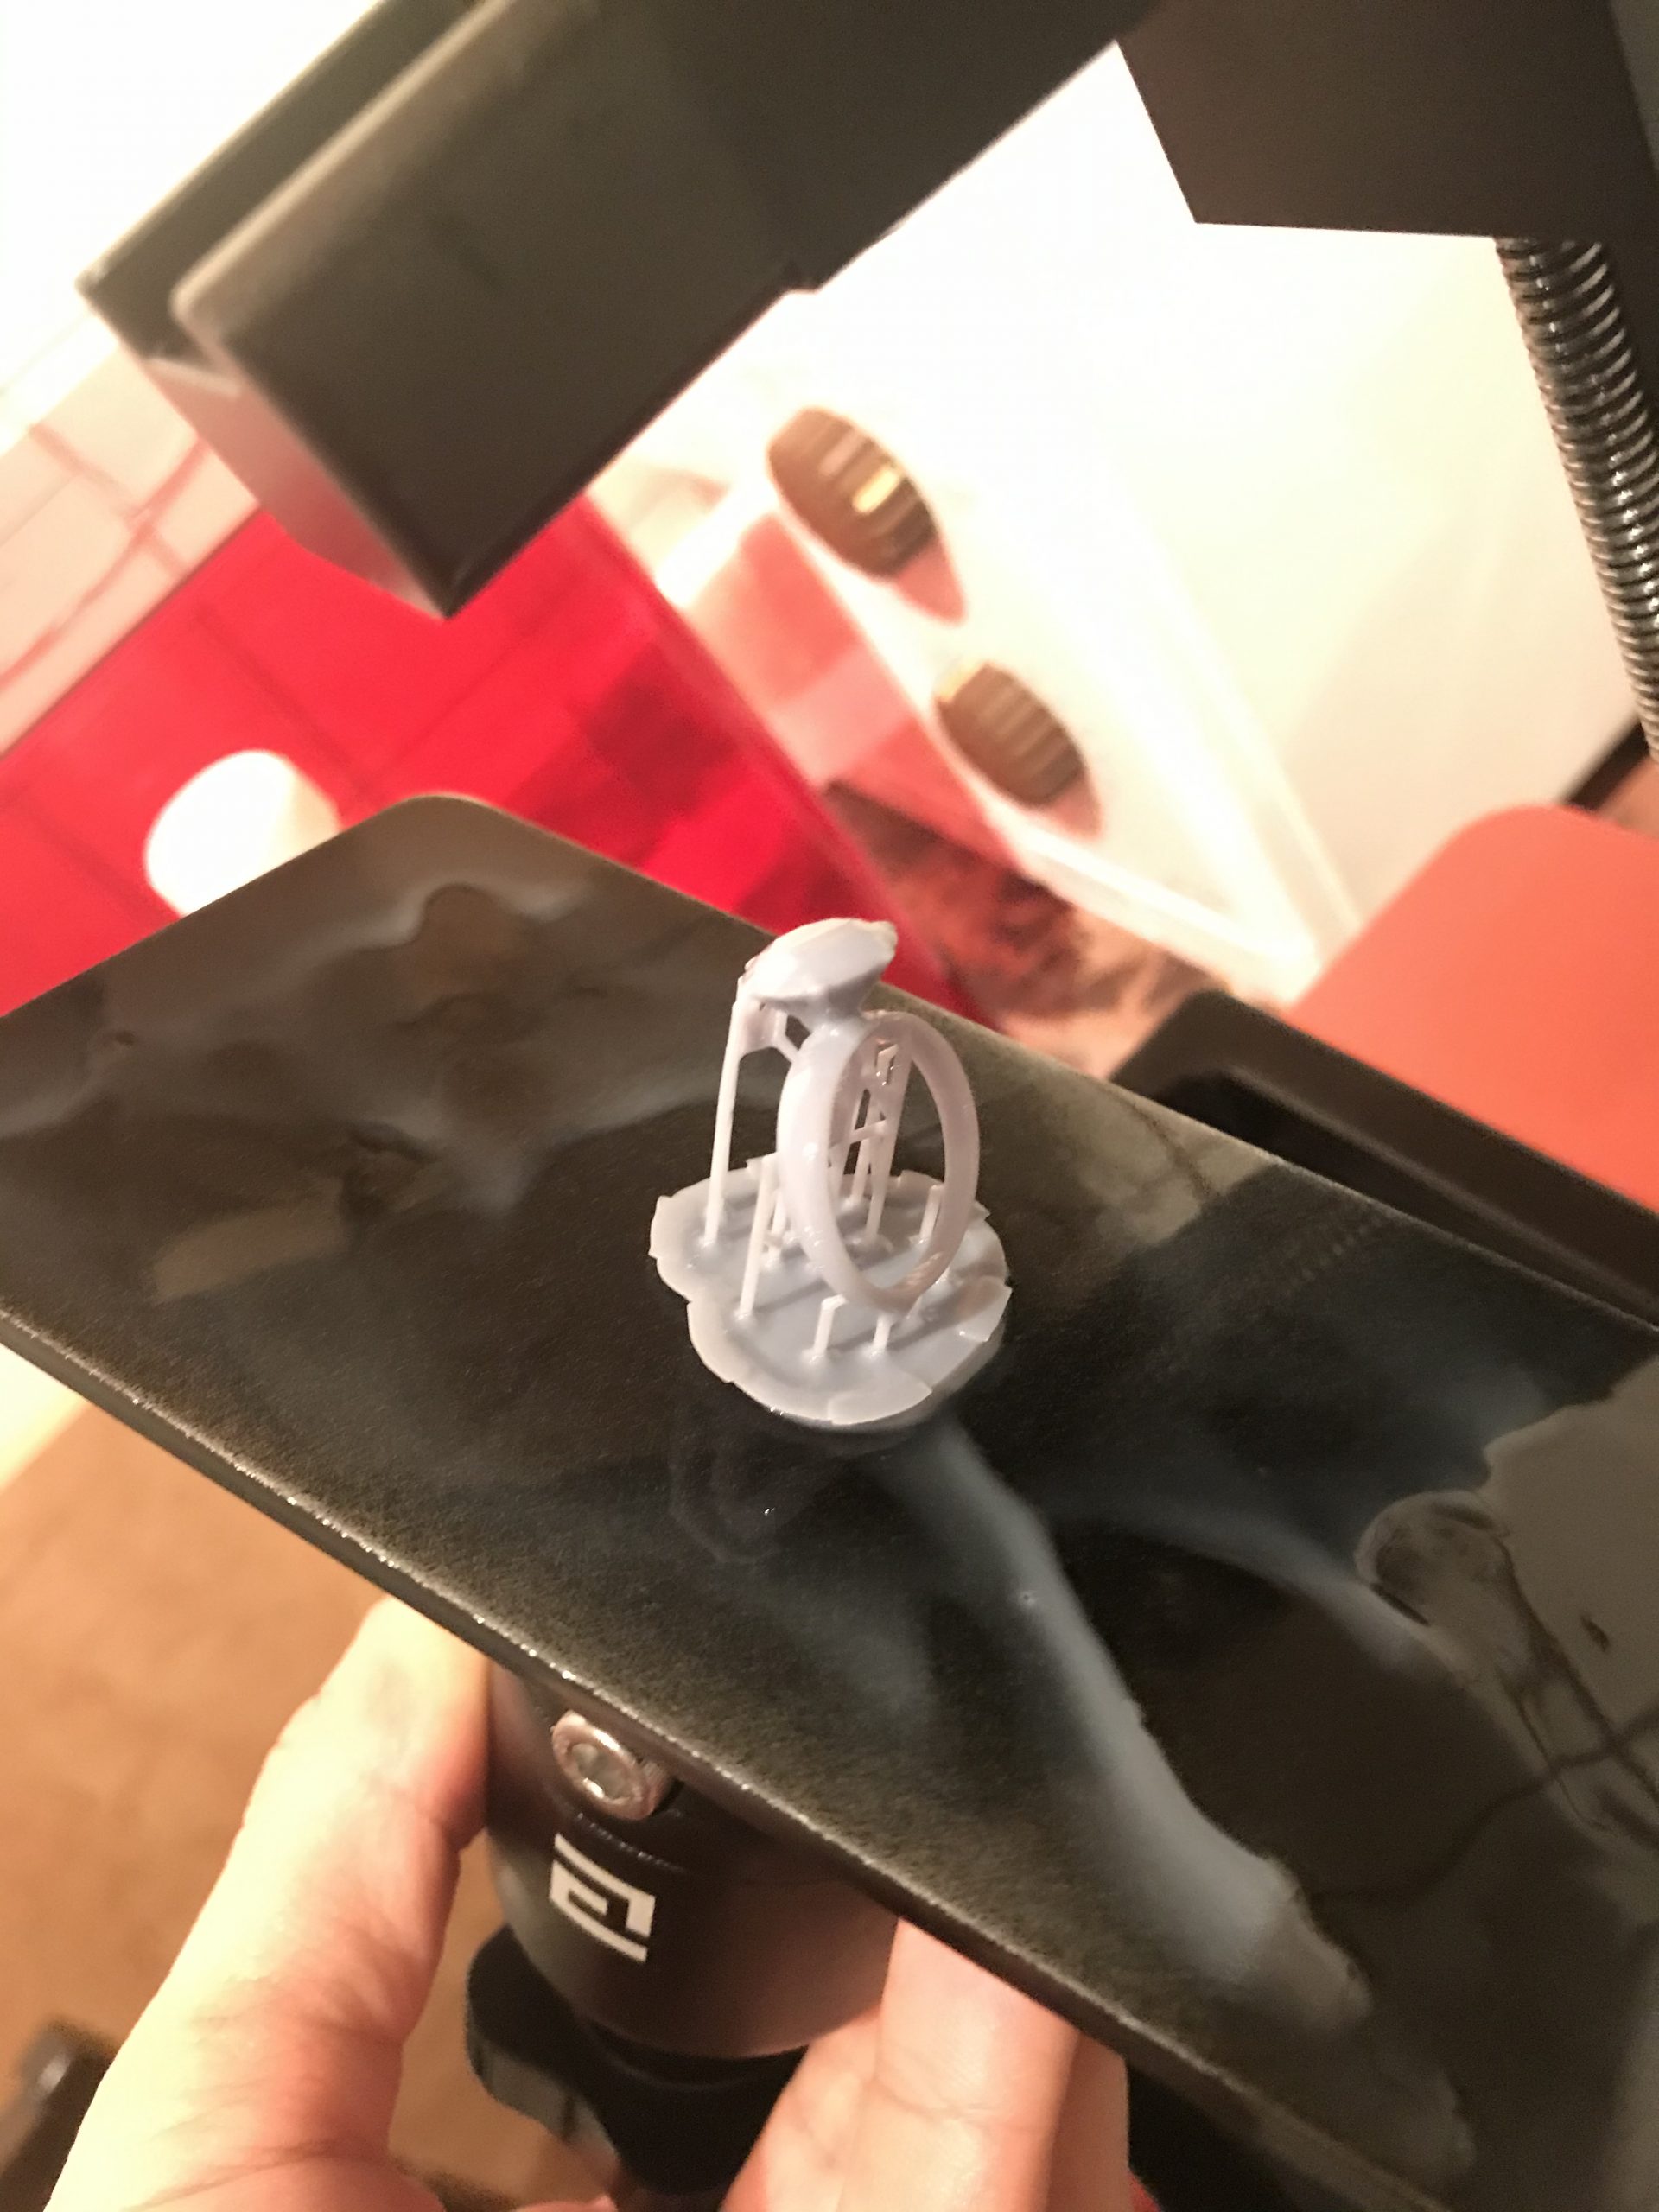
We bought an Elegoo Mars lcd resin printer and first printed some test rings in regular grey resin. After we worked out the bed adhesion issues, we got some exceptional prints. The adhesion issue was fixed after finding out that the more vertical the adhesion layers (the raft) the better the print sticks. The disadvantage is that they are a lot harder to unstick from the build plate after the print is done.
Here are some of the first prints.

Once we got that down, and once Victoria got familiar with blender, we took the next step and got some castable resin.
We got some Photocentric Daylight castable resin which was a lot cheaper than any other alternative, and got to it. I was really nervous about what settings to use with the castable resin but got it right on the first try. (80s for the adhesion layers and 10s for the rest).
Act 2. Putting it all together
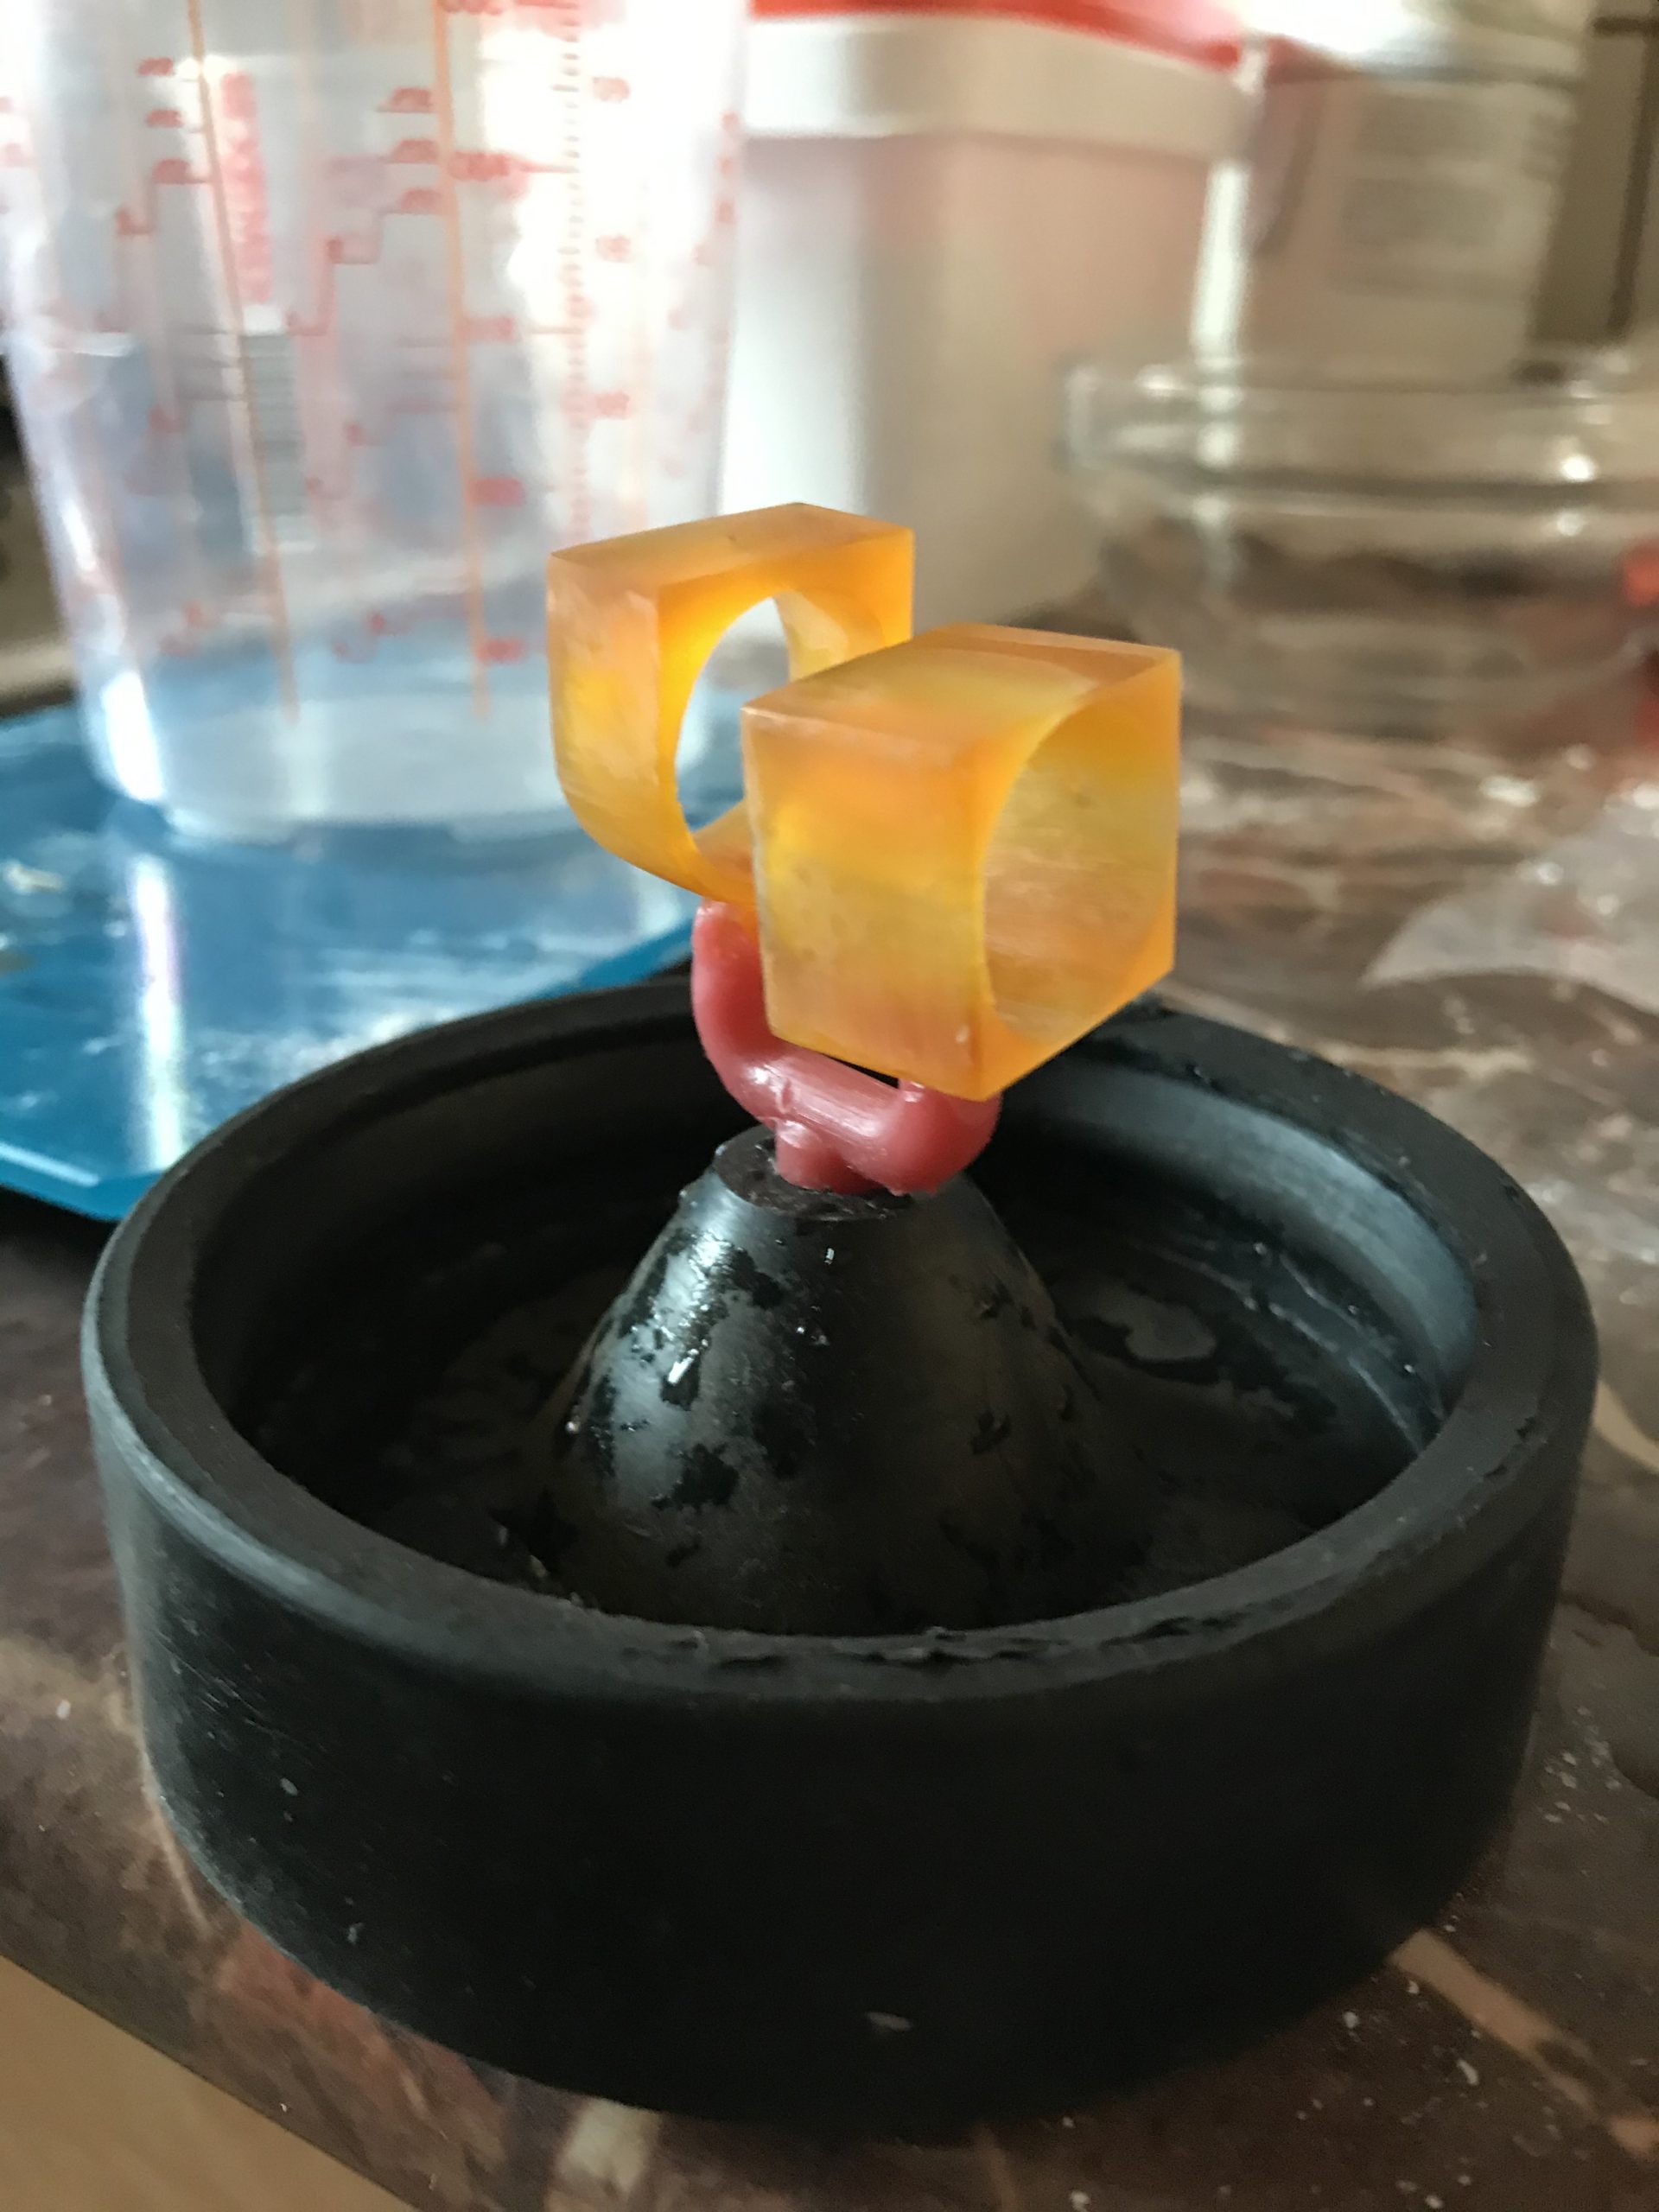
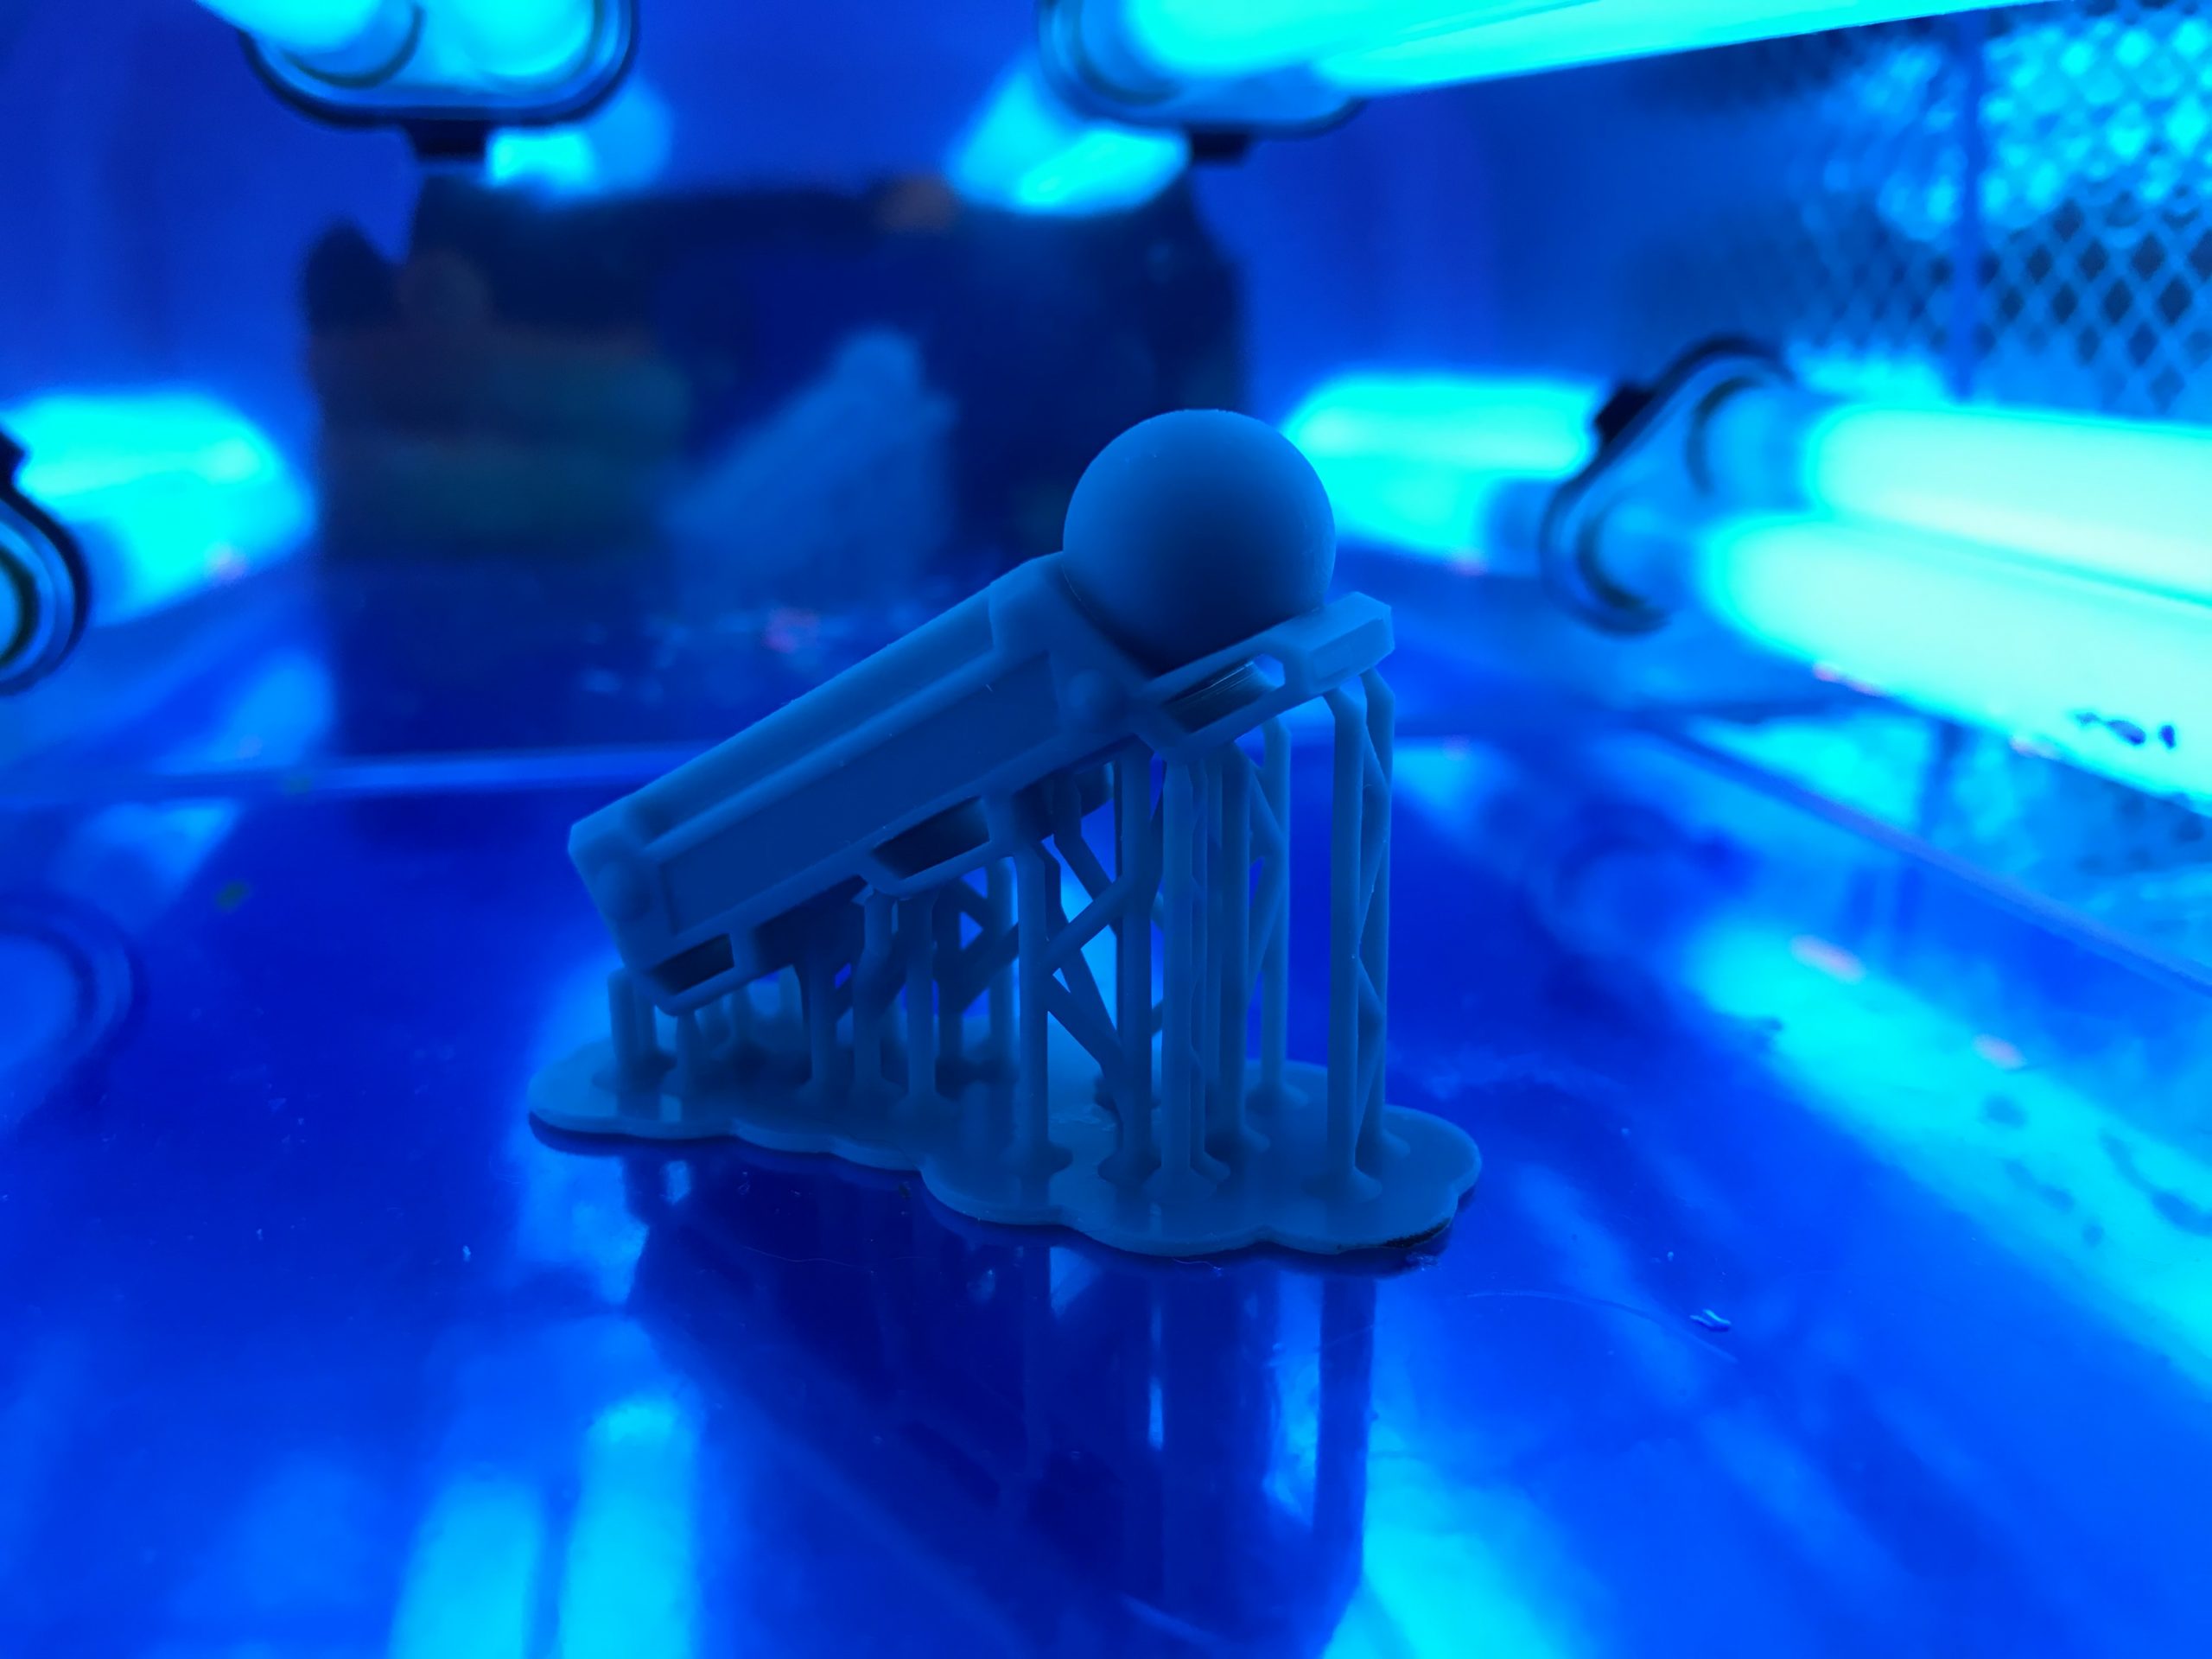
After curing the prints in the UV lamp, we were ready to cast! Actually not quite. We still needed some wax sprues. Instead of buying wax in the proper diameter to fit the rubber cap of the flask, I just printed some sprues, then made a silicone mold and poured the wax in the mold.
The wax is actually used dental wax which we decanted.
Another thing which we used from the dental industry was the oven. It’s quite small, barely large enough for the flask, but we got it at a good price and it goes up to 1050 deg. C. The flask and investment powder were bought from a website that sells tools for jewelers.
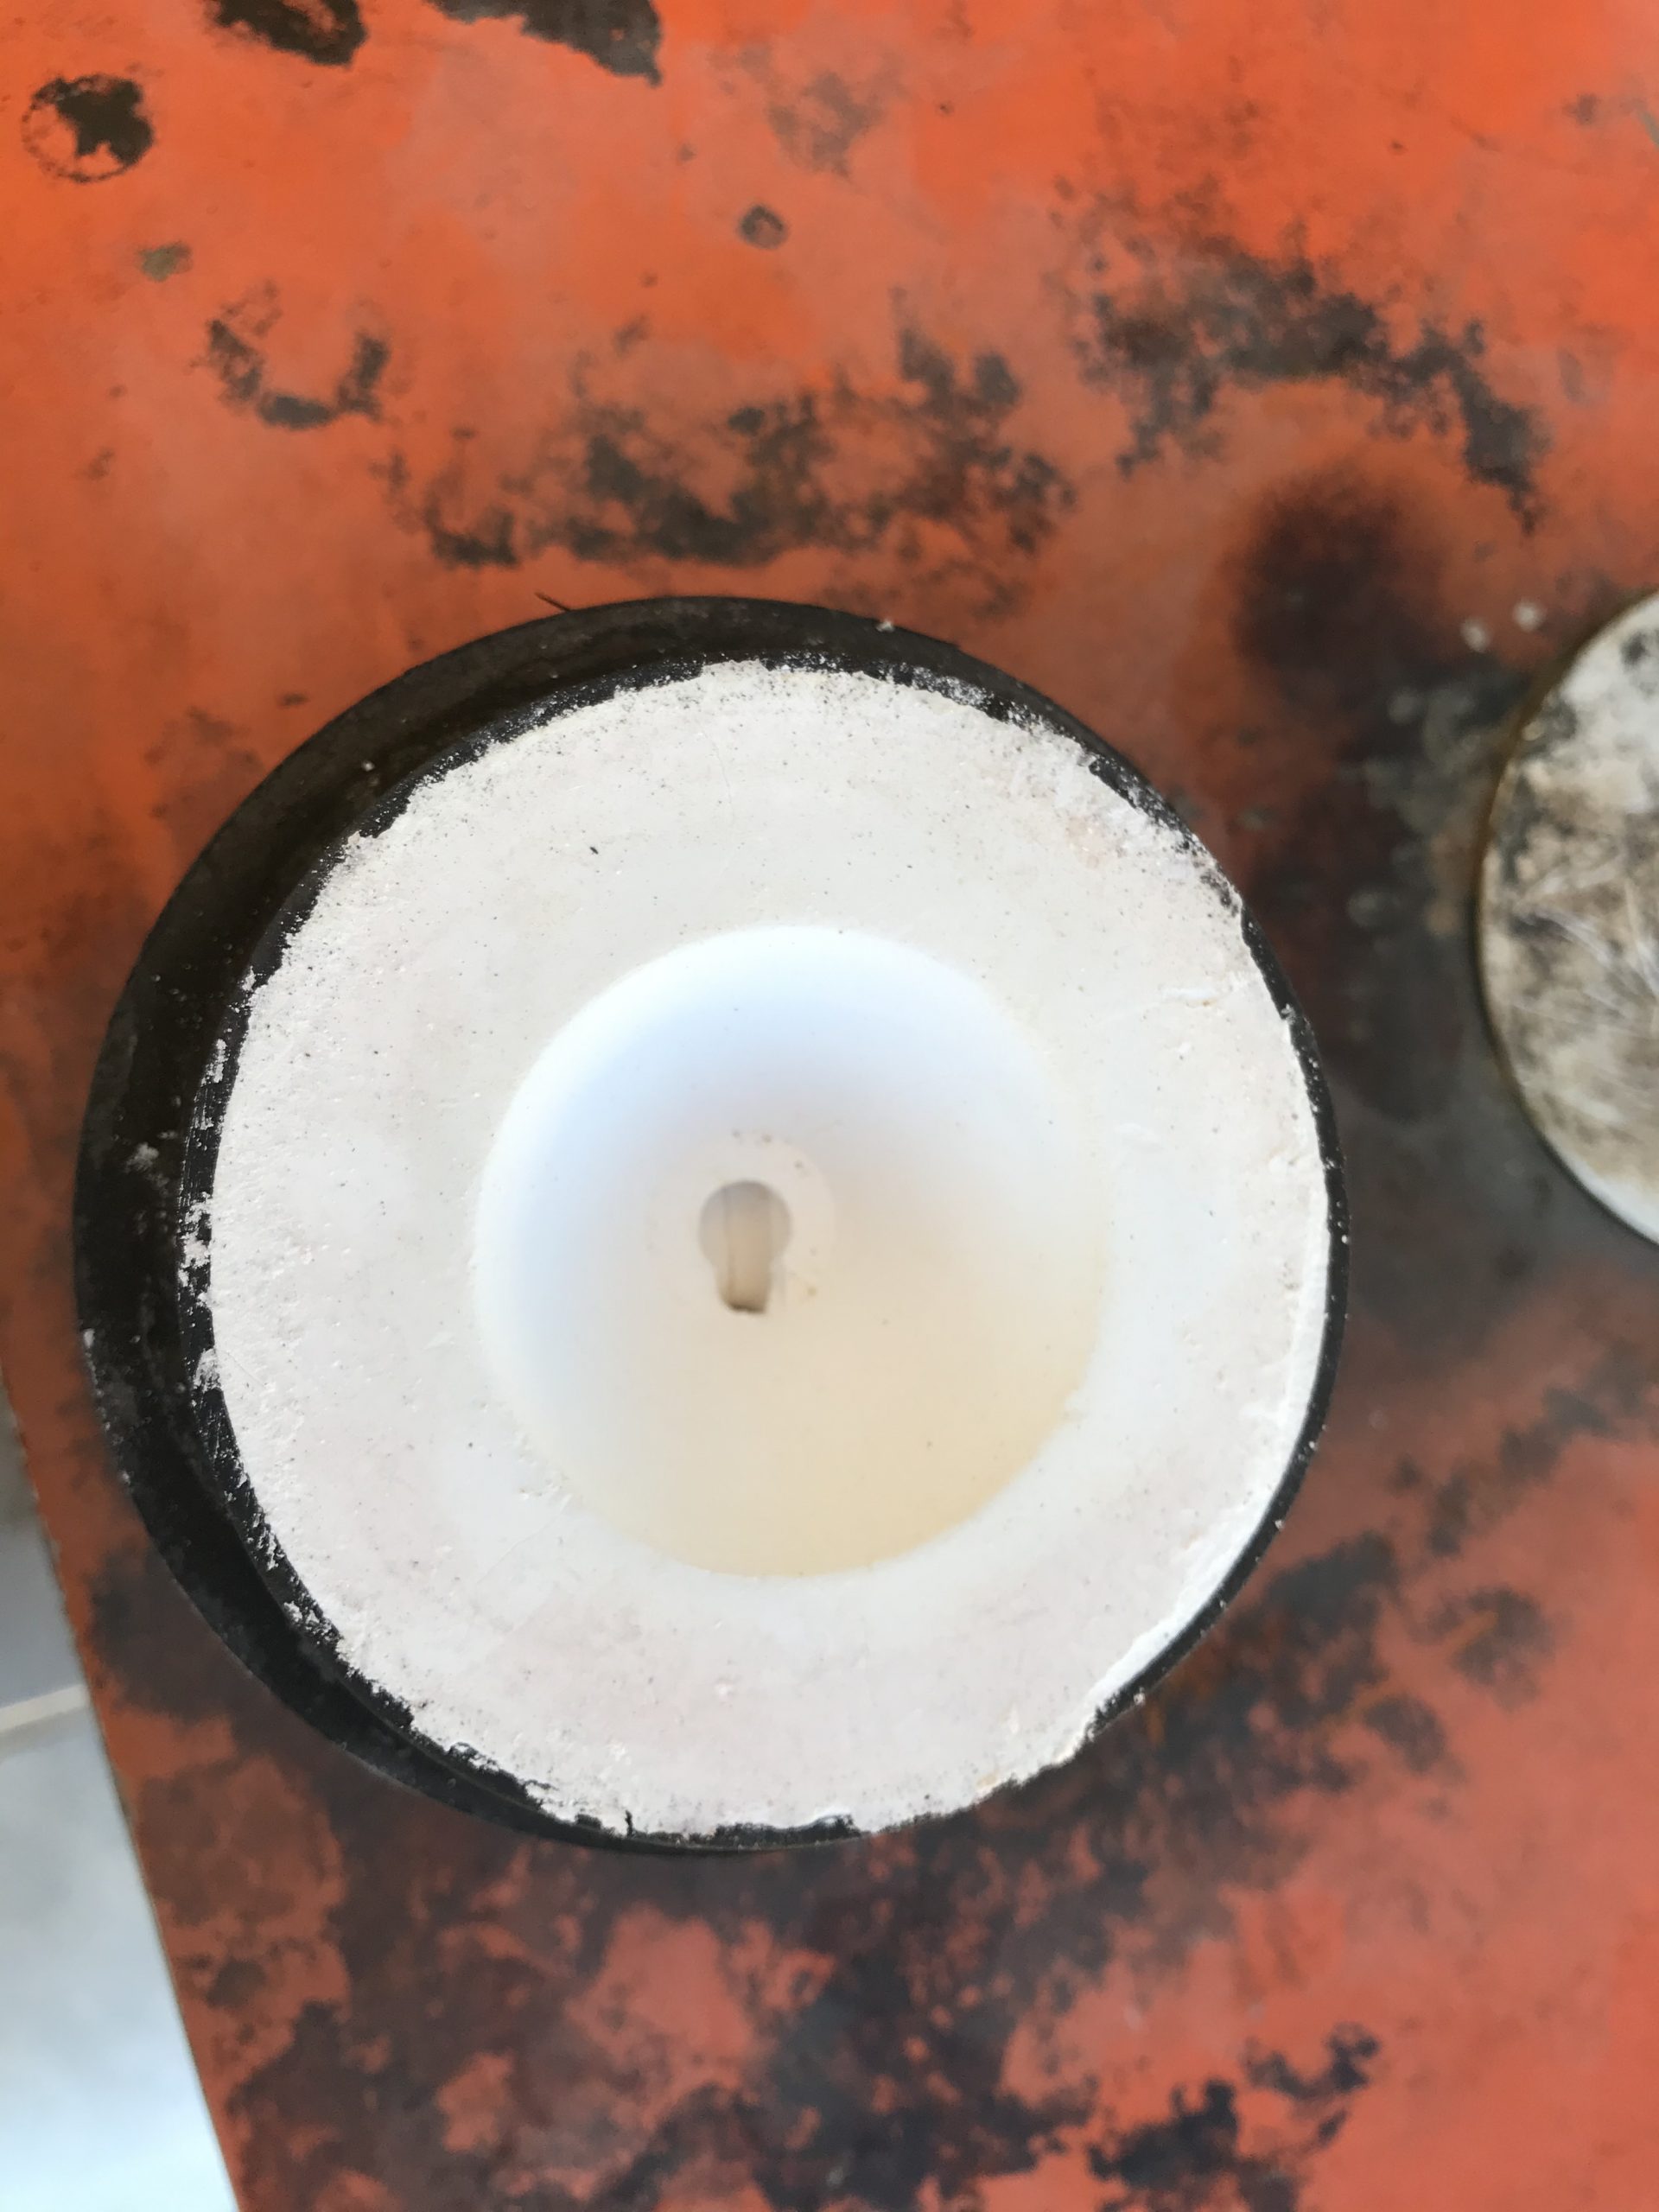
Having everything we needed, we stuck the printed rings to the sprew and poured the investment.

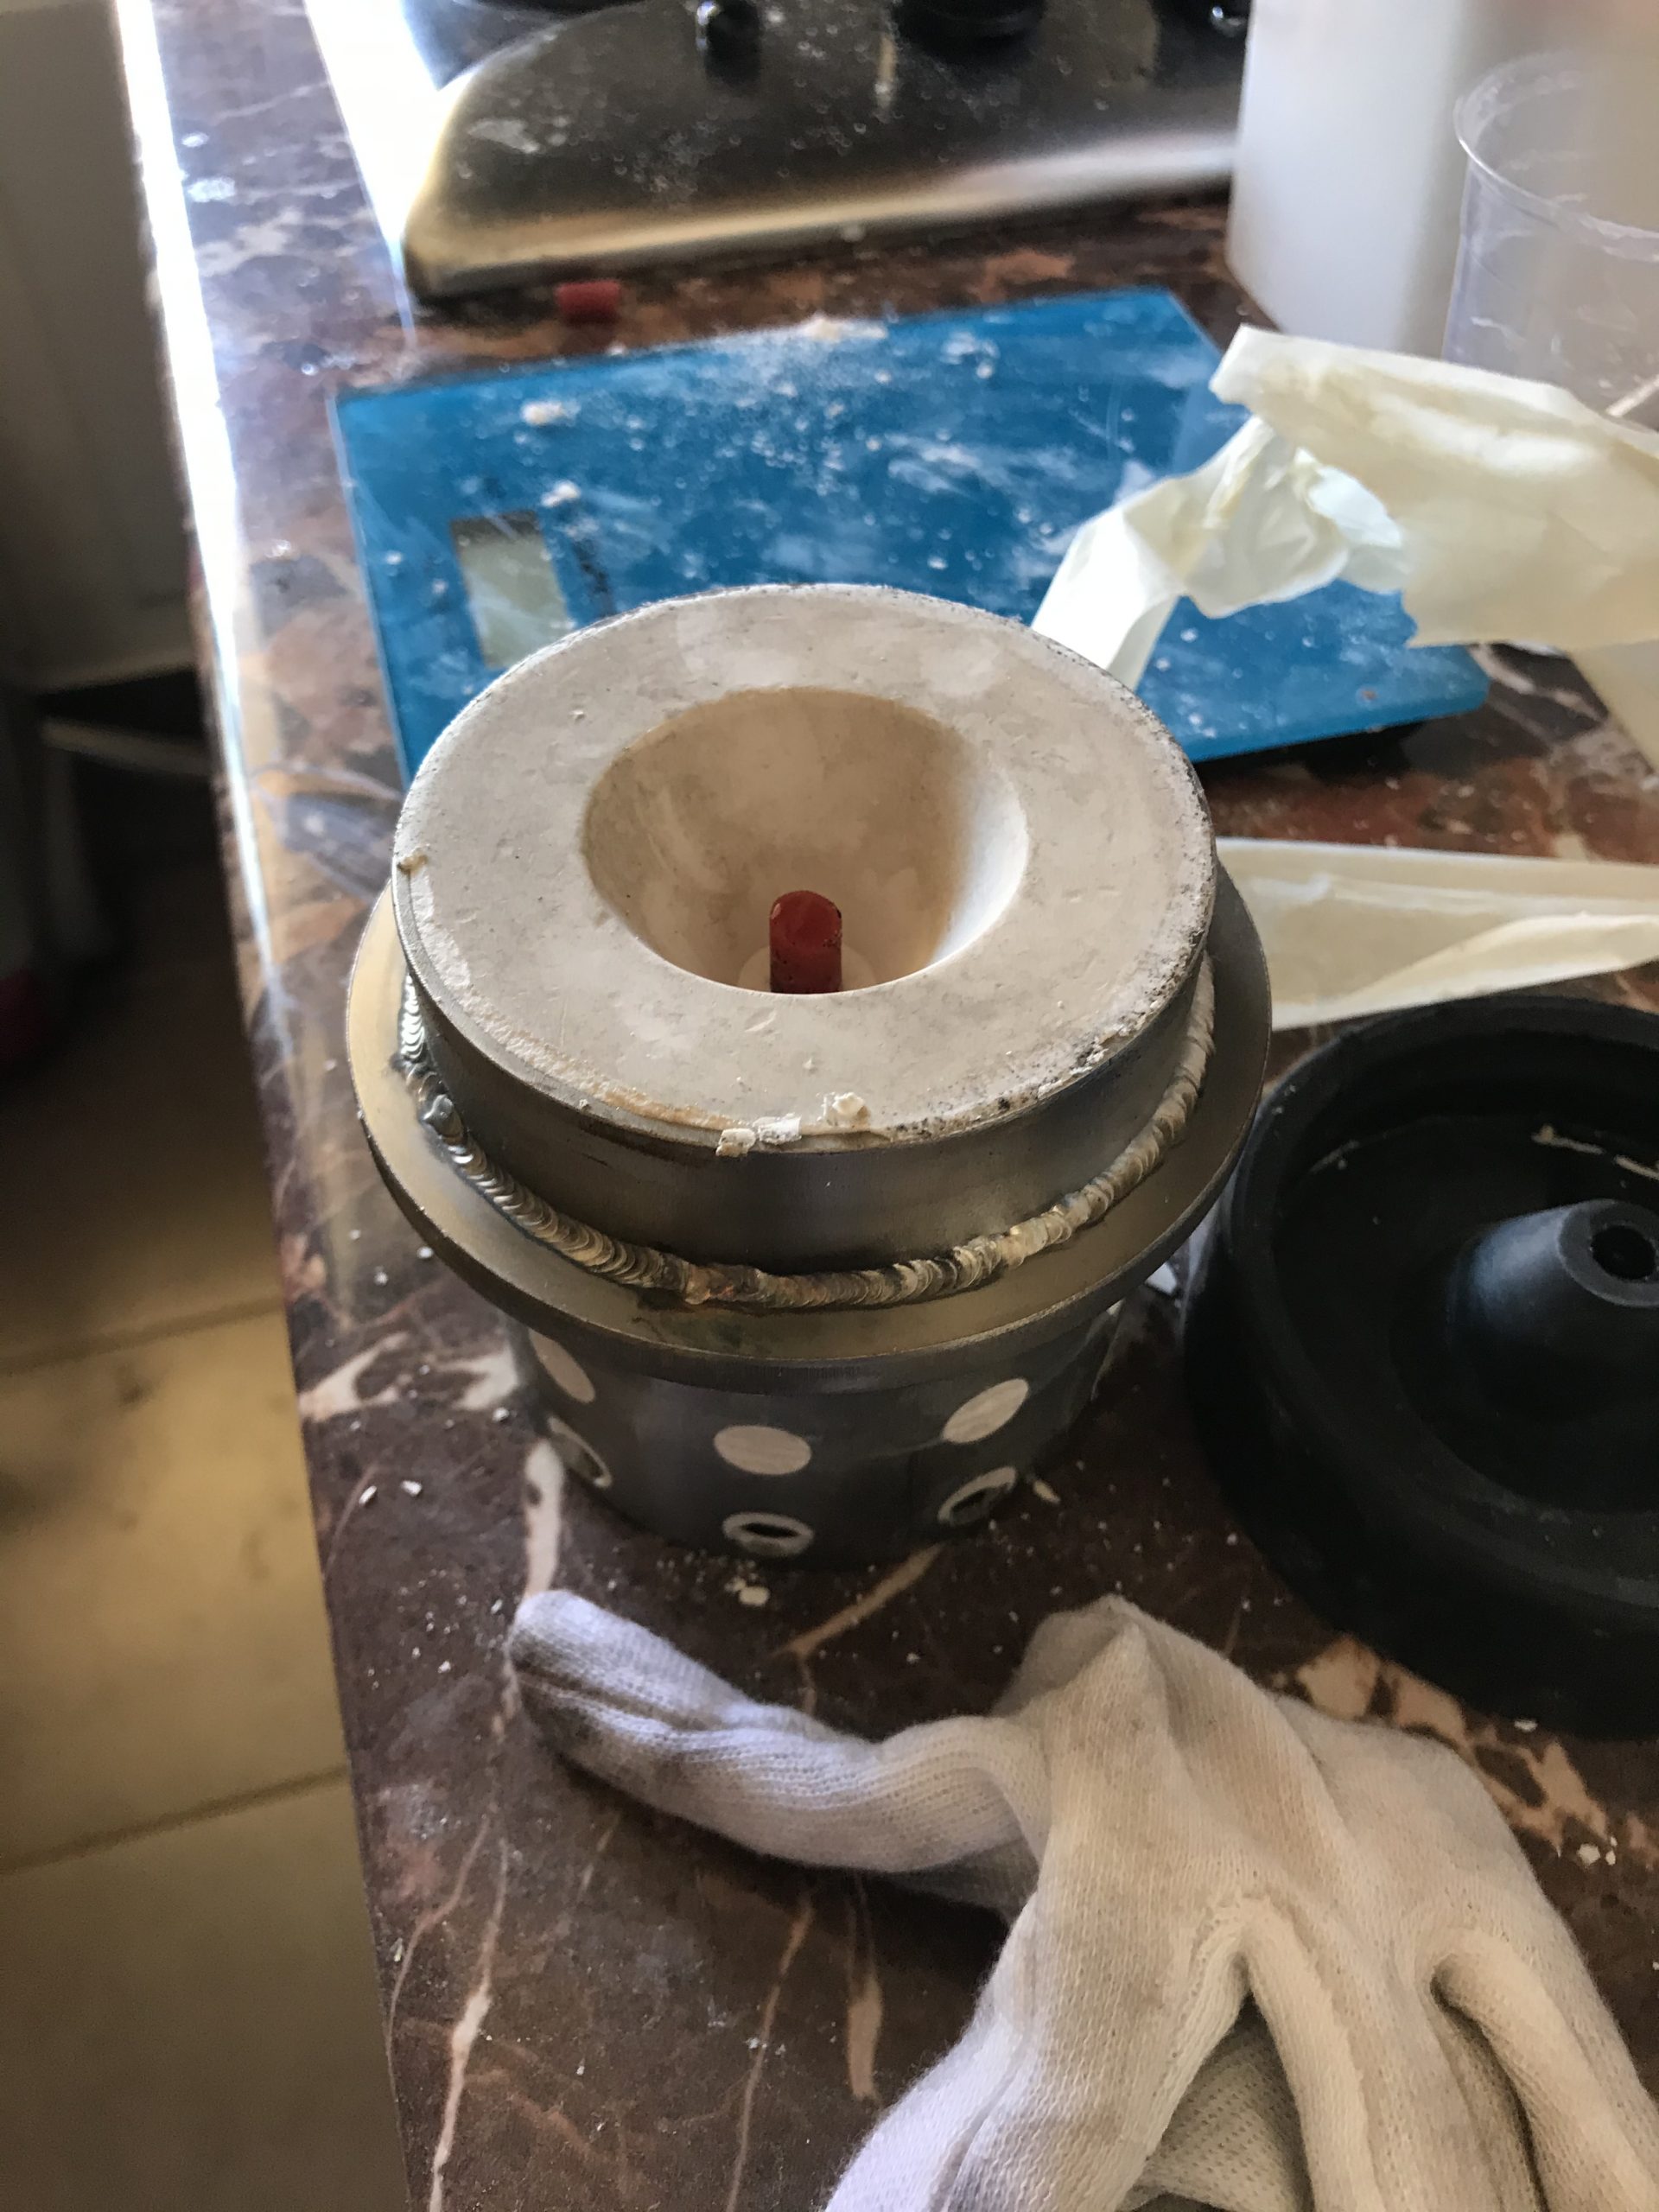
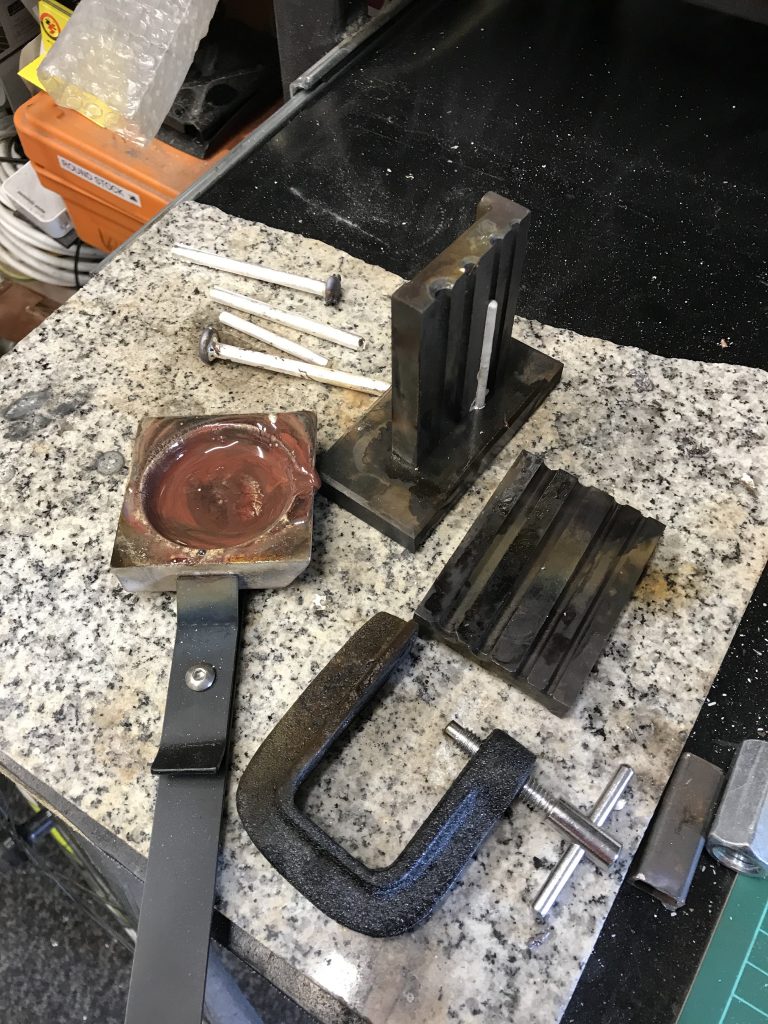
Act 3. The burnout
Burnout is a terrible thing, but not in this case. With the flask in the oven, we tried to keep to the resin manufacturers’ burnout temperature chart, which said that first you need a 6 hour 150 C stage, then an 8 hour 780 C actual burnout stage, after which you cool down to 600C. Then you have a 2 hour window to pour the metal.
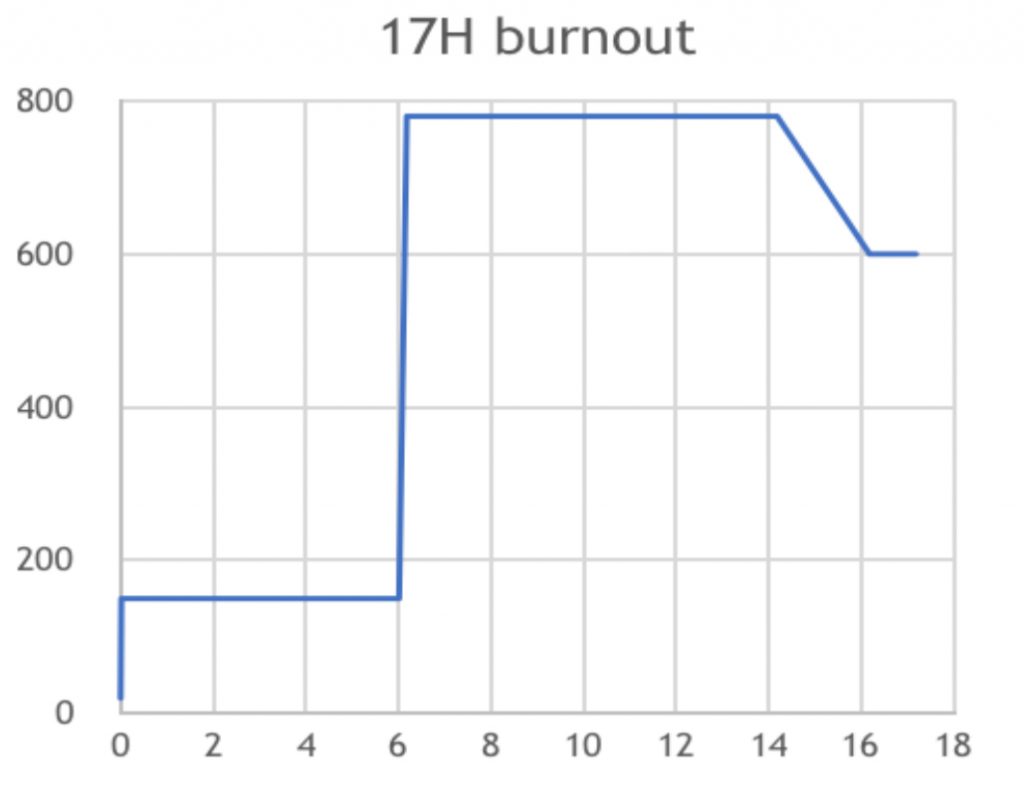
The truth is, by the time we reached the 14 hour mark, it was already 1 o’clock in the morning, so we just turned of the oven and let the mould cool down overnight. Our research revealed that some people allow their flasks to cool to room temperature and cast then, so we thought it would be okay.
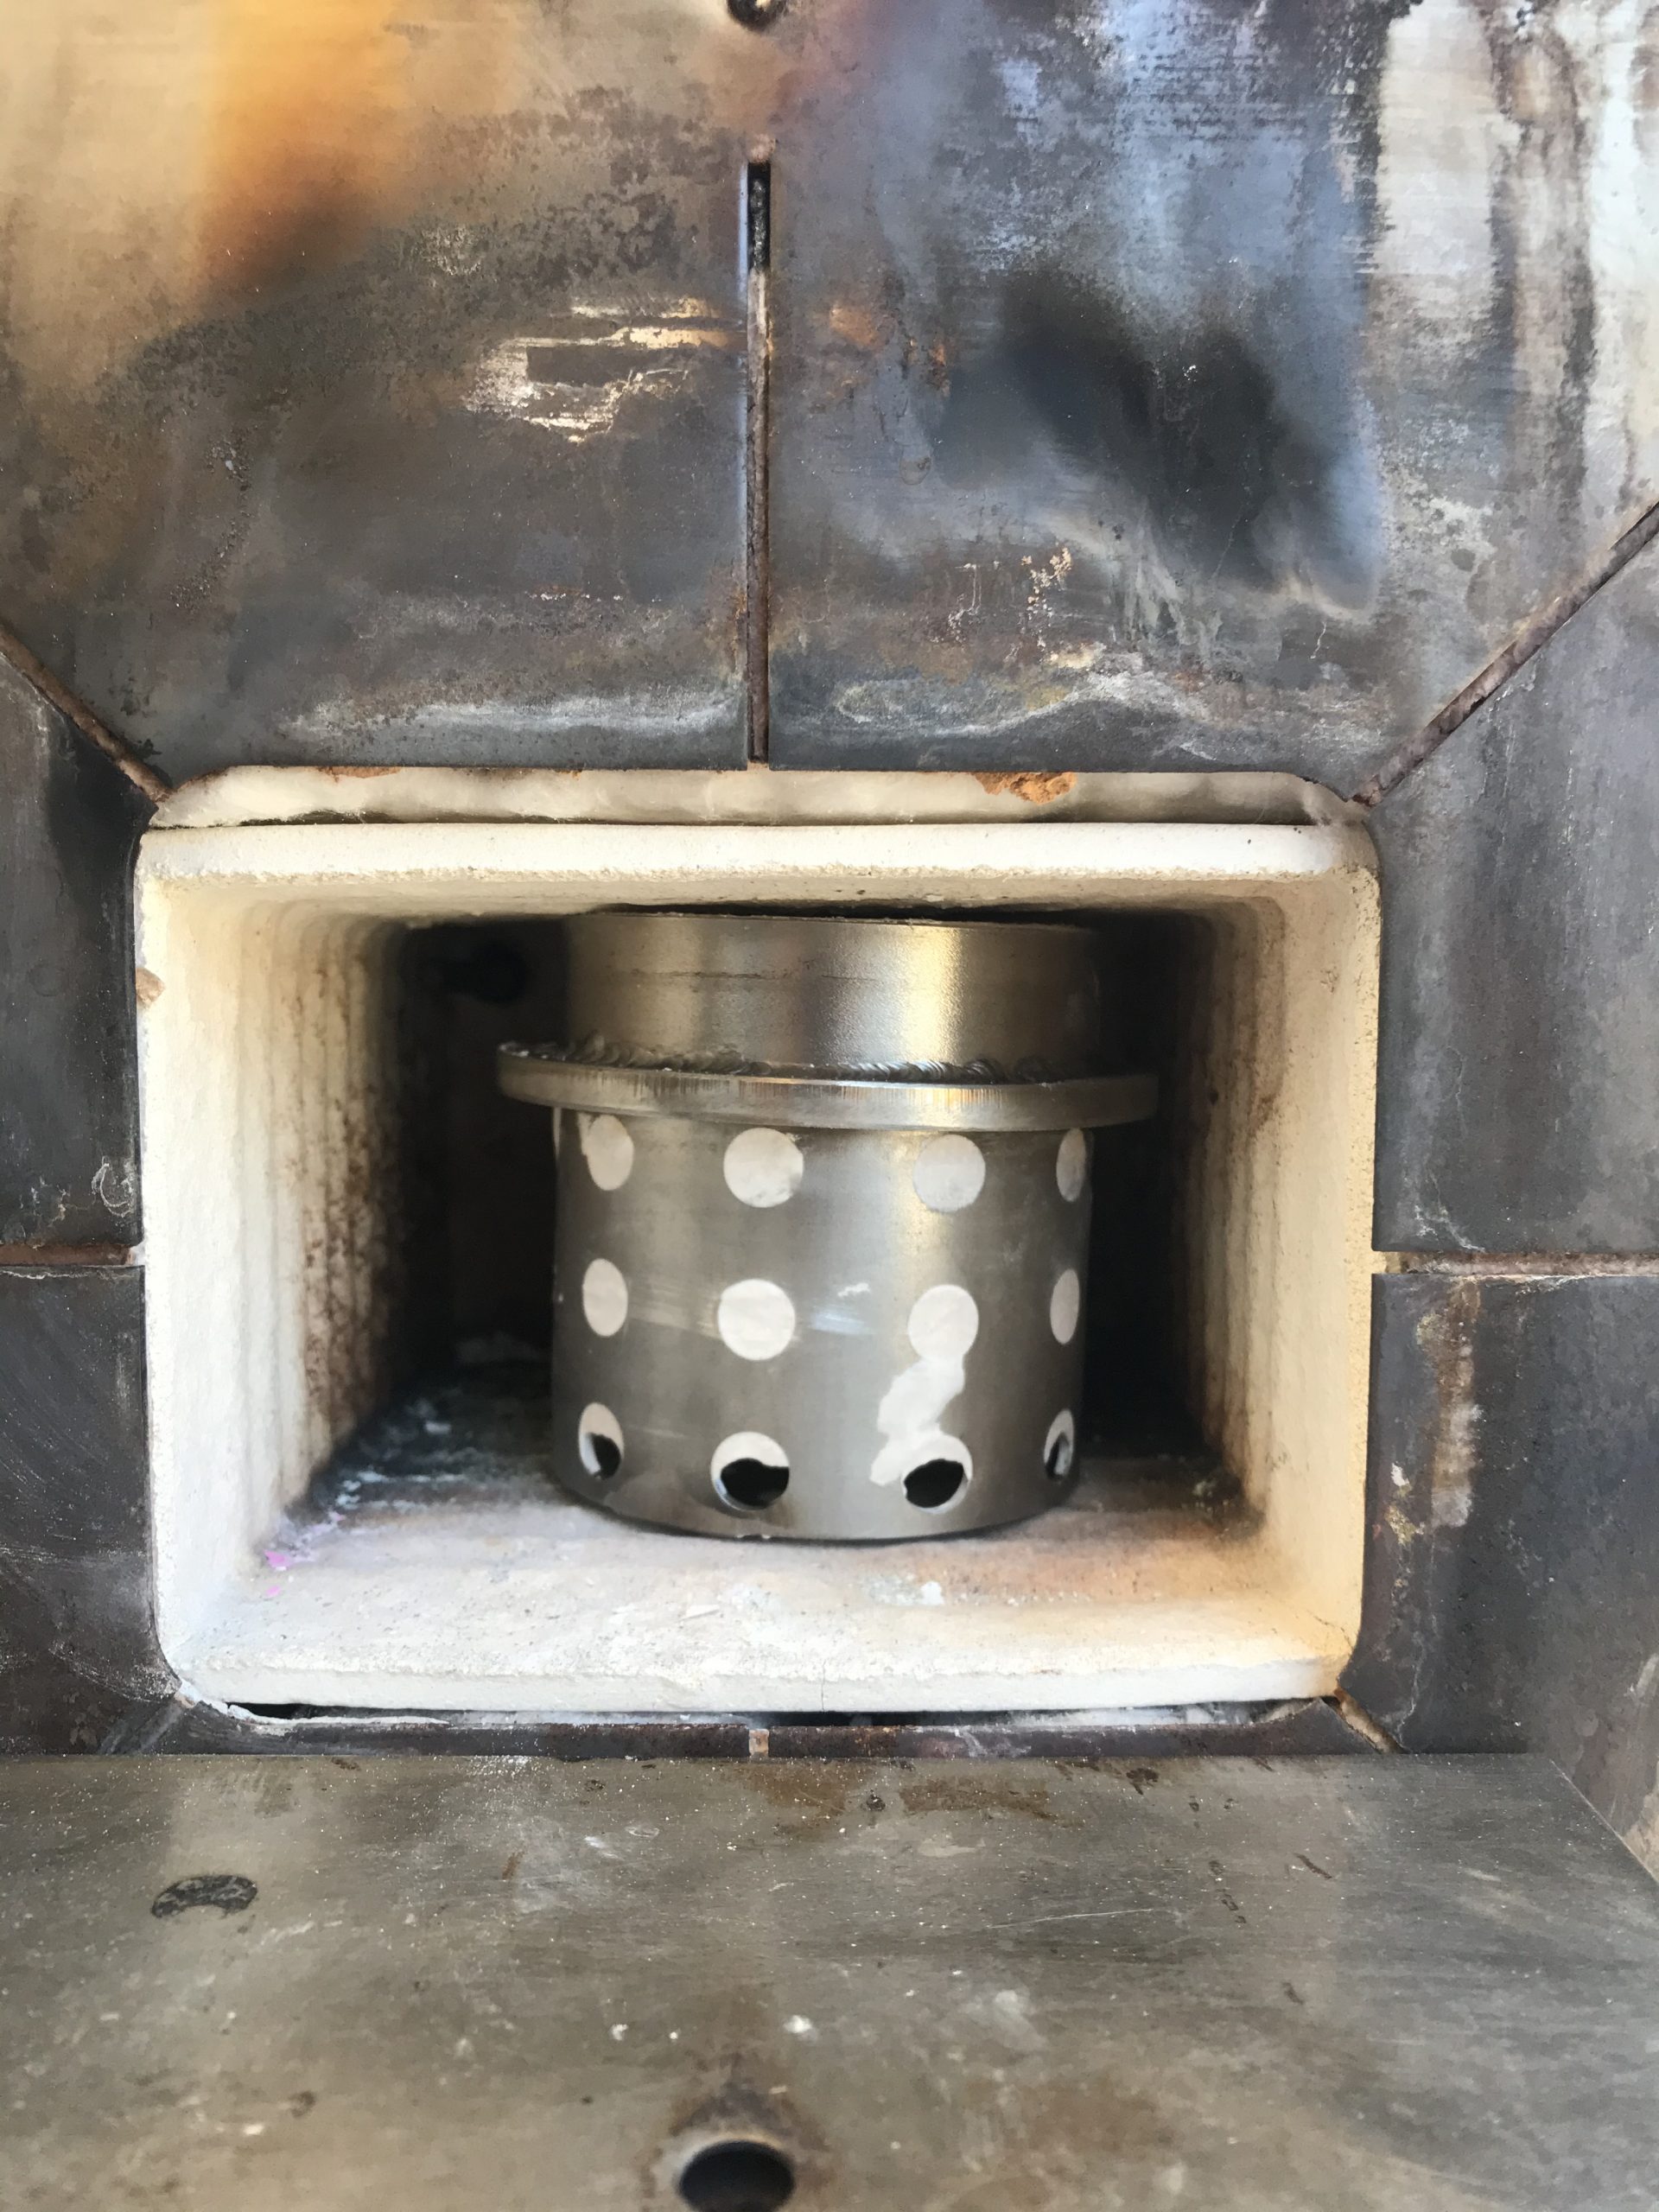
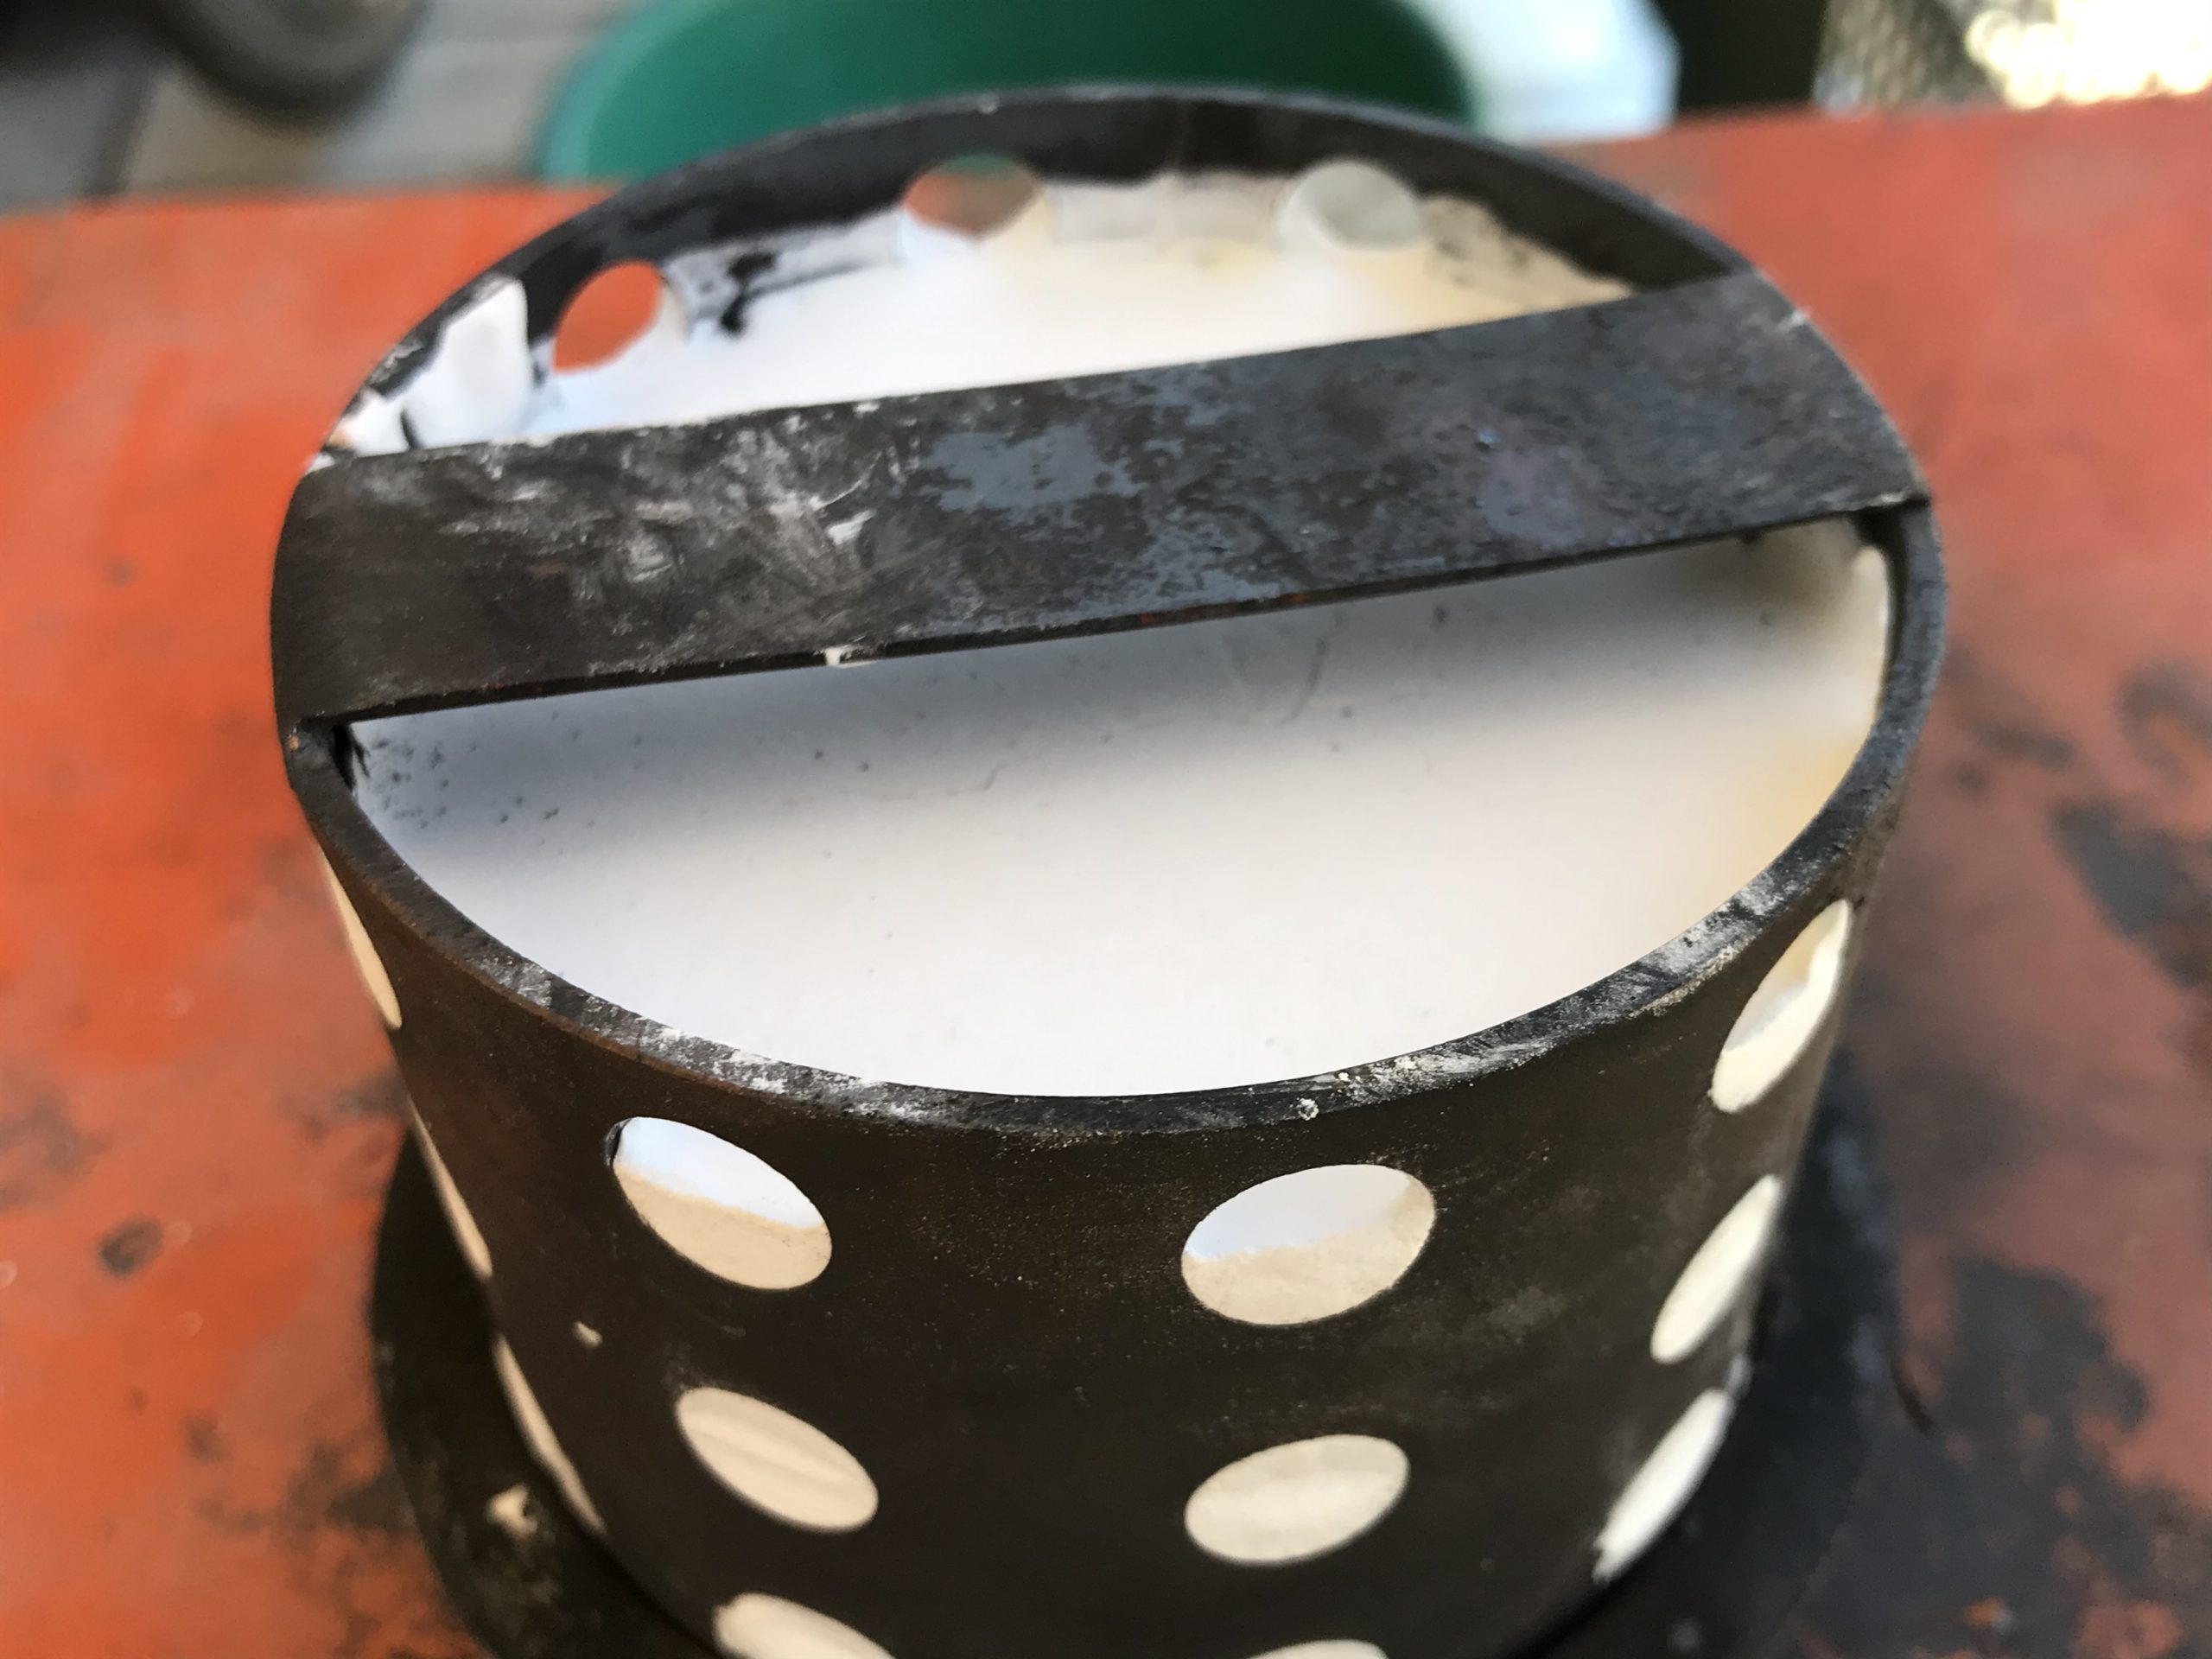
Because of the small gap between the flask and the top of the oven, the airflow is very restricted. This airflow is needed for the gases resulting from the burnout of the wax and print to escape. Some ovens have air pumps to aid airflow.
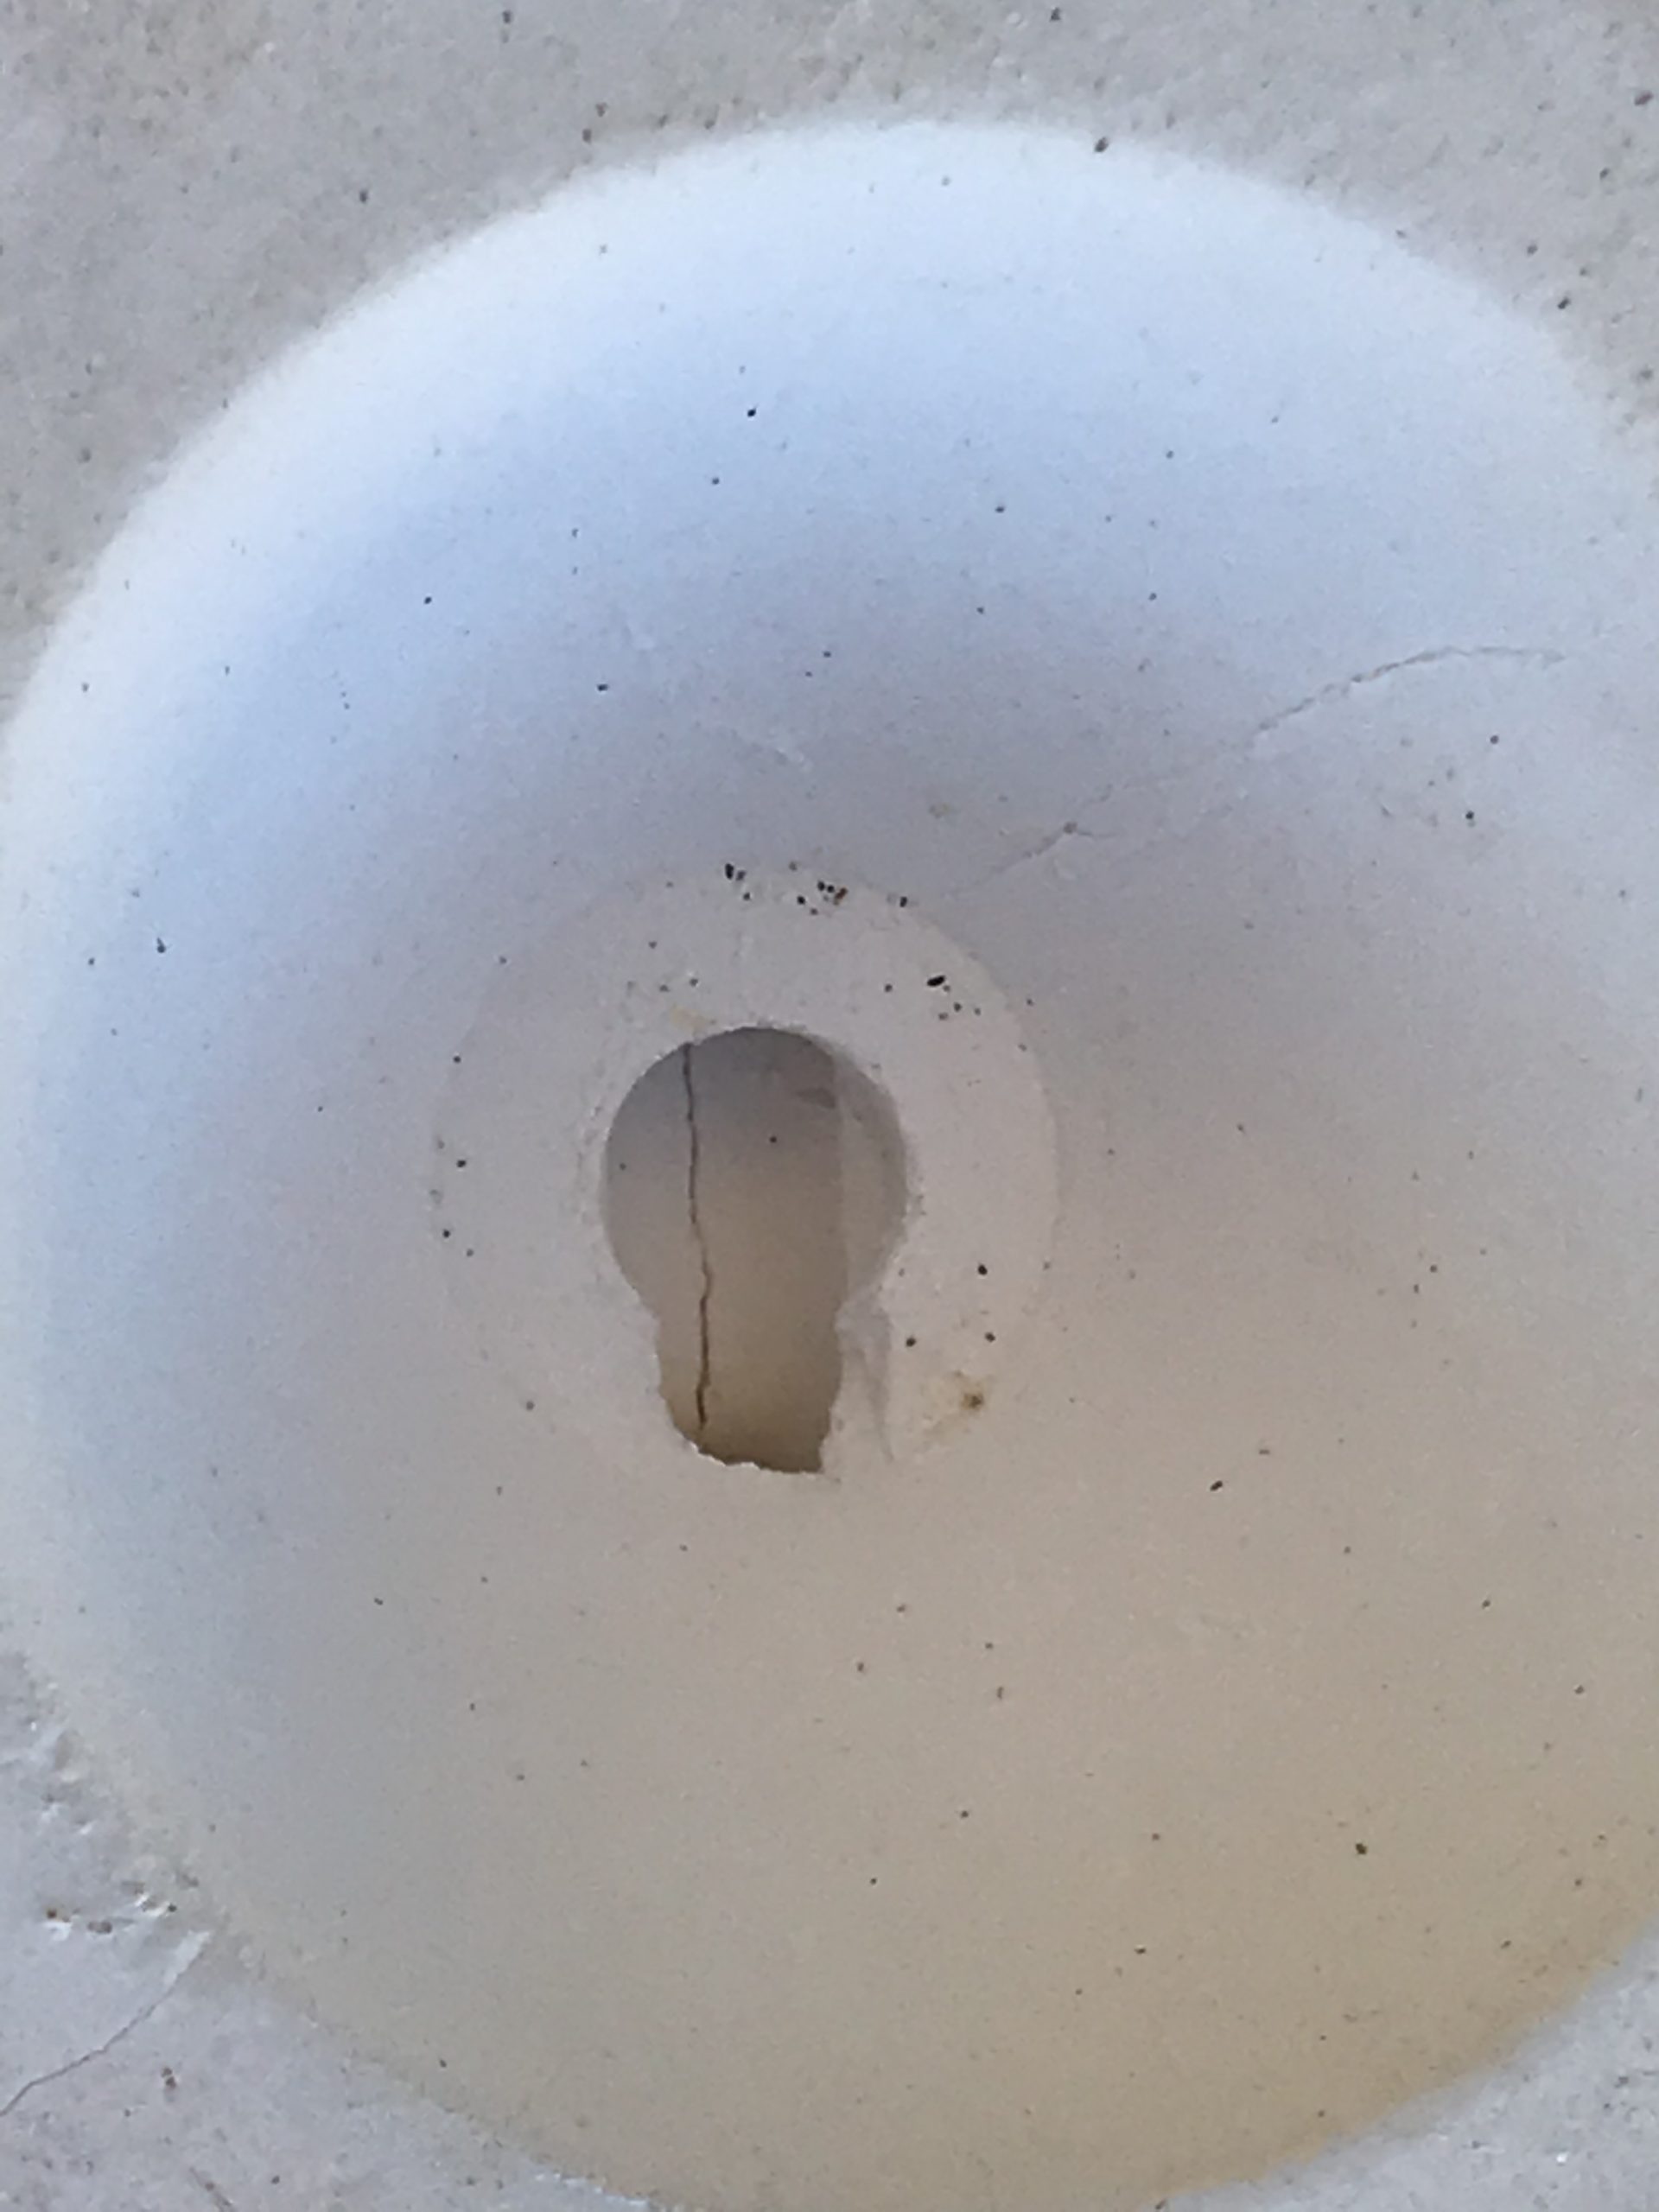
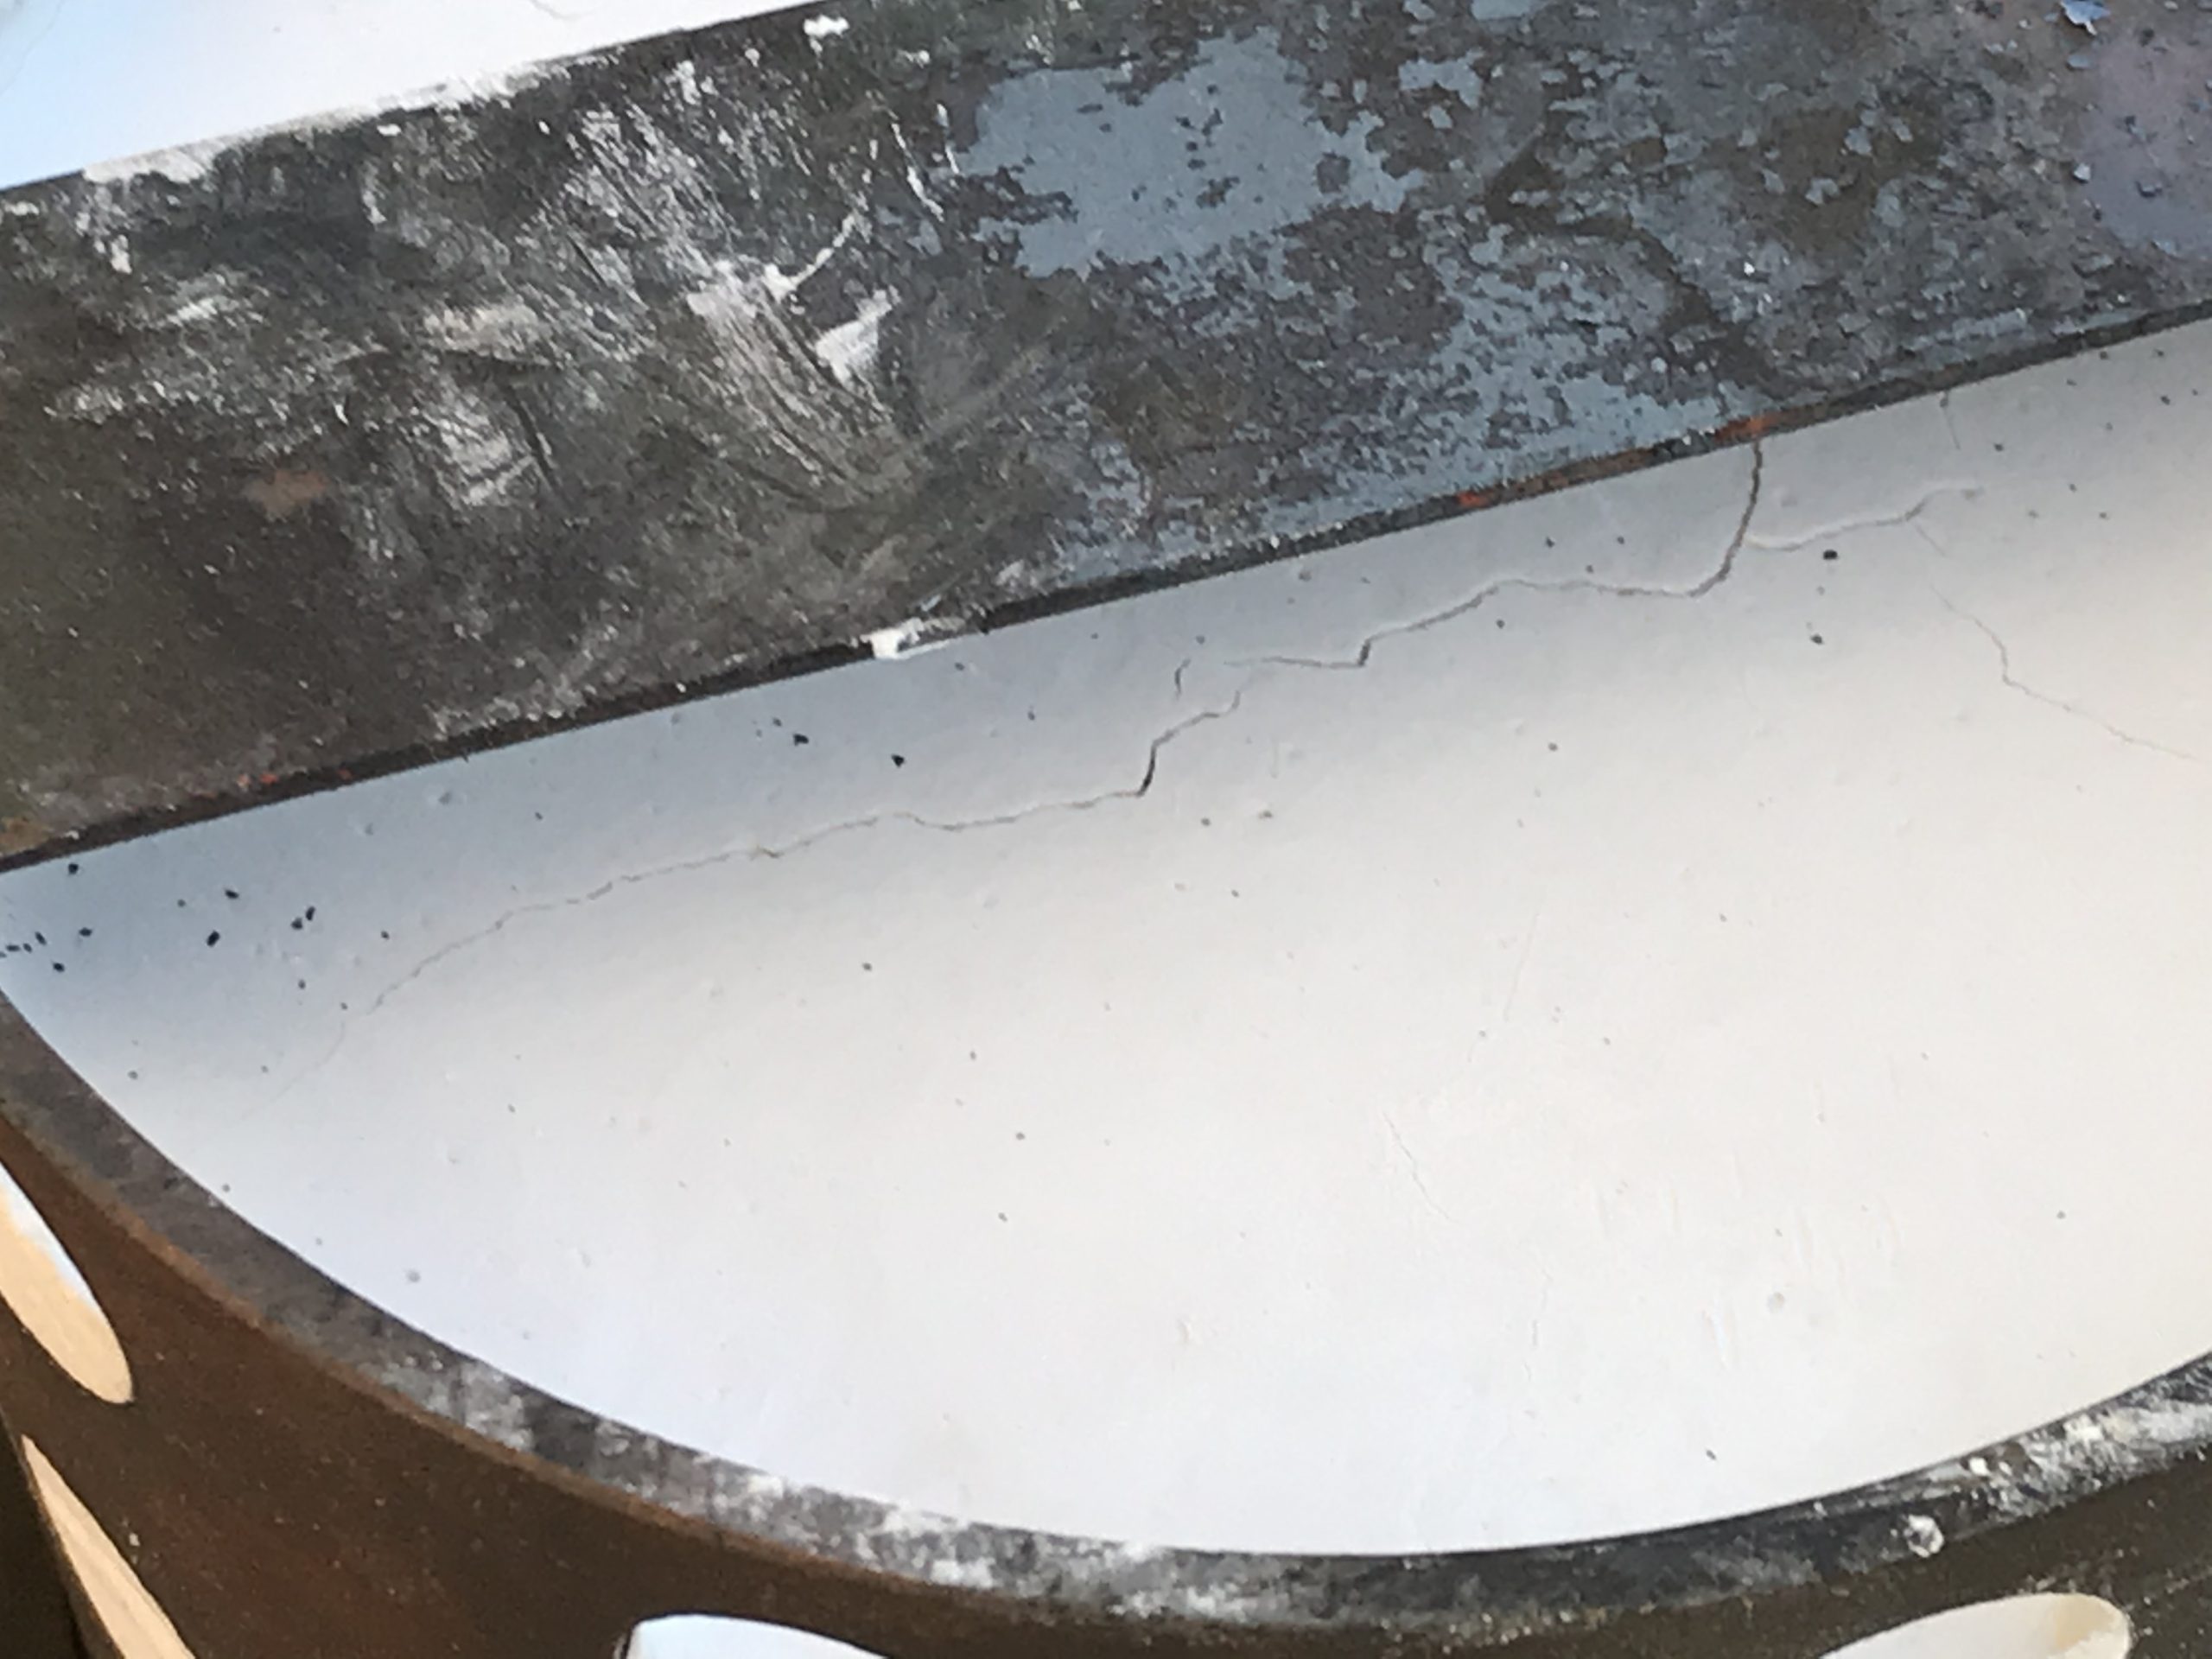
Another issue is the cracking of the investment. There are multiple possible causes, but I’m willing to bet that turning off the oven directly from 800C without slowly turning the temp down, was the cuplrit. Nevertheless we pushed forward and cast the silver anyway to complete the experiment. Mainly to find out whether all of the model burned out cleanly.
Act 4. Casting
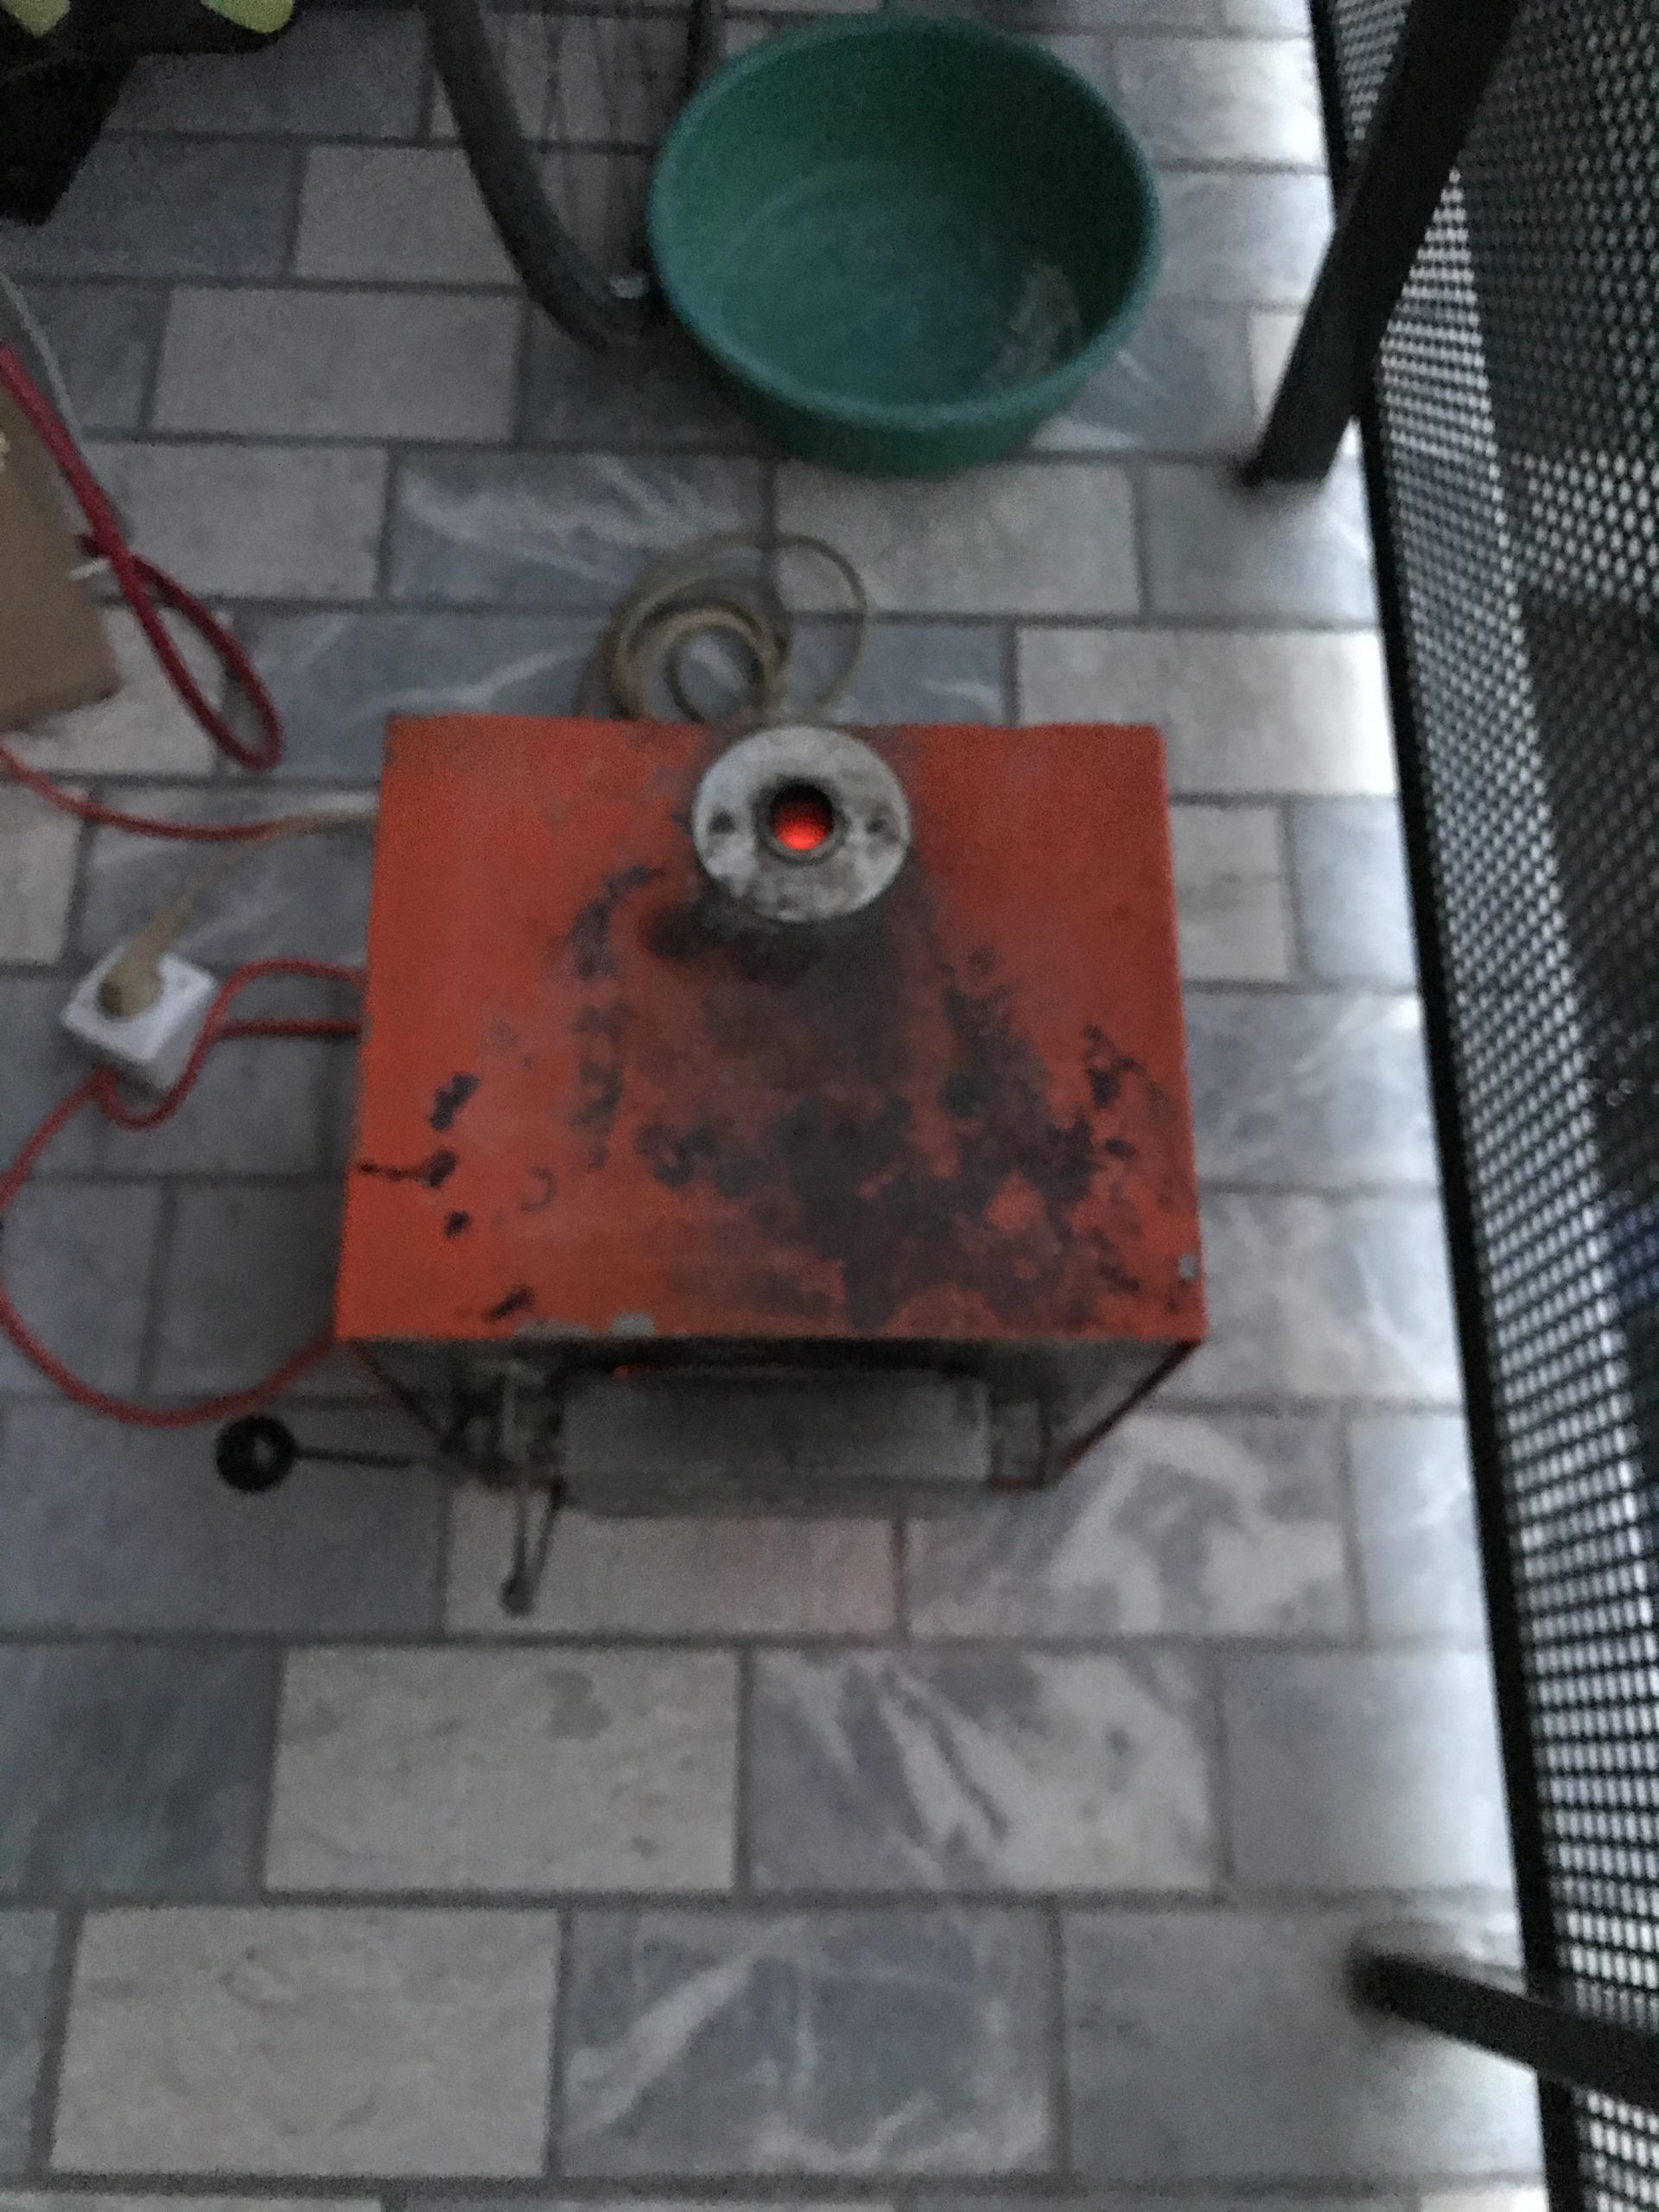
As we usually cast ingots for wire and sheet, we have a Sievert MAPP gas burner and a crucible which we used for the pour.
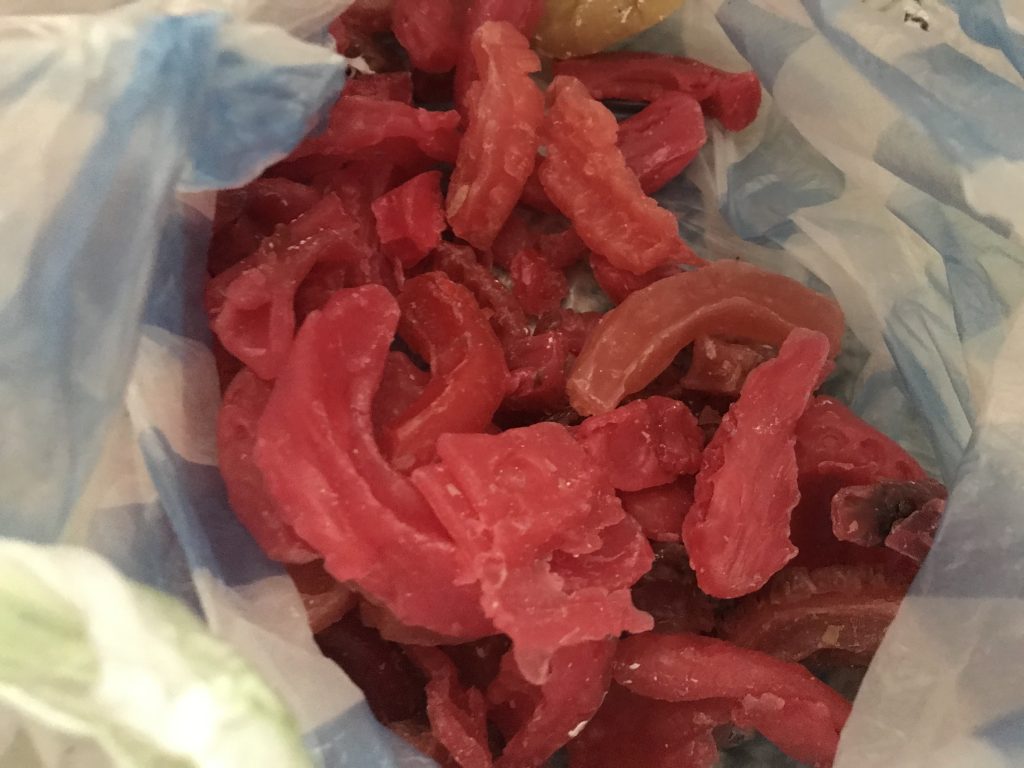
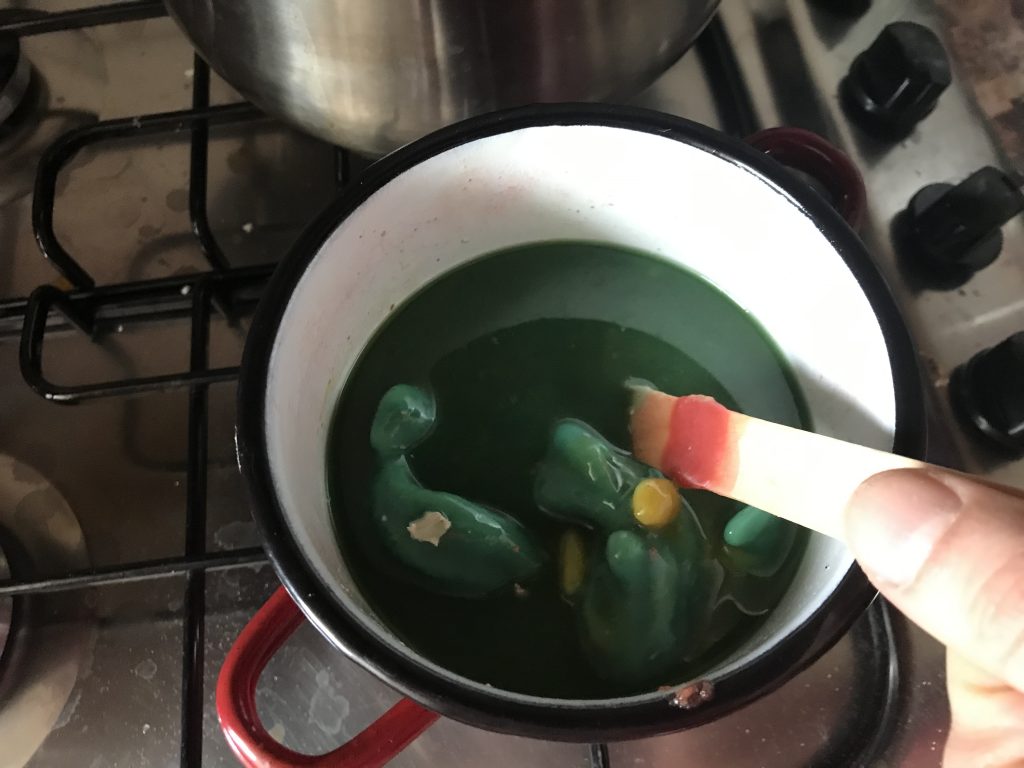
And here is the result.
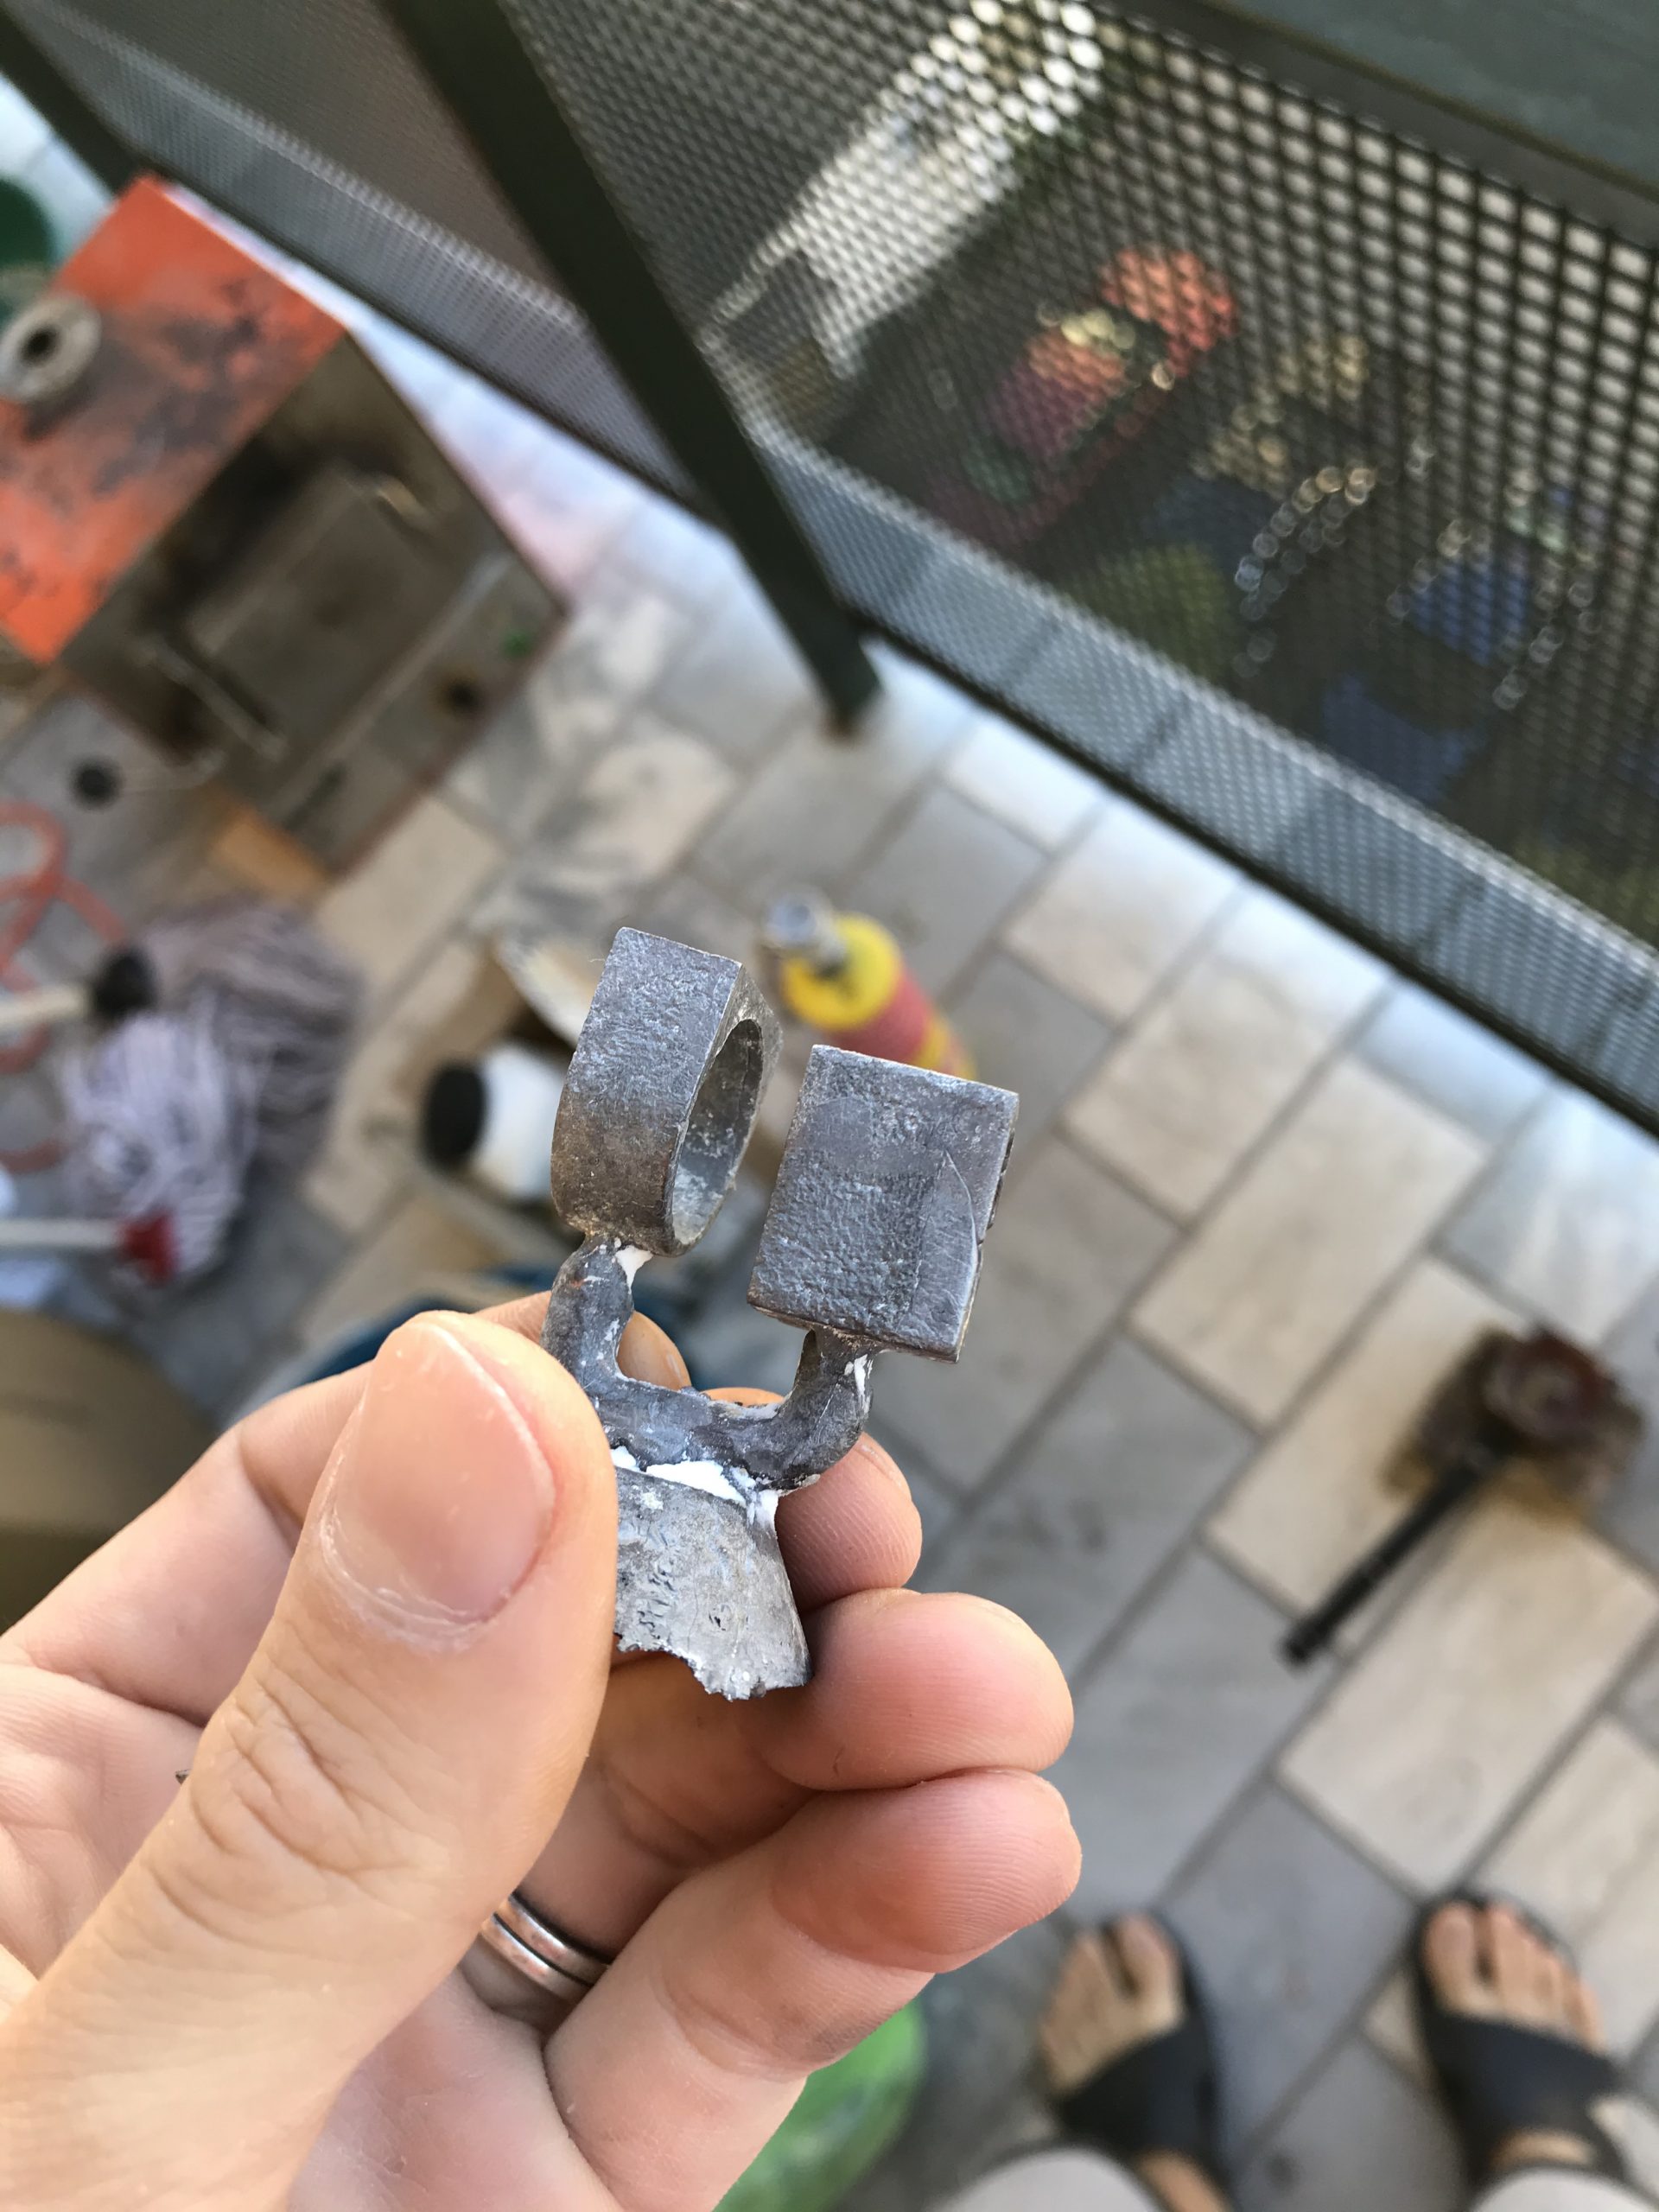

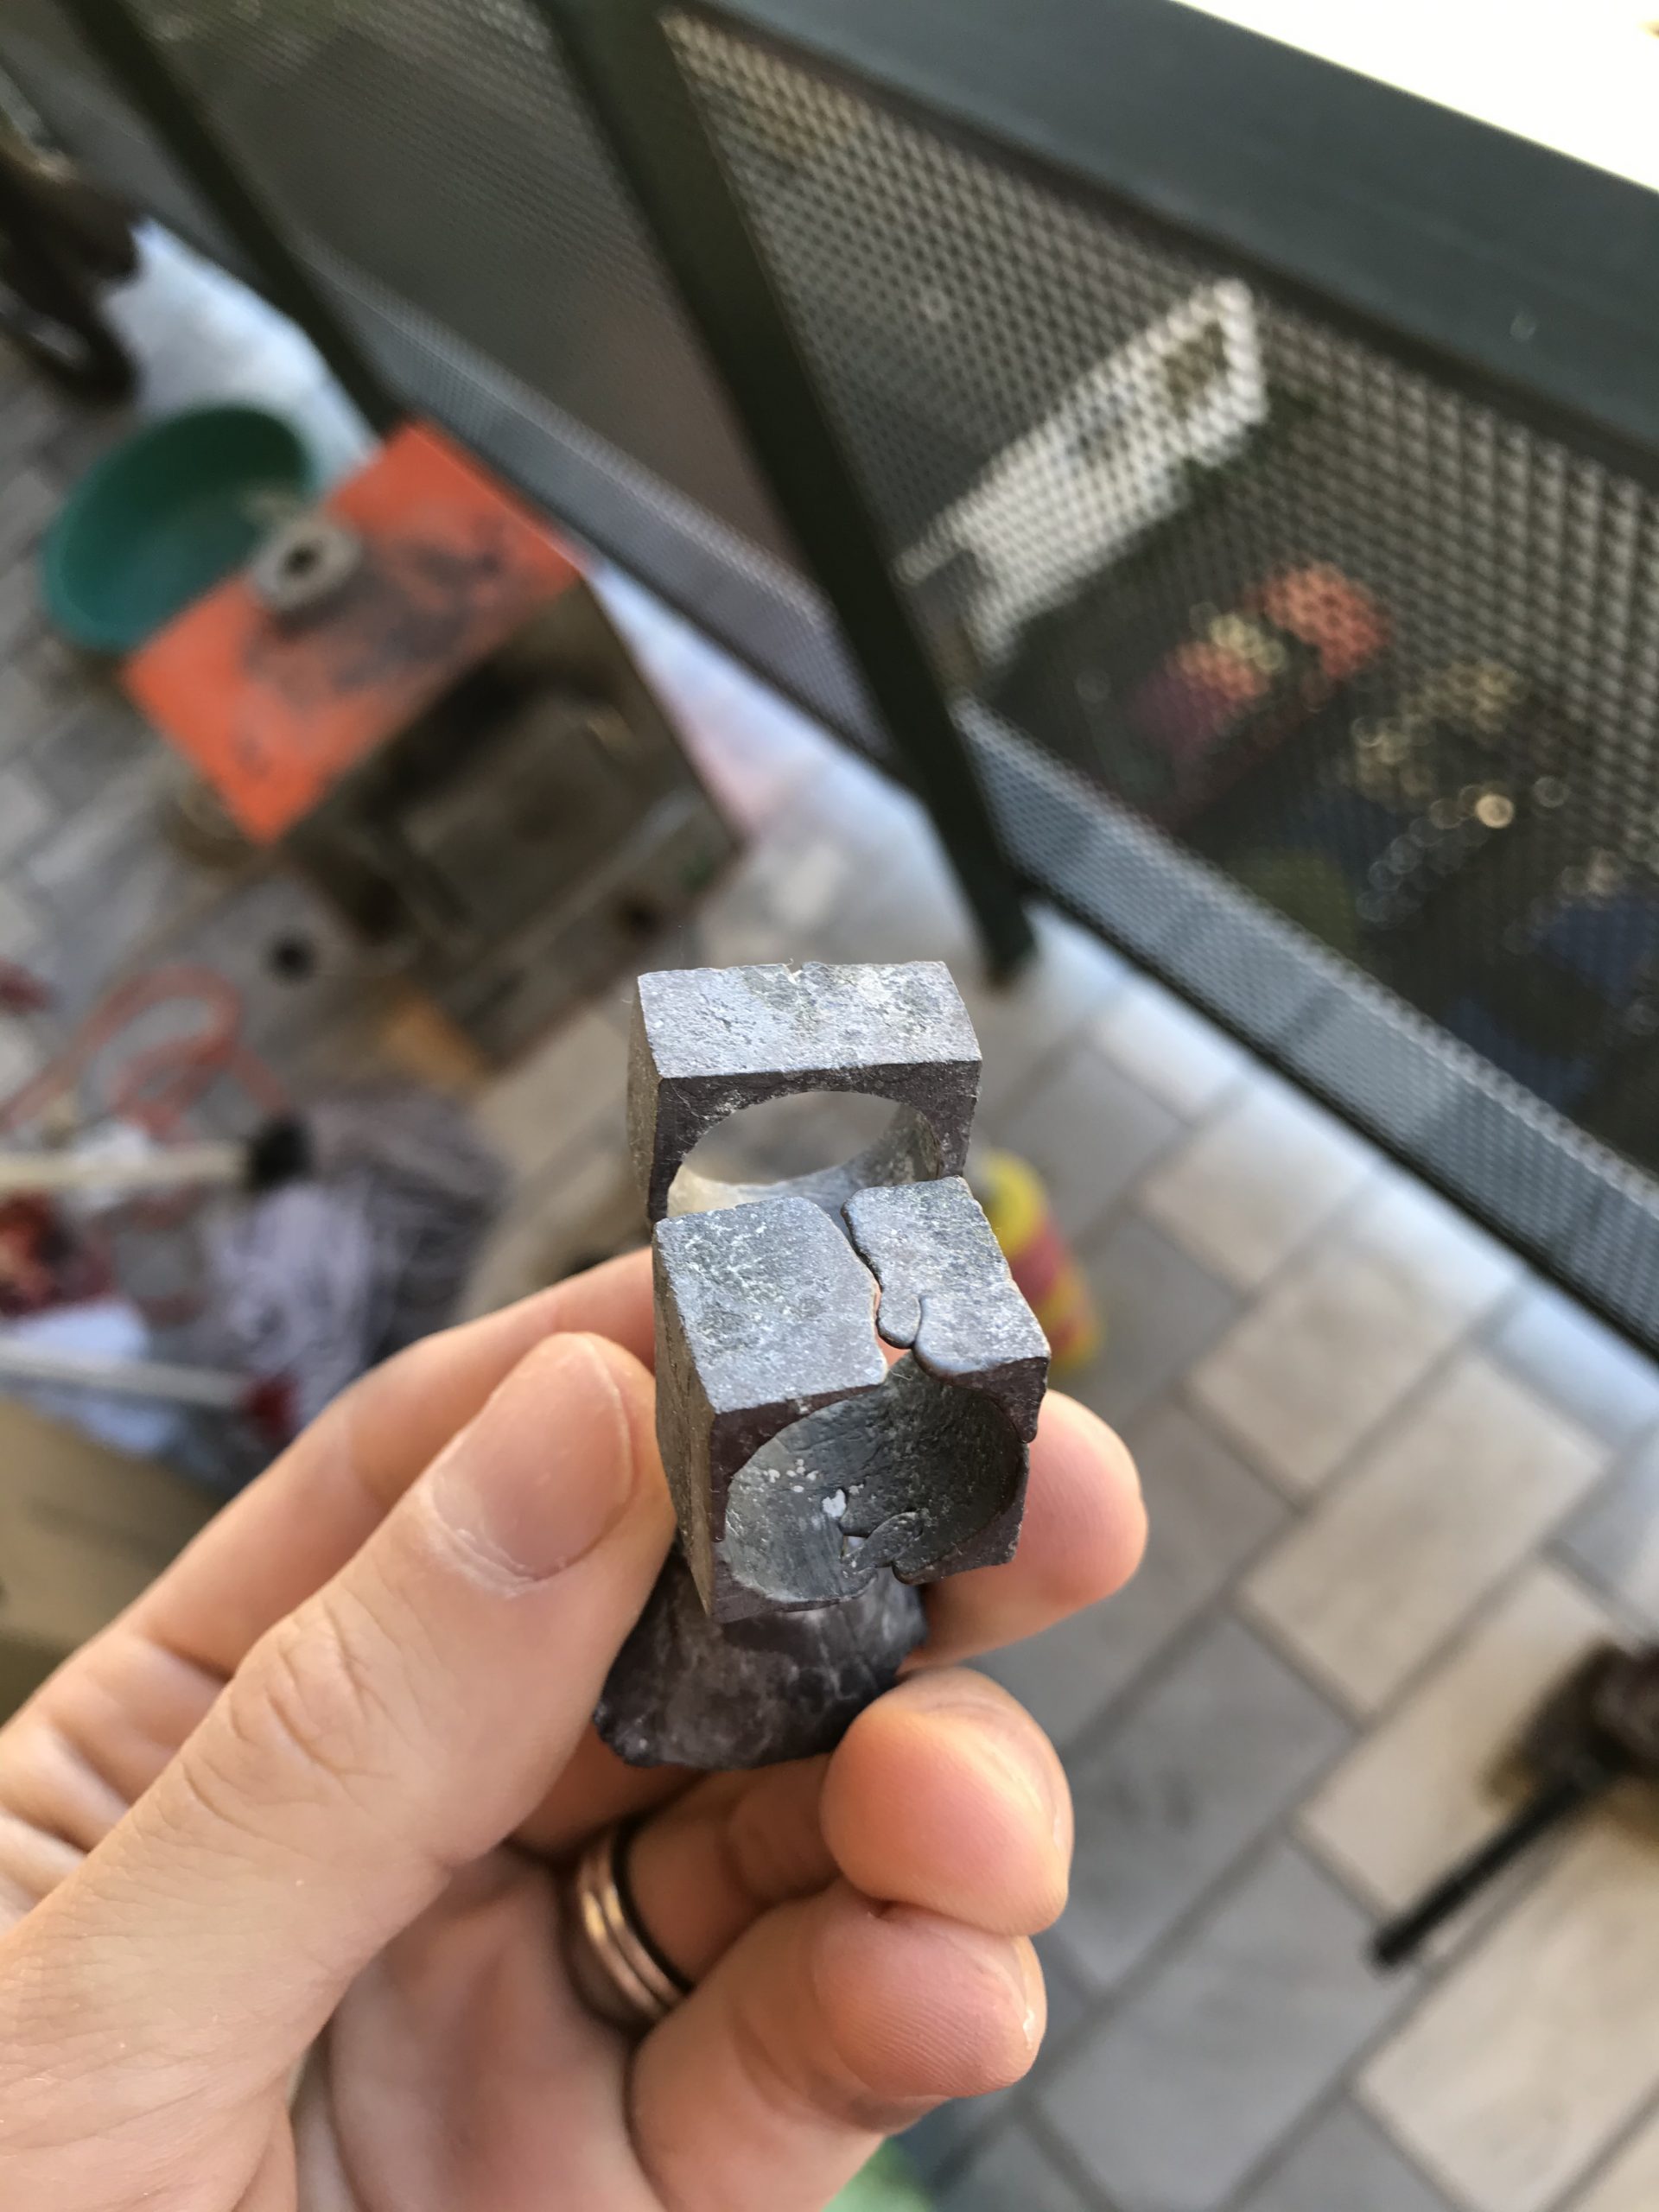
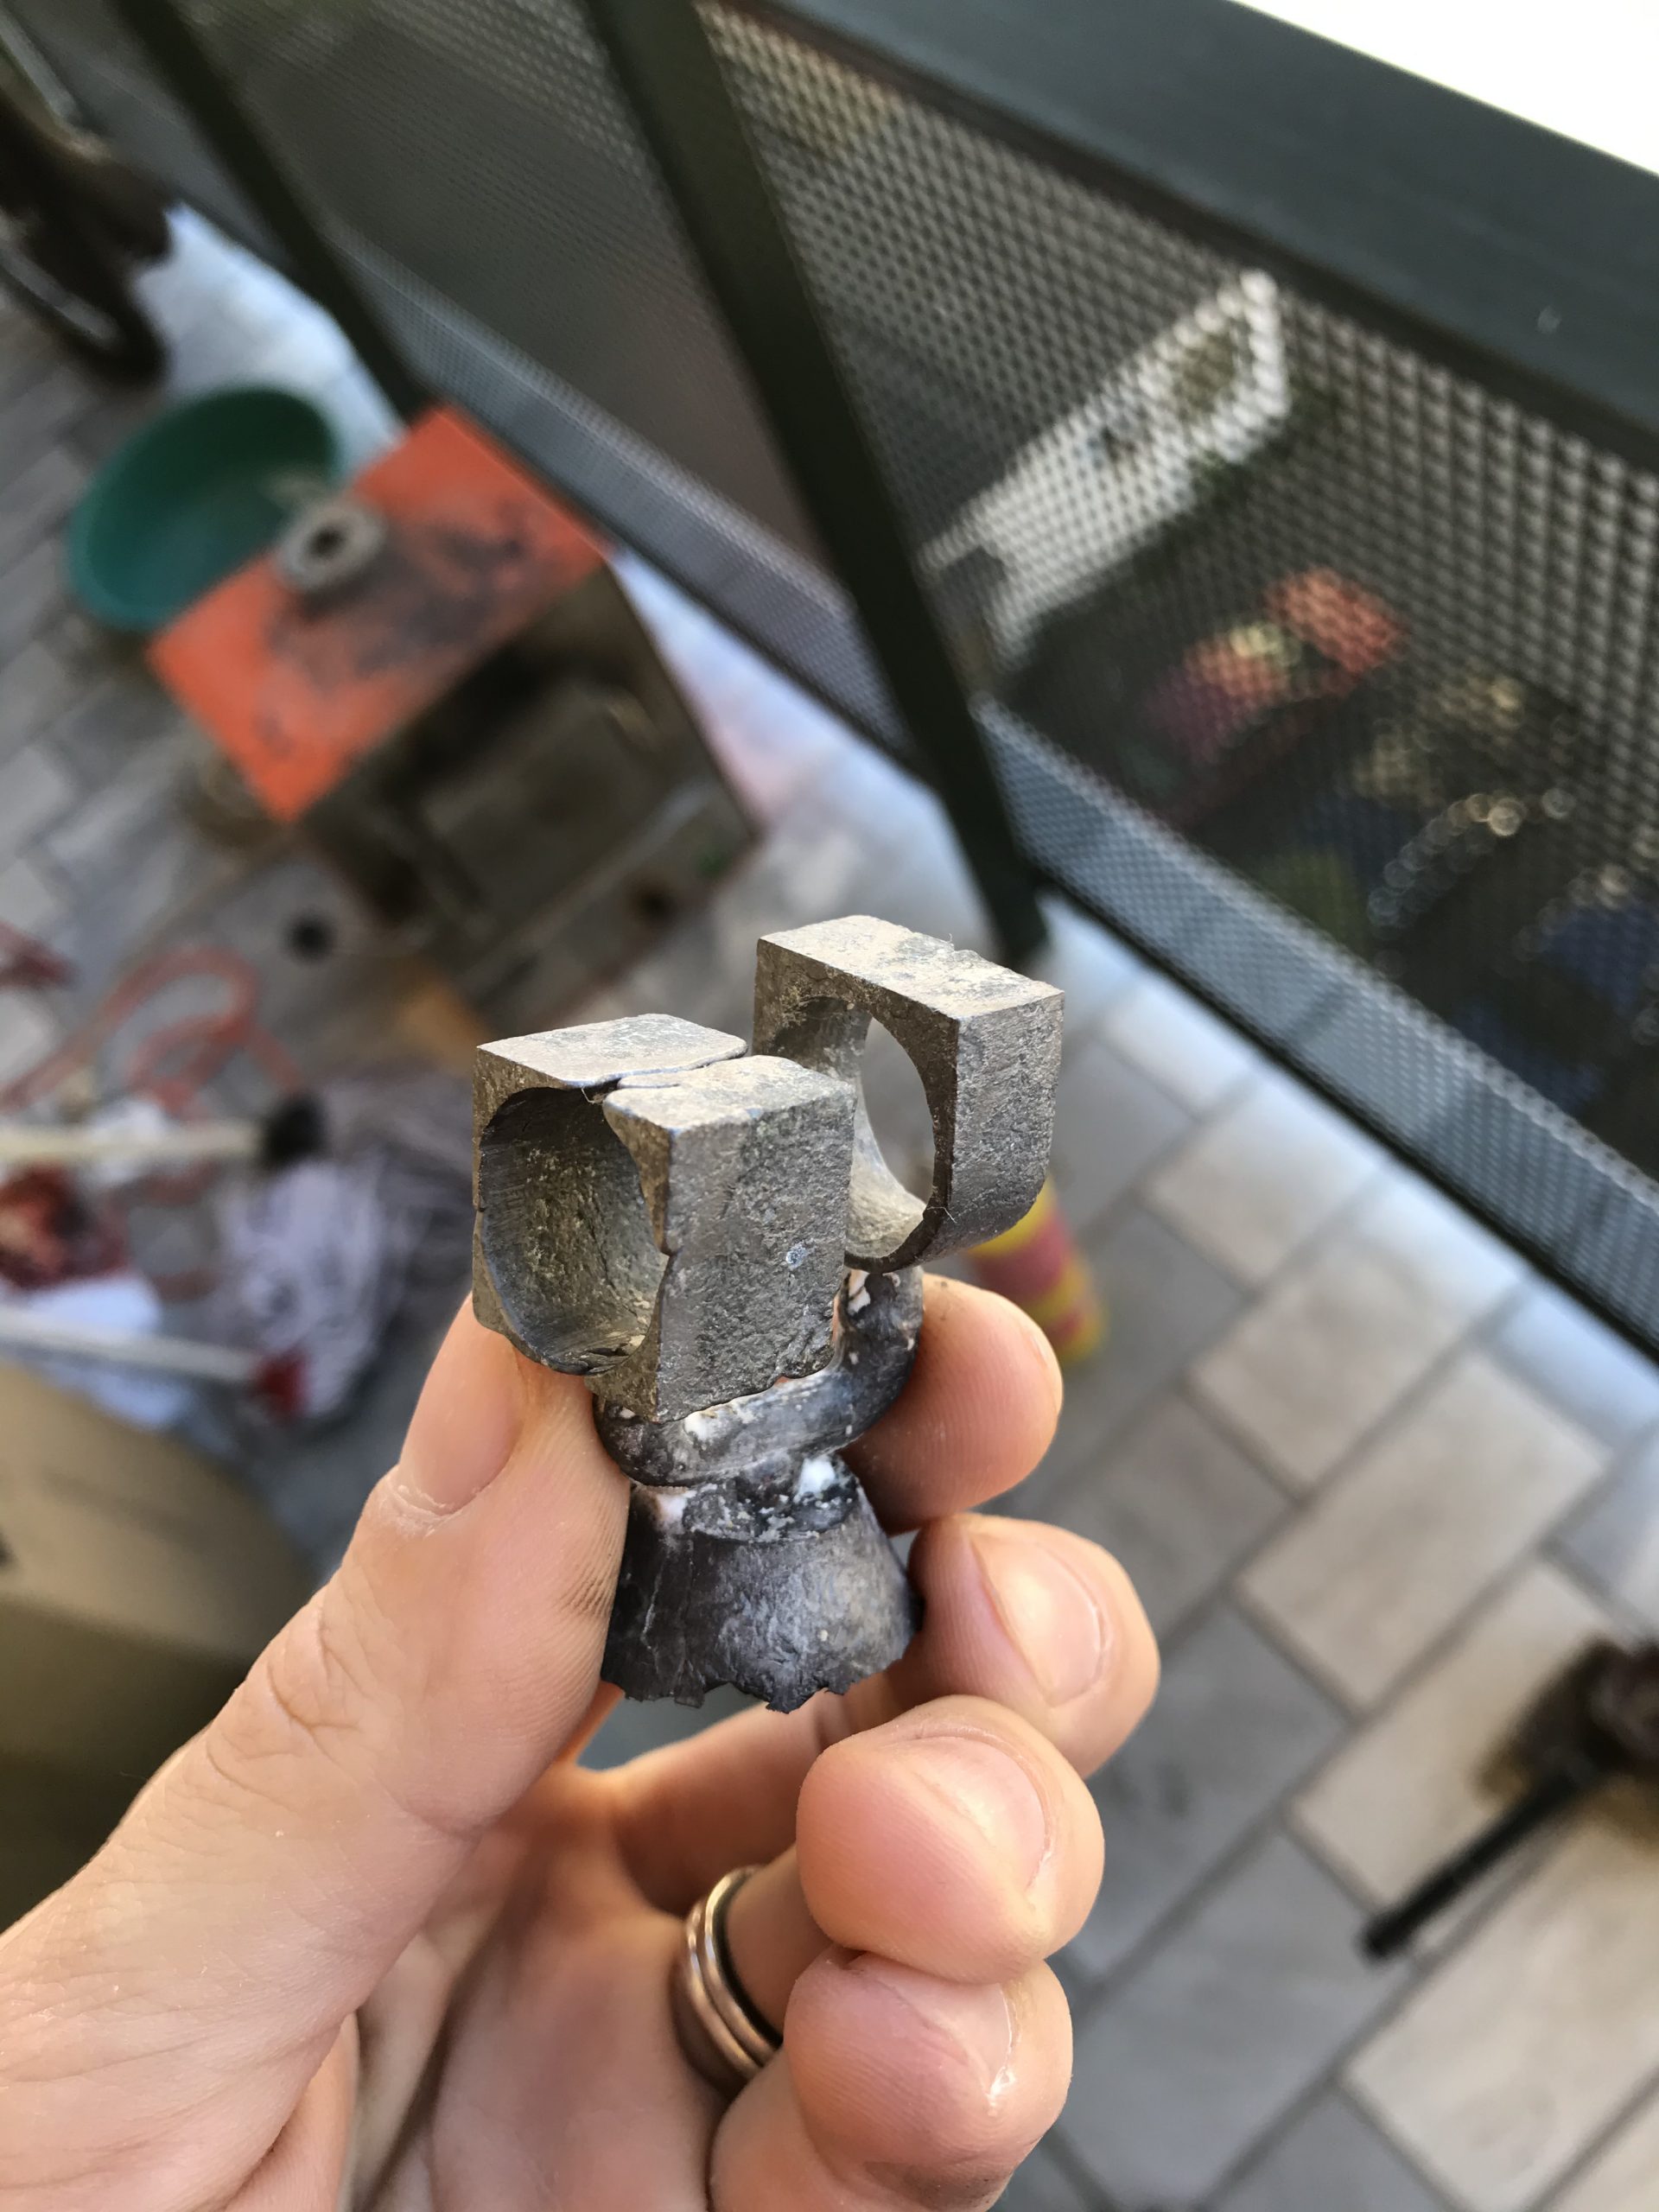
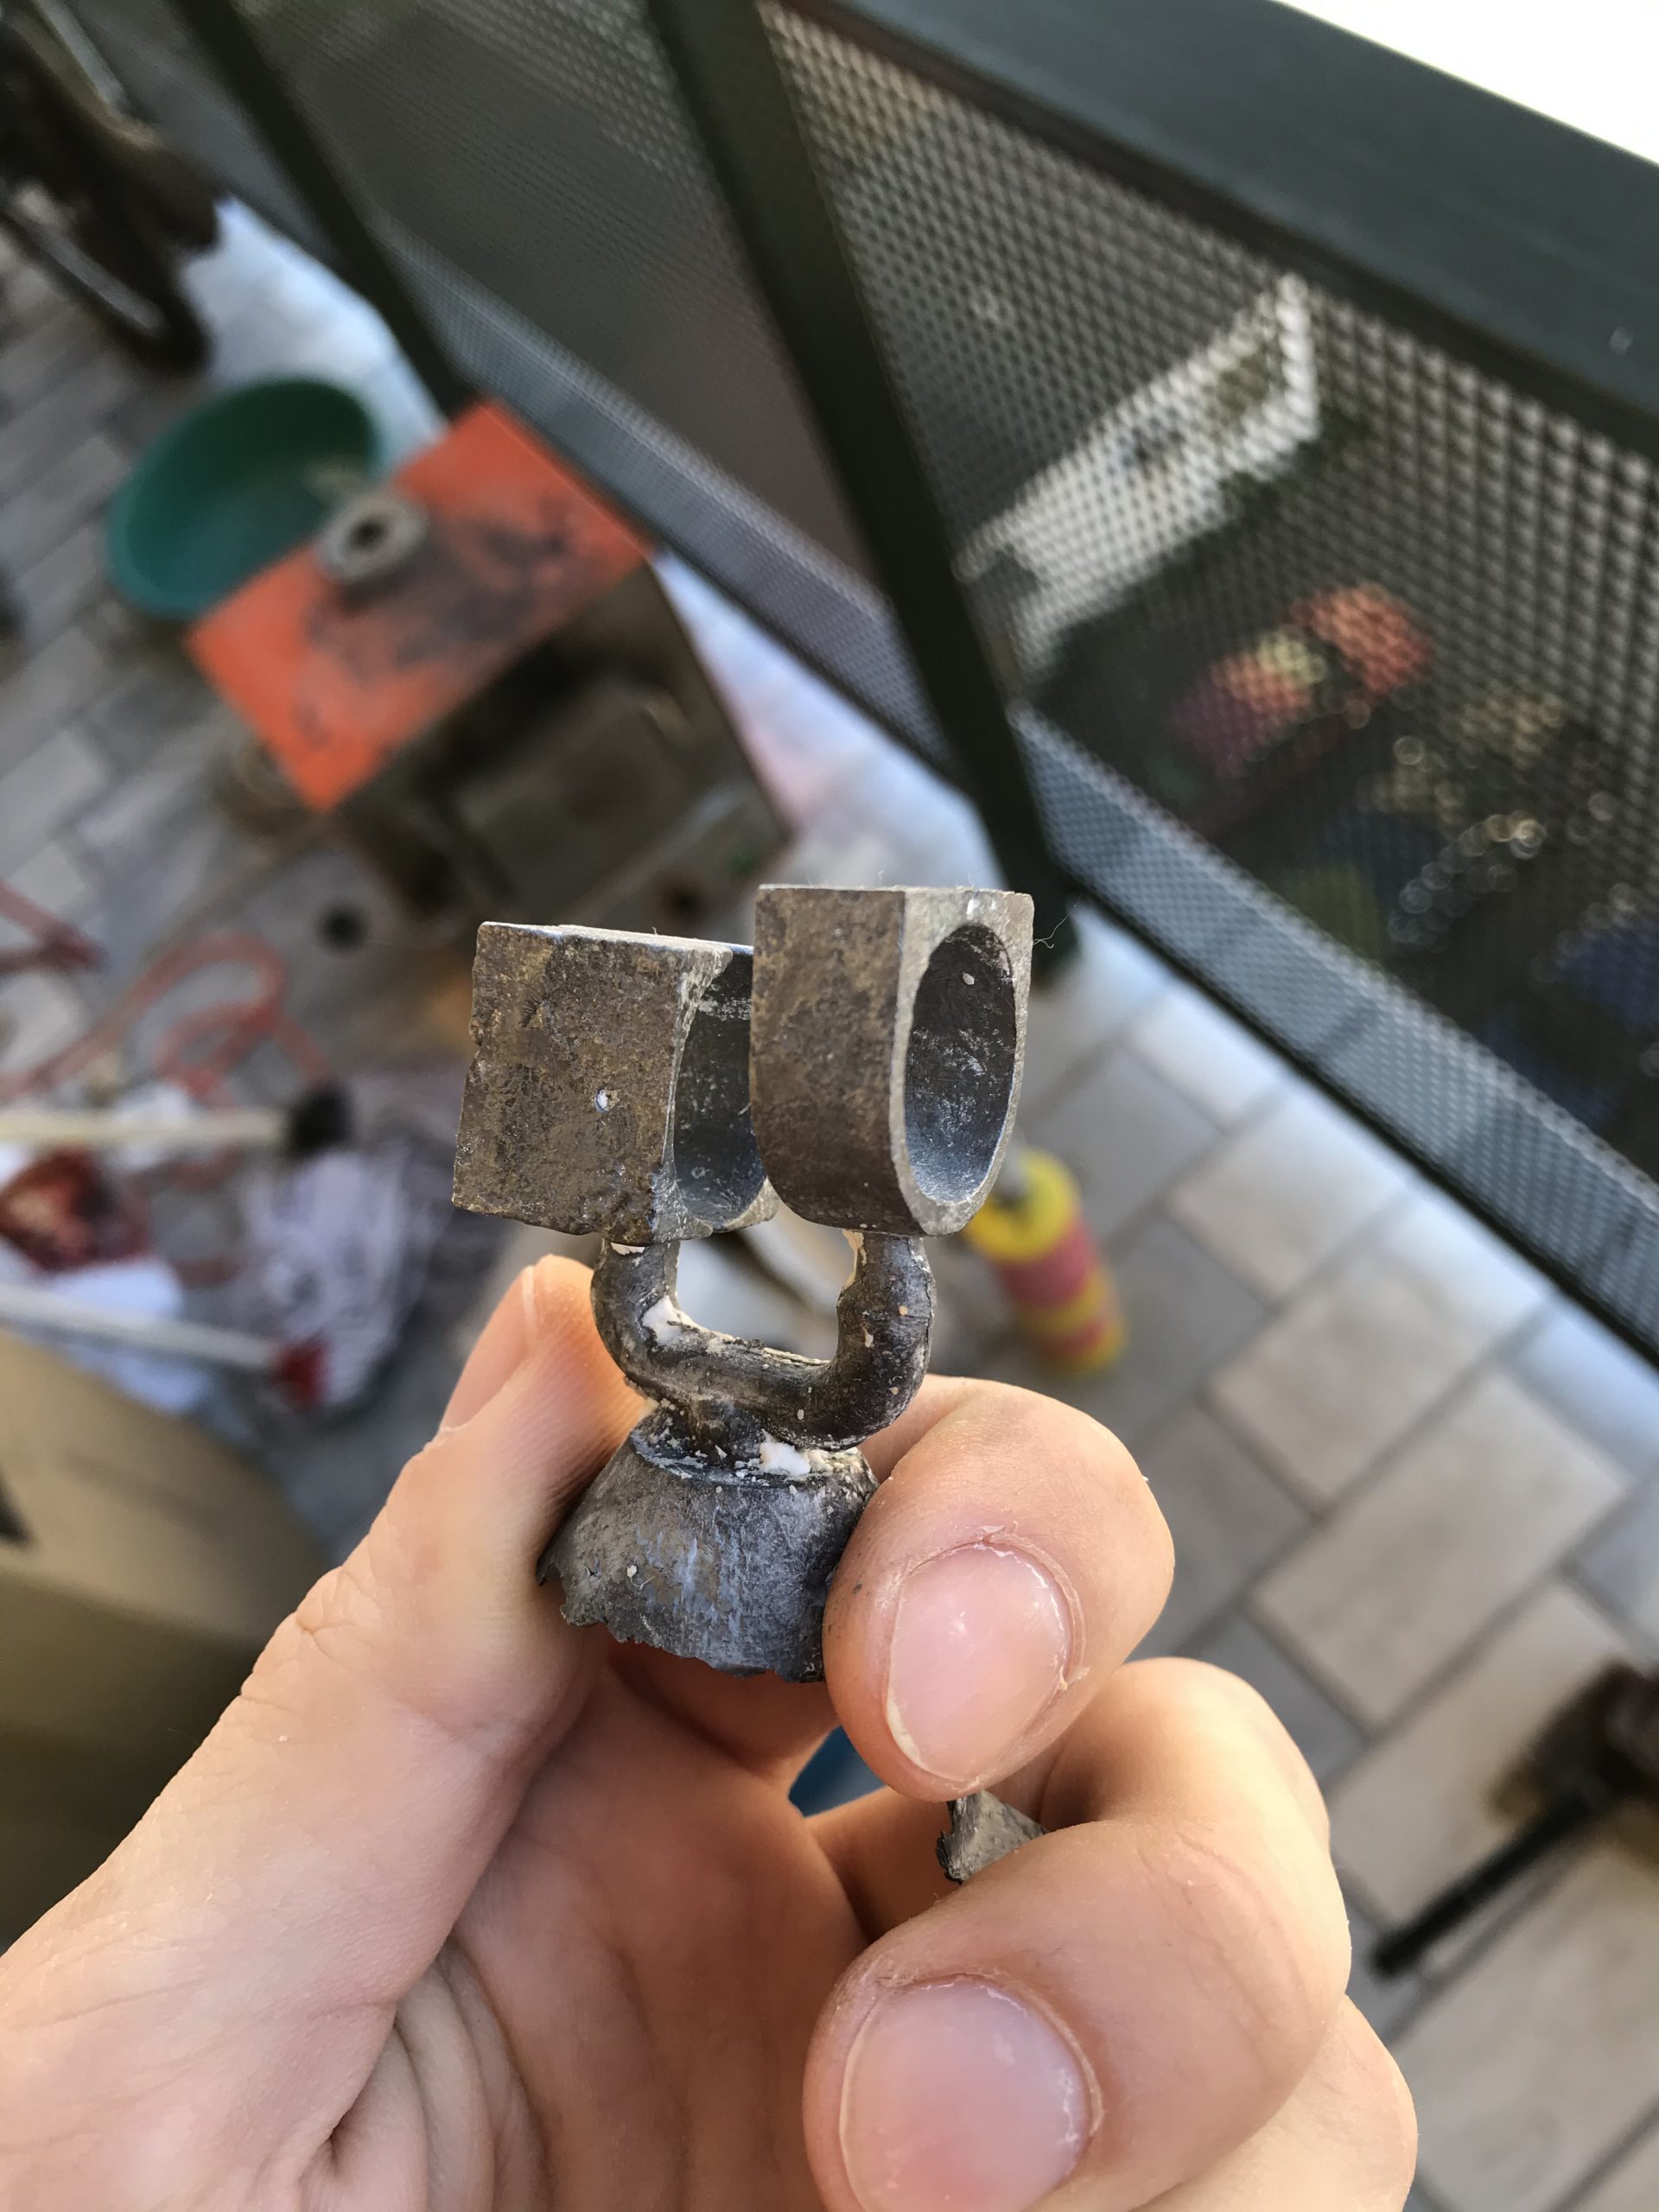
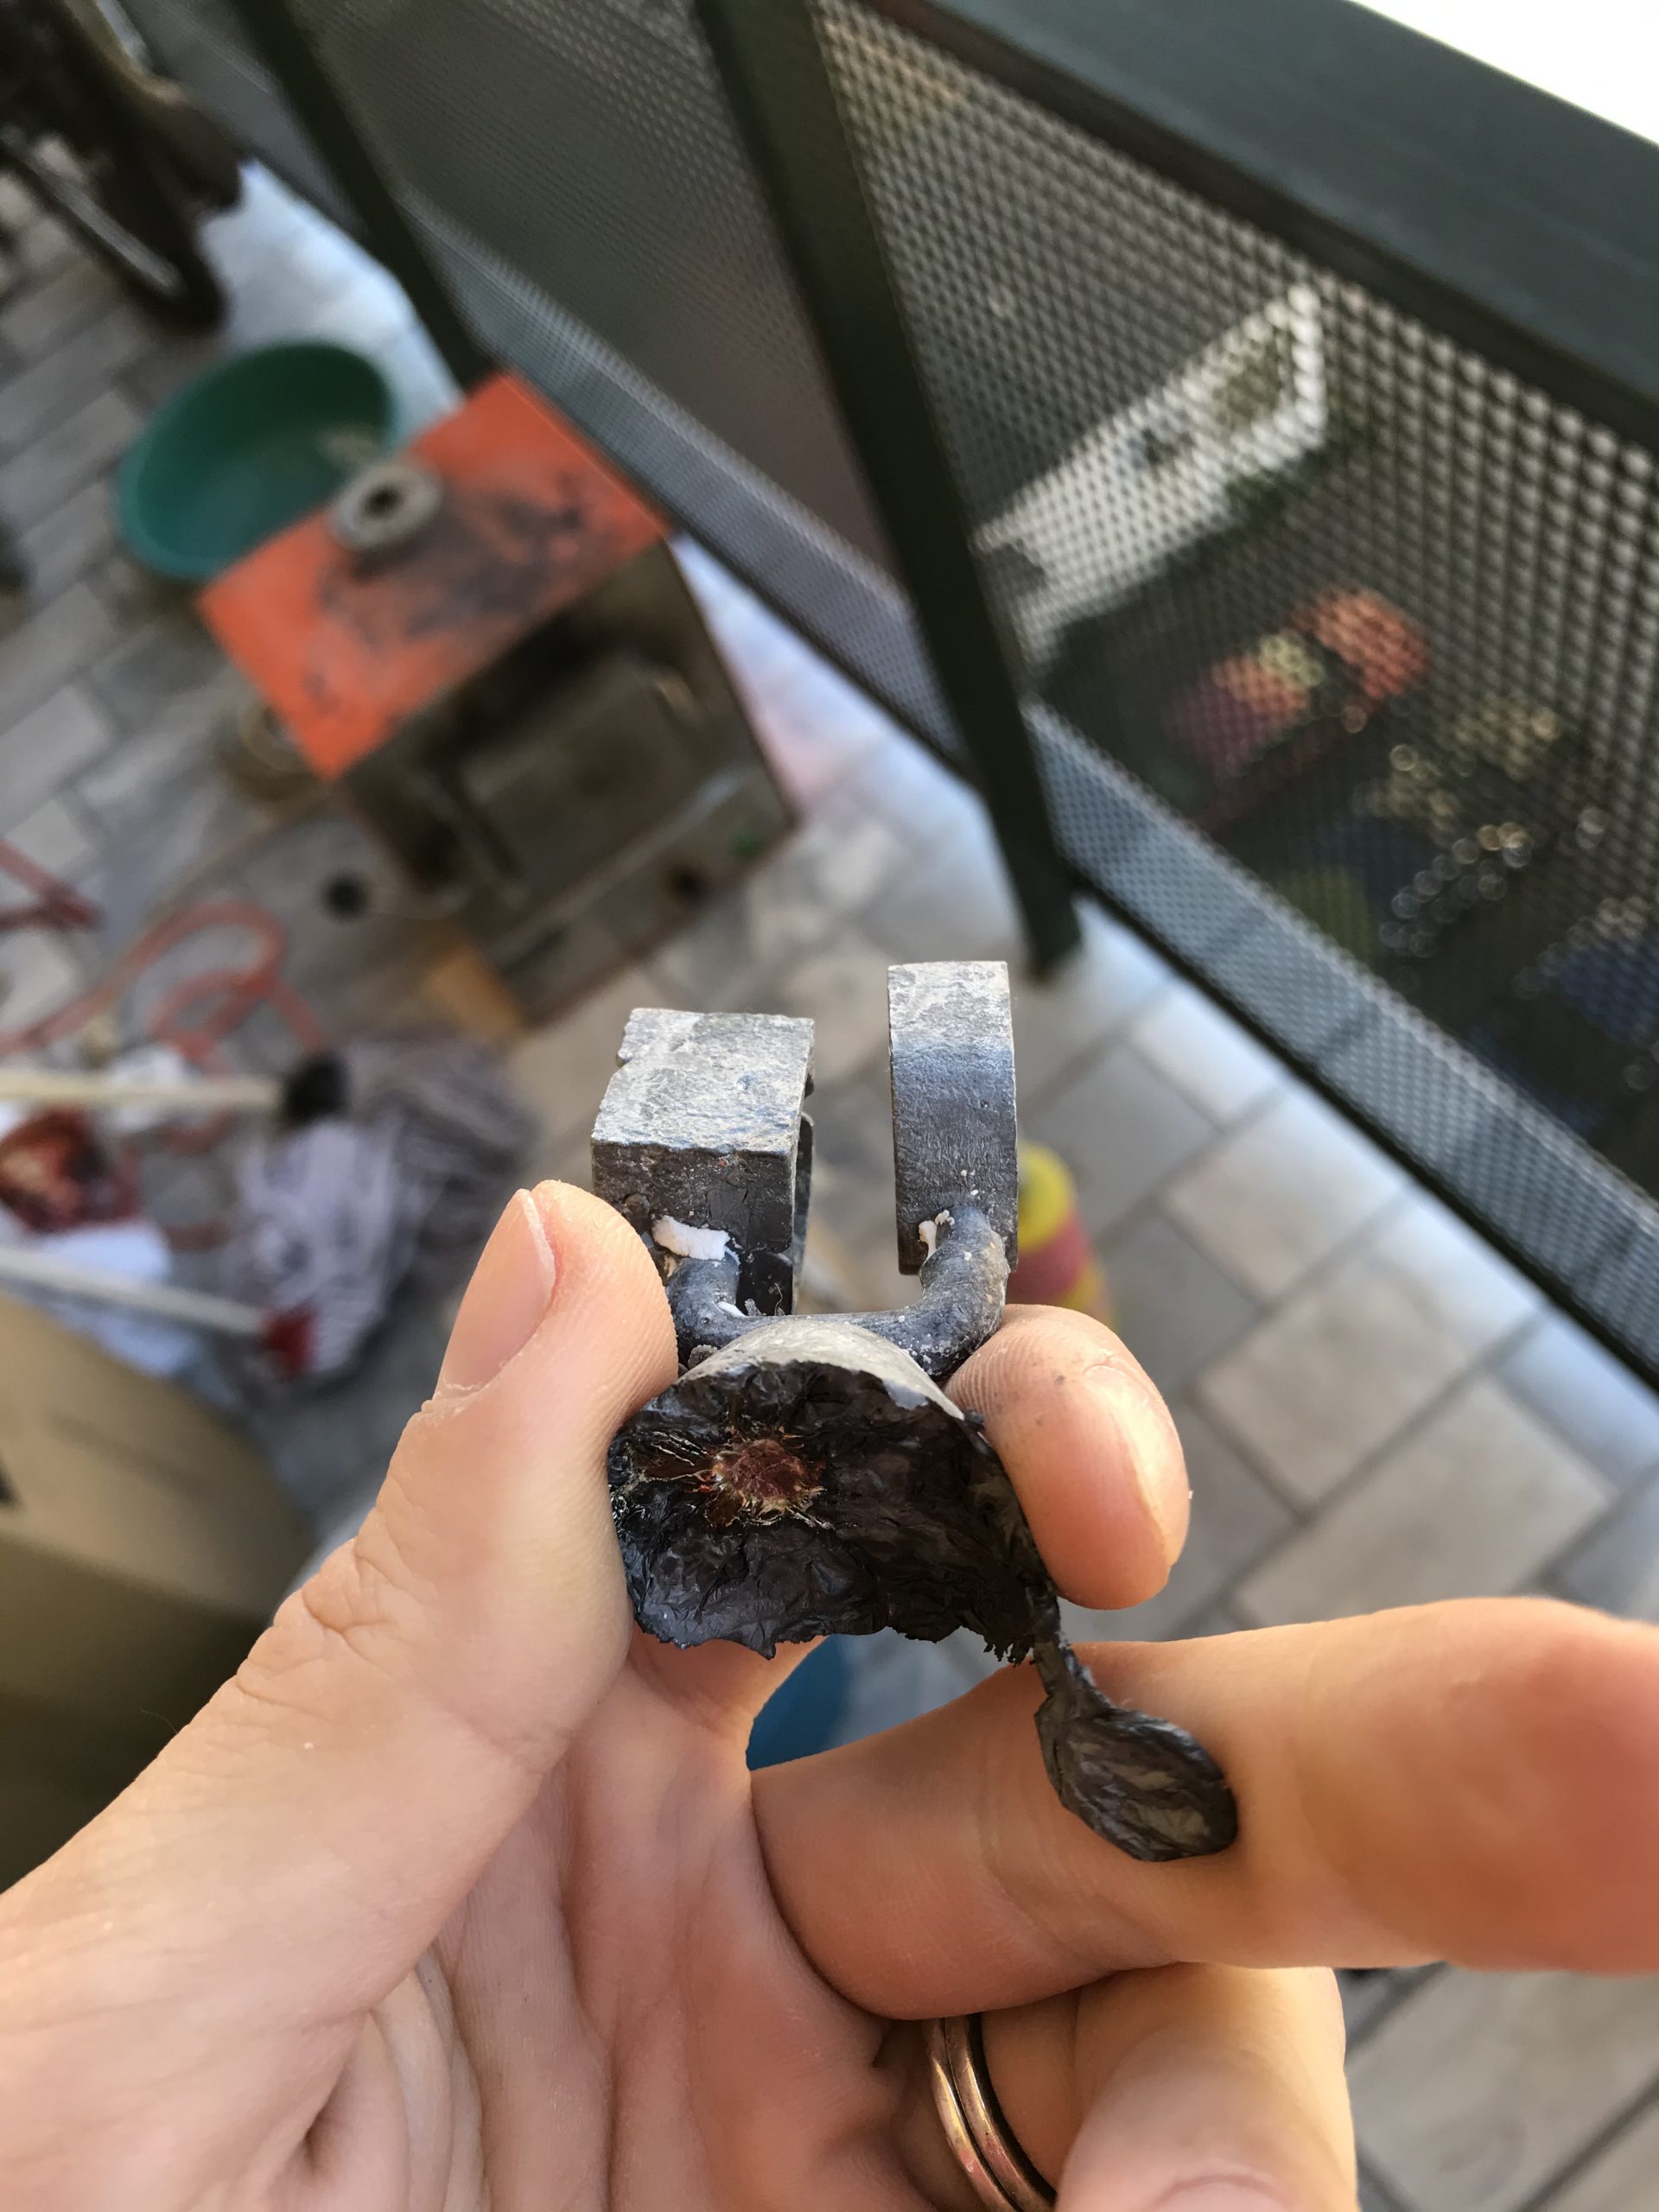
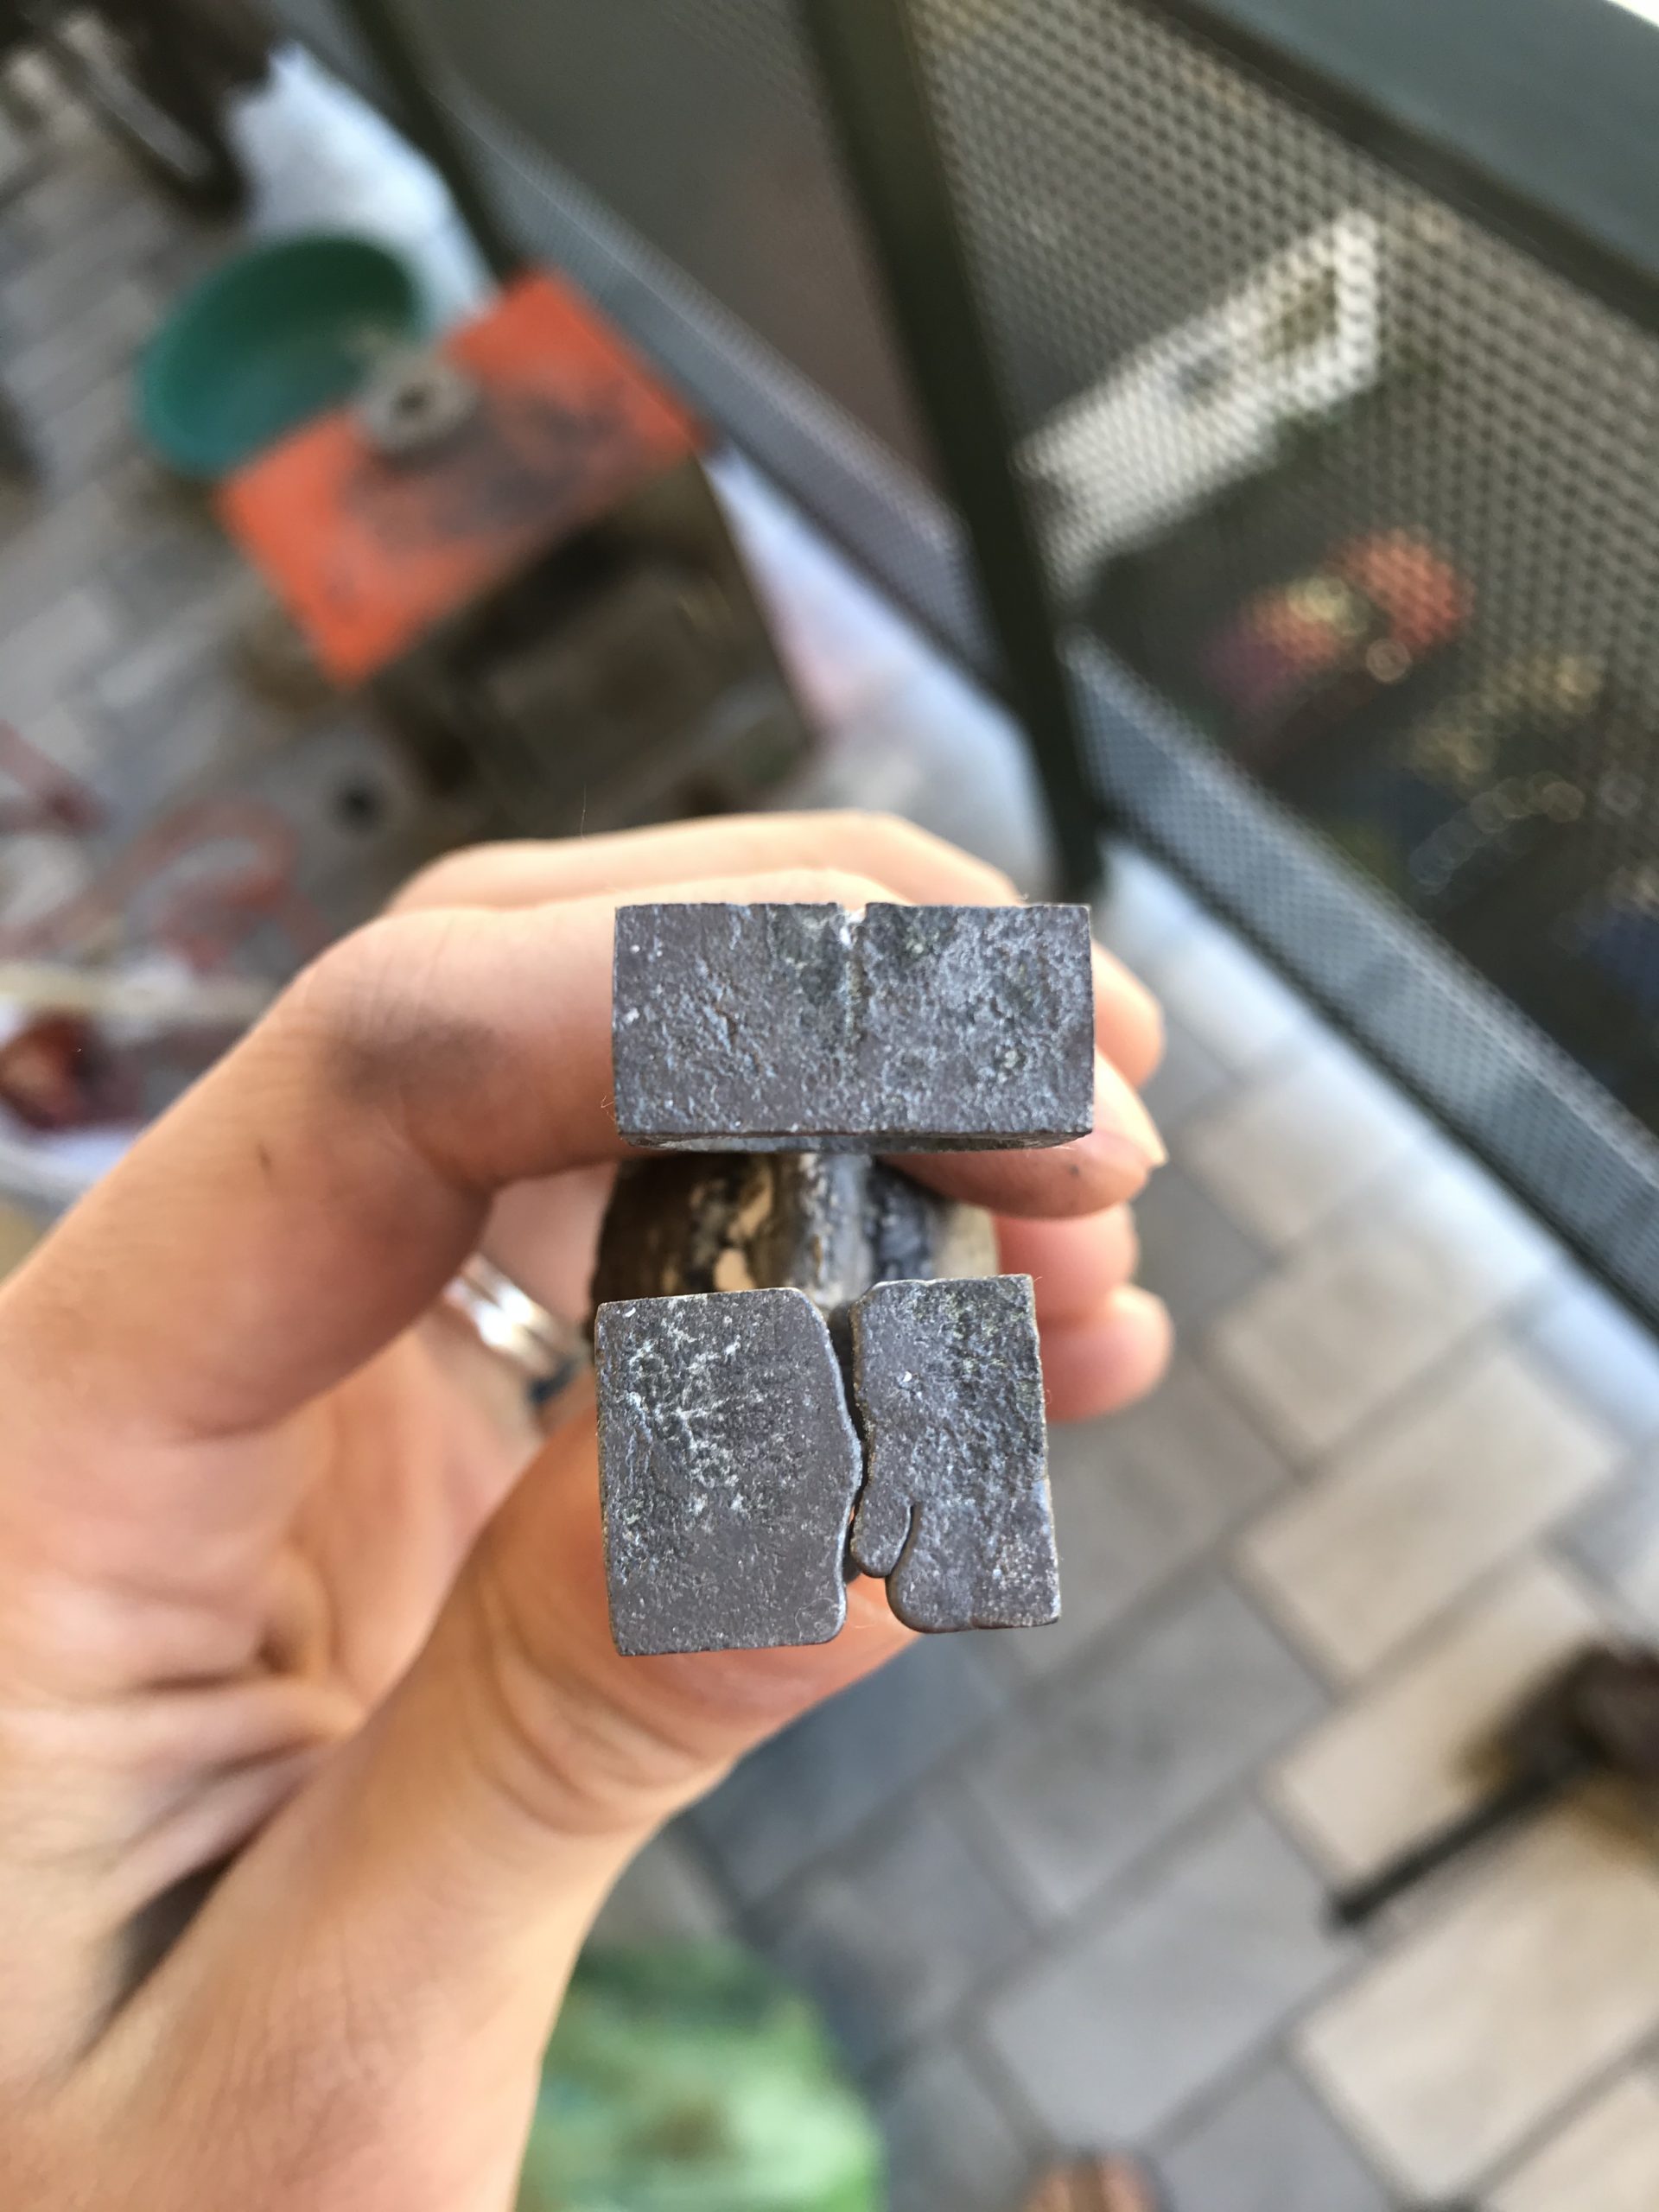
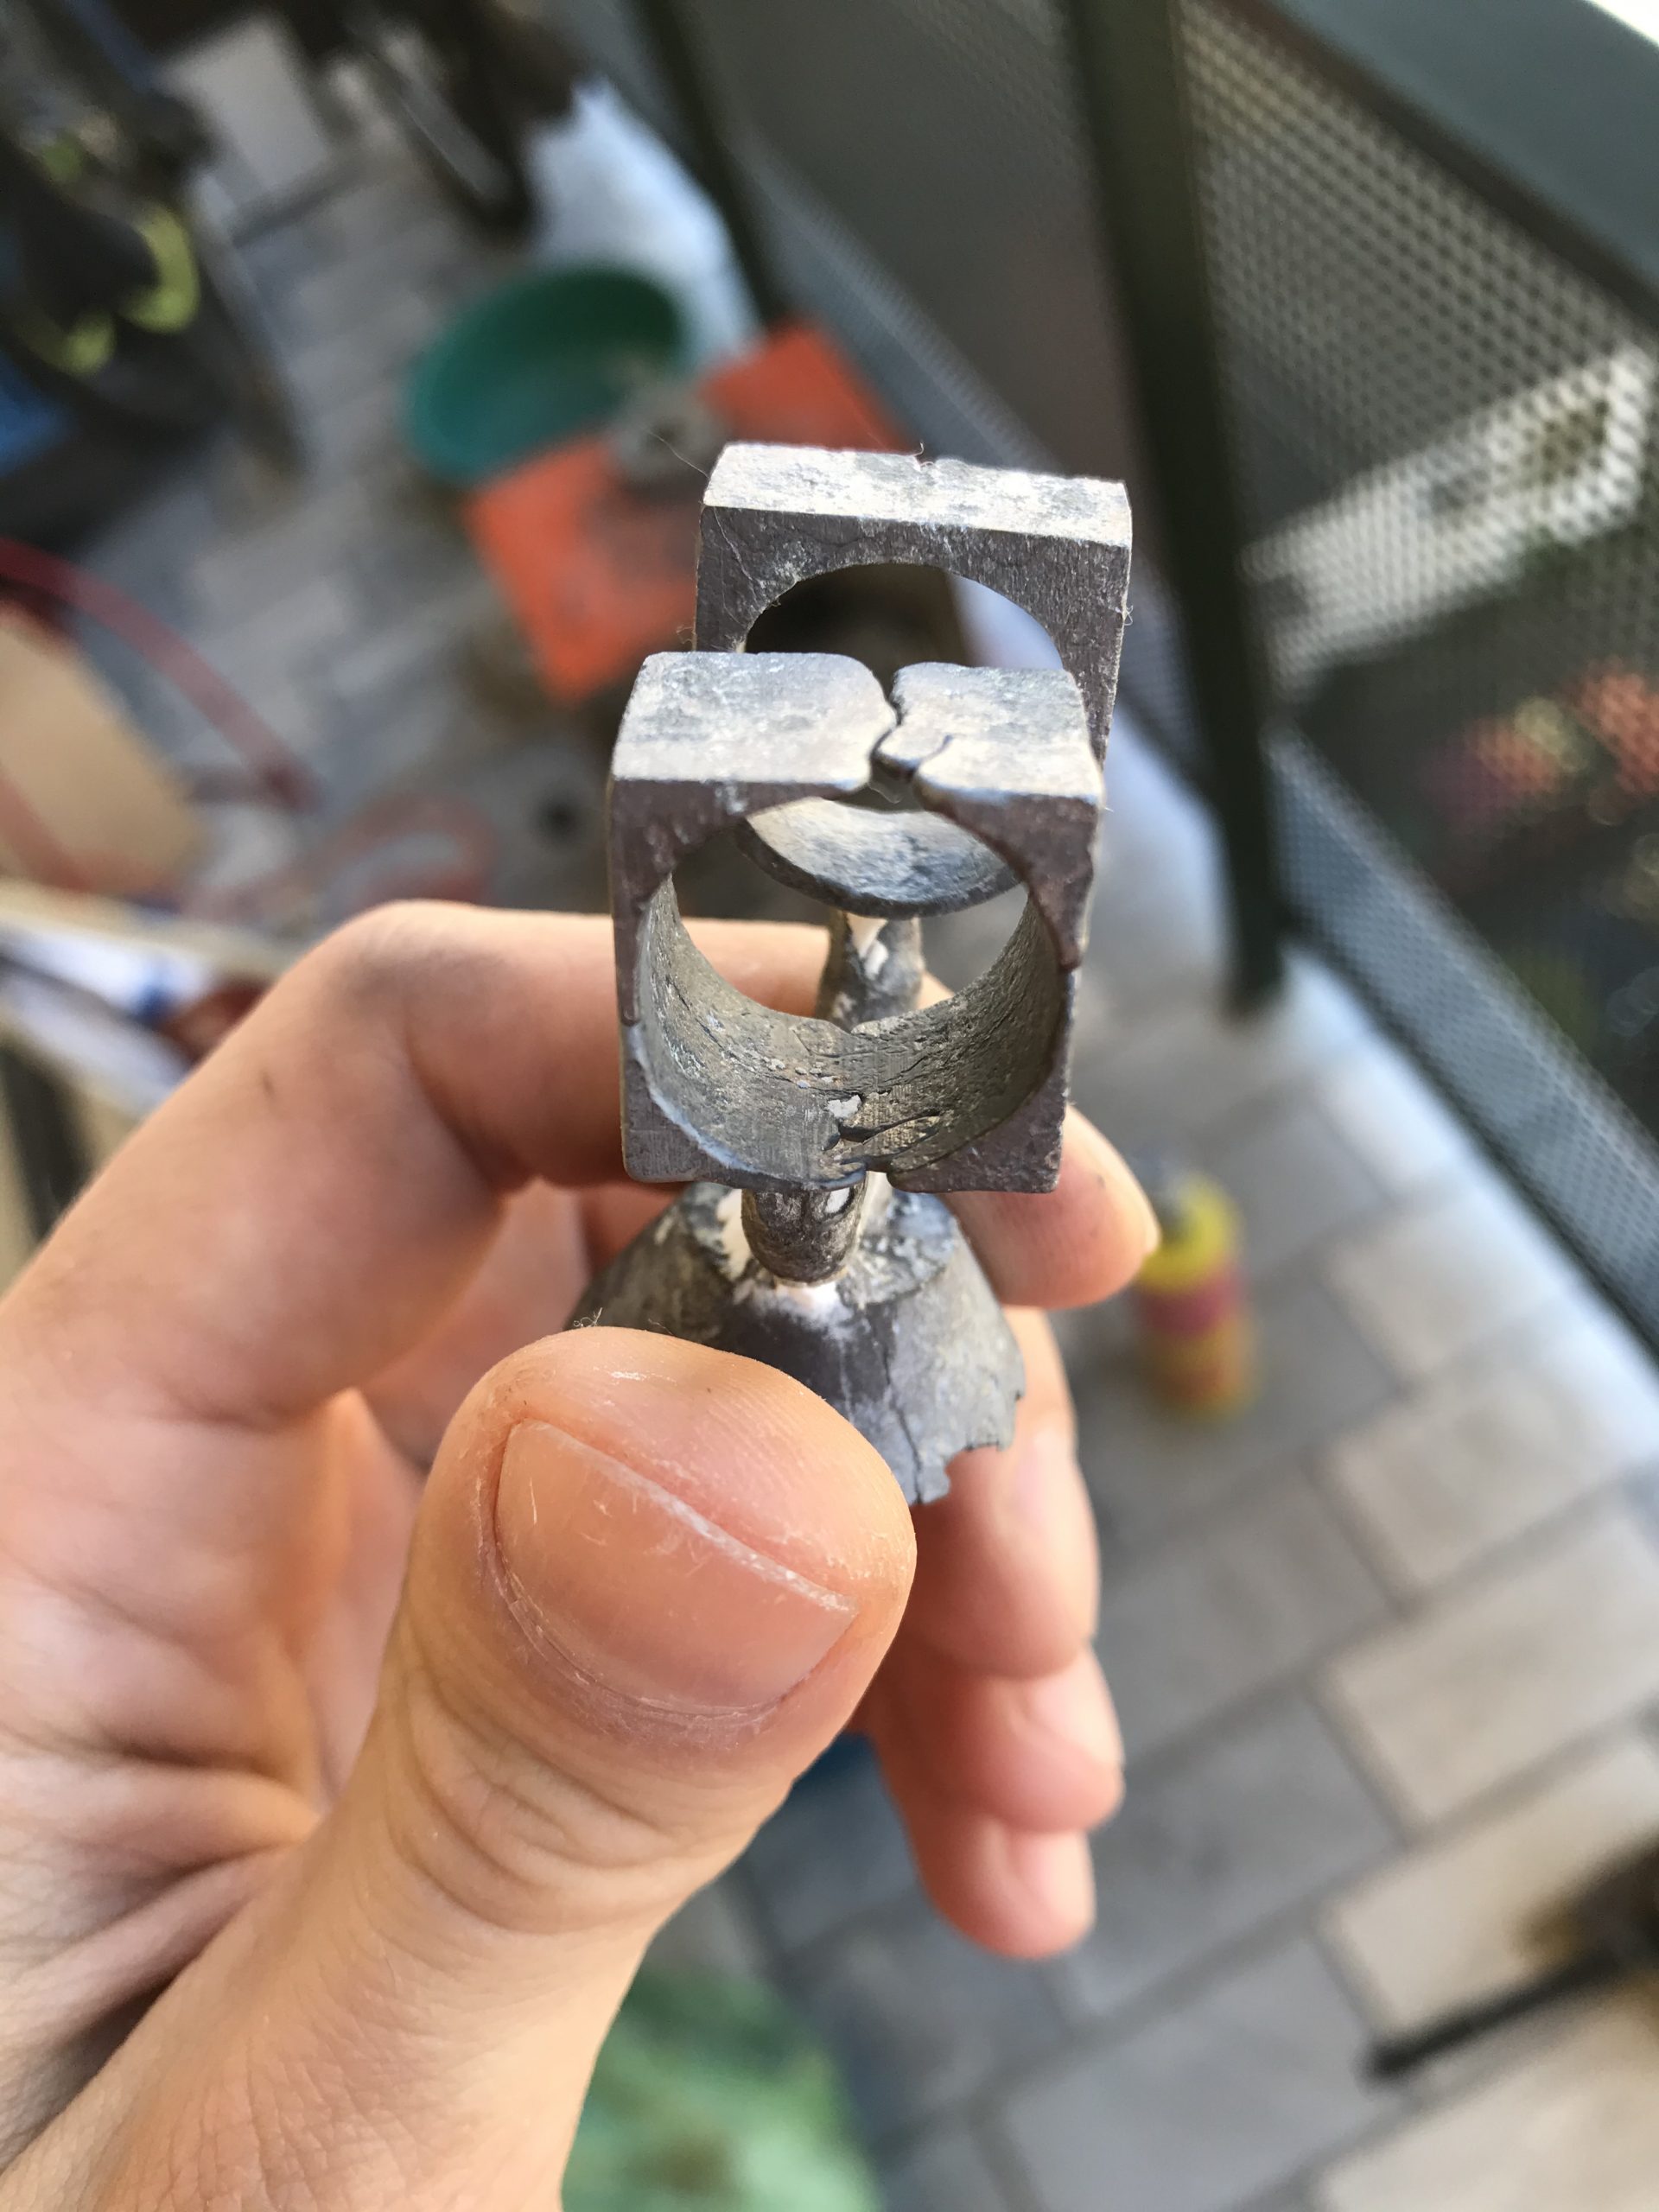
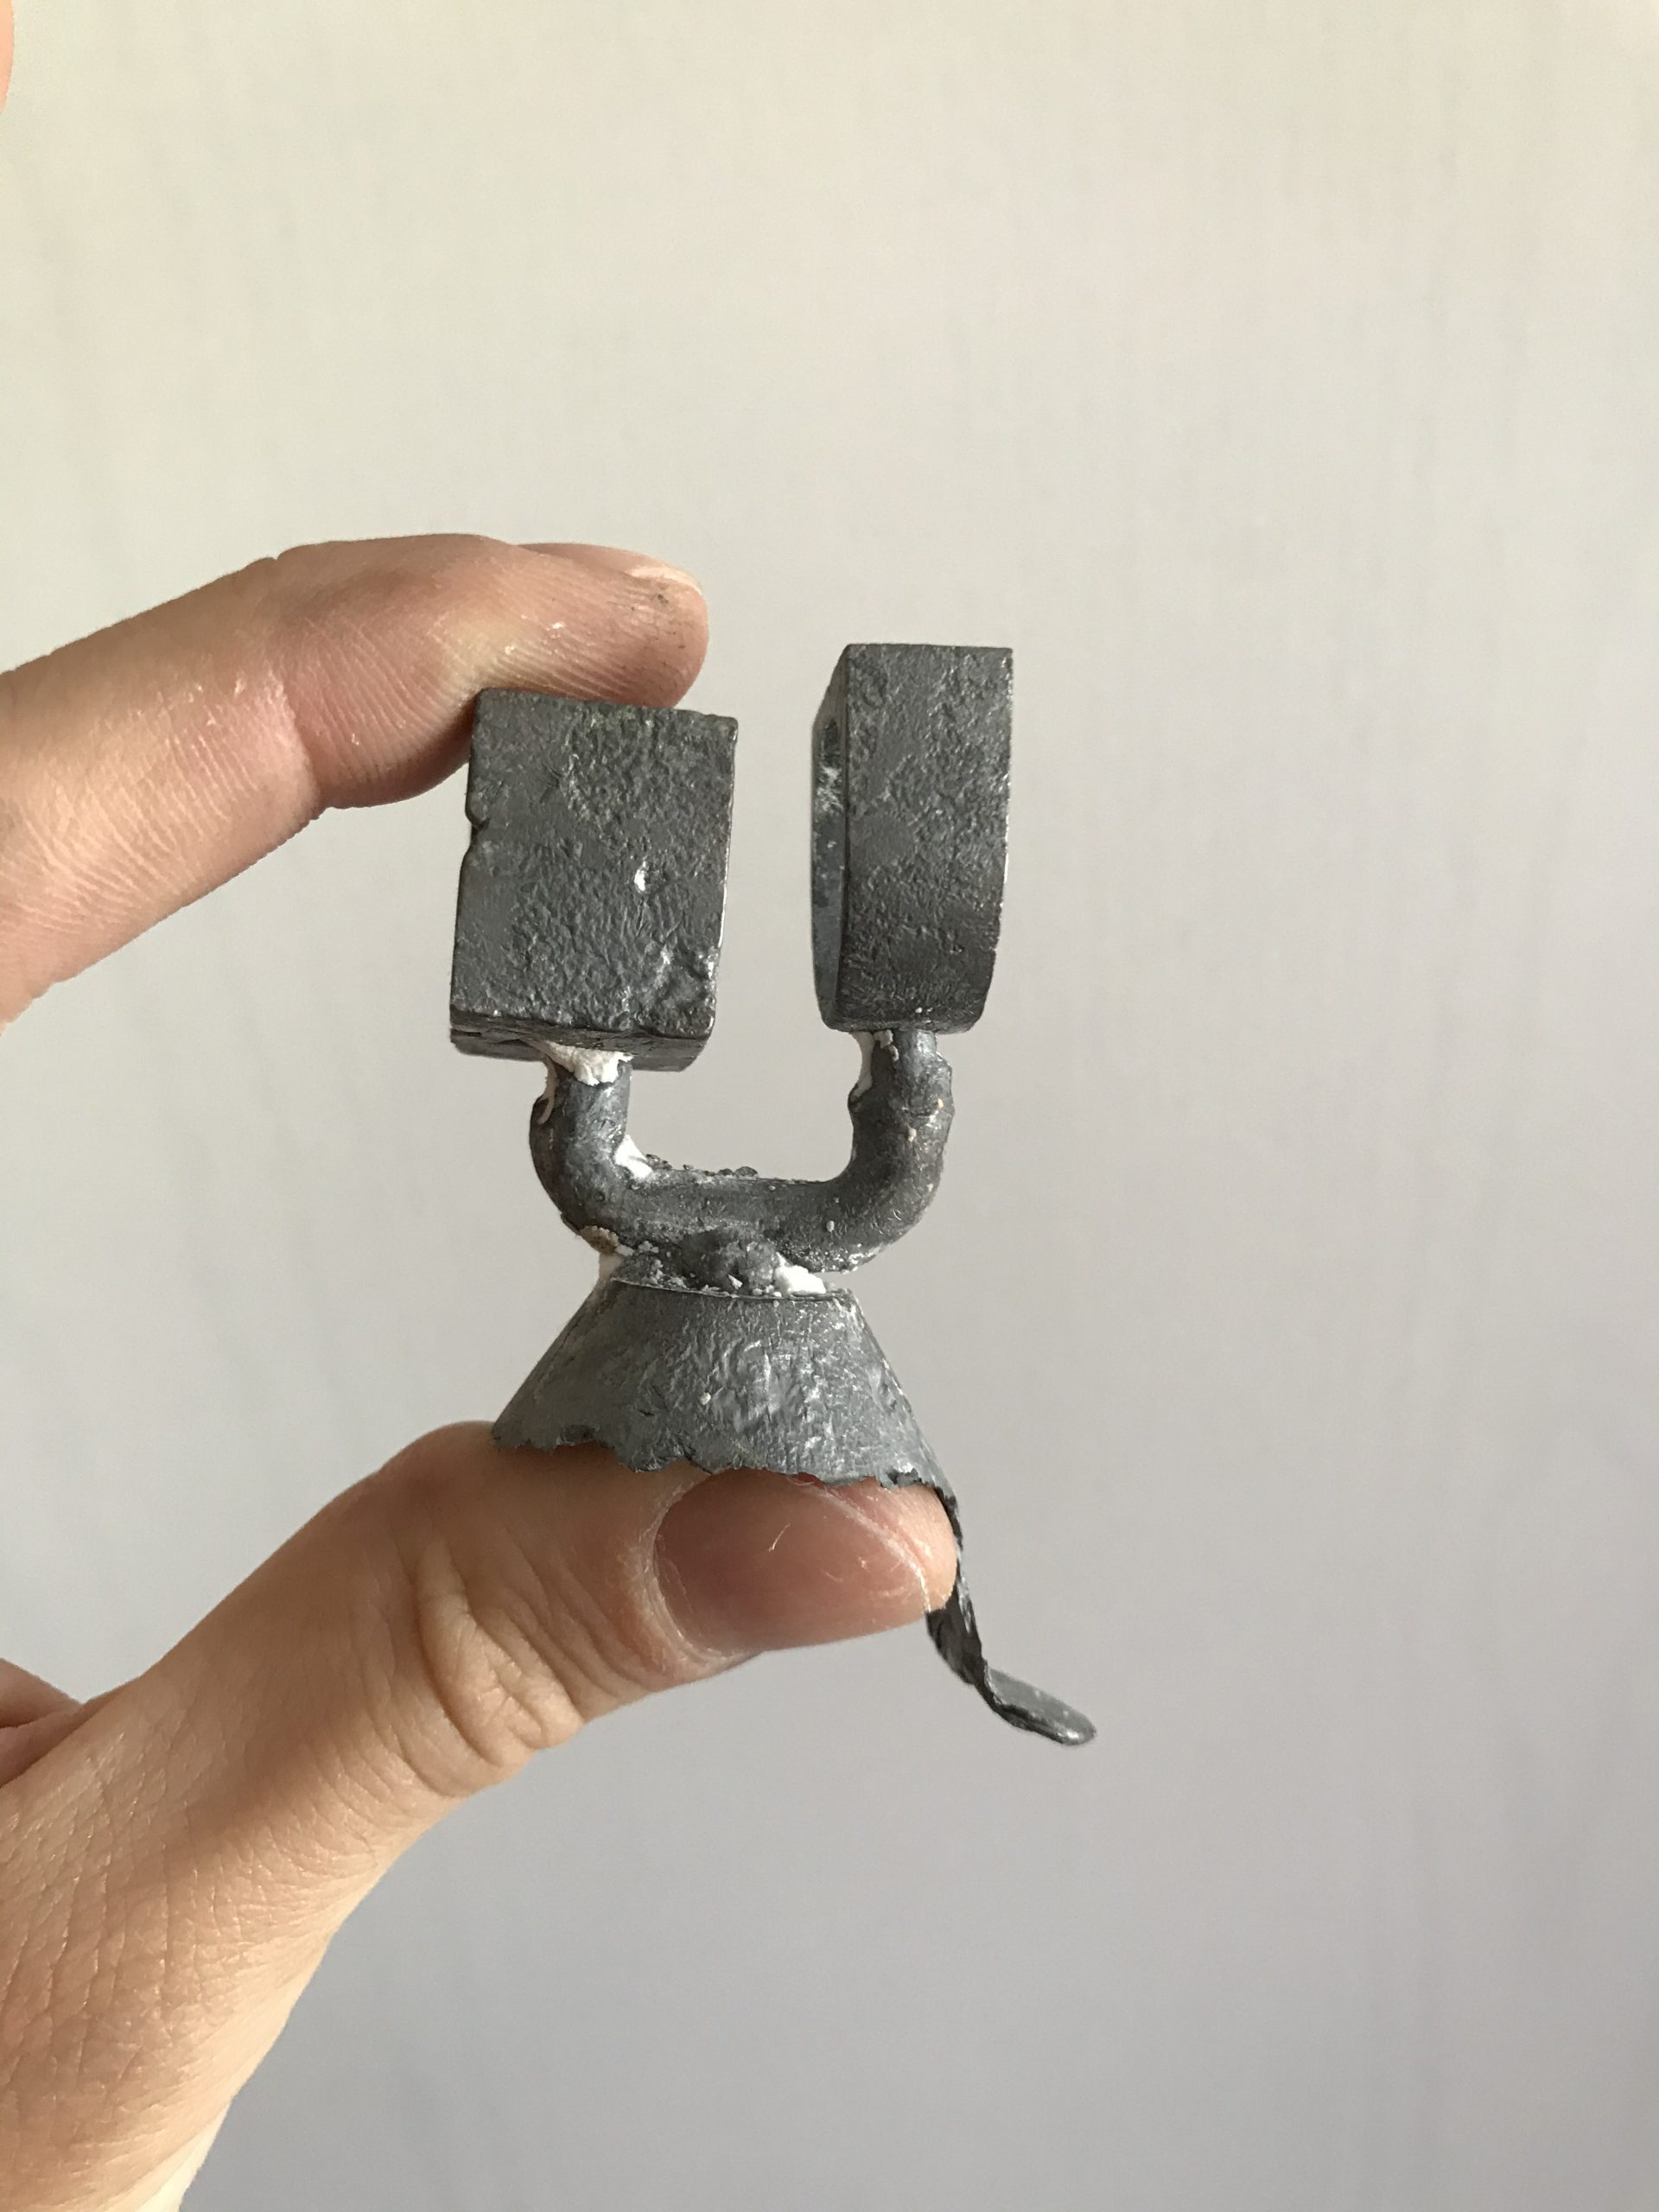
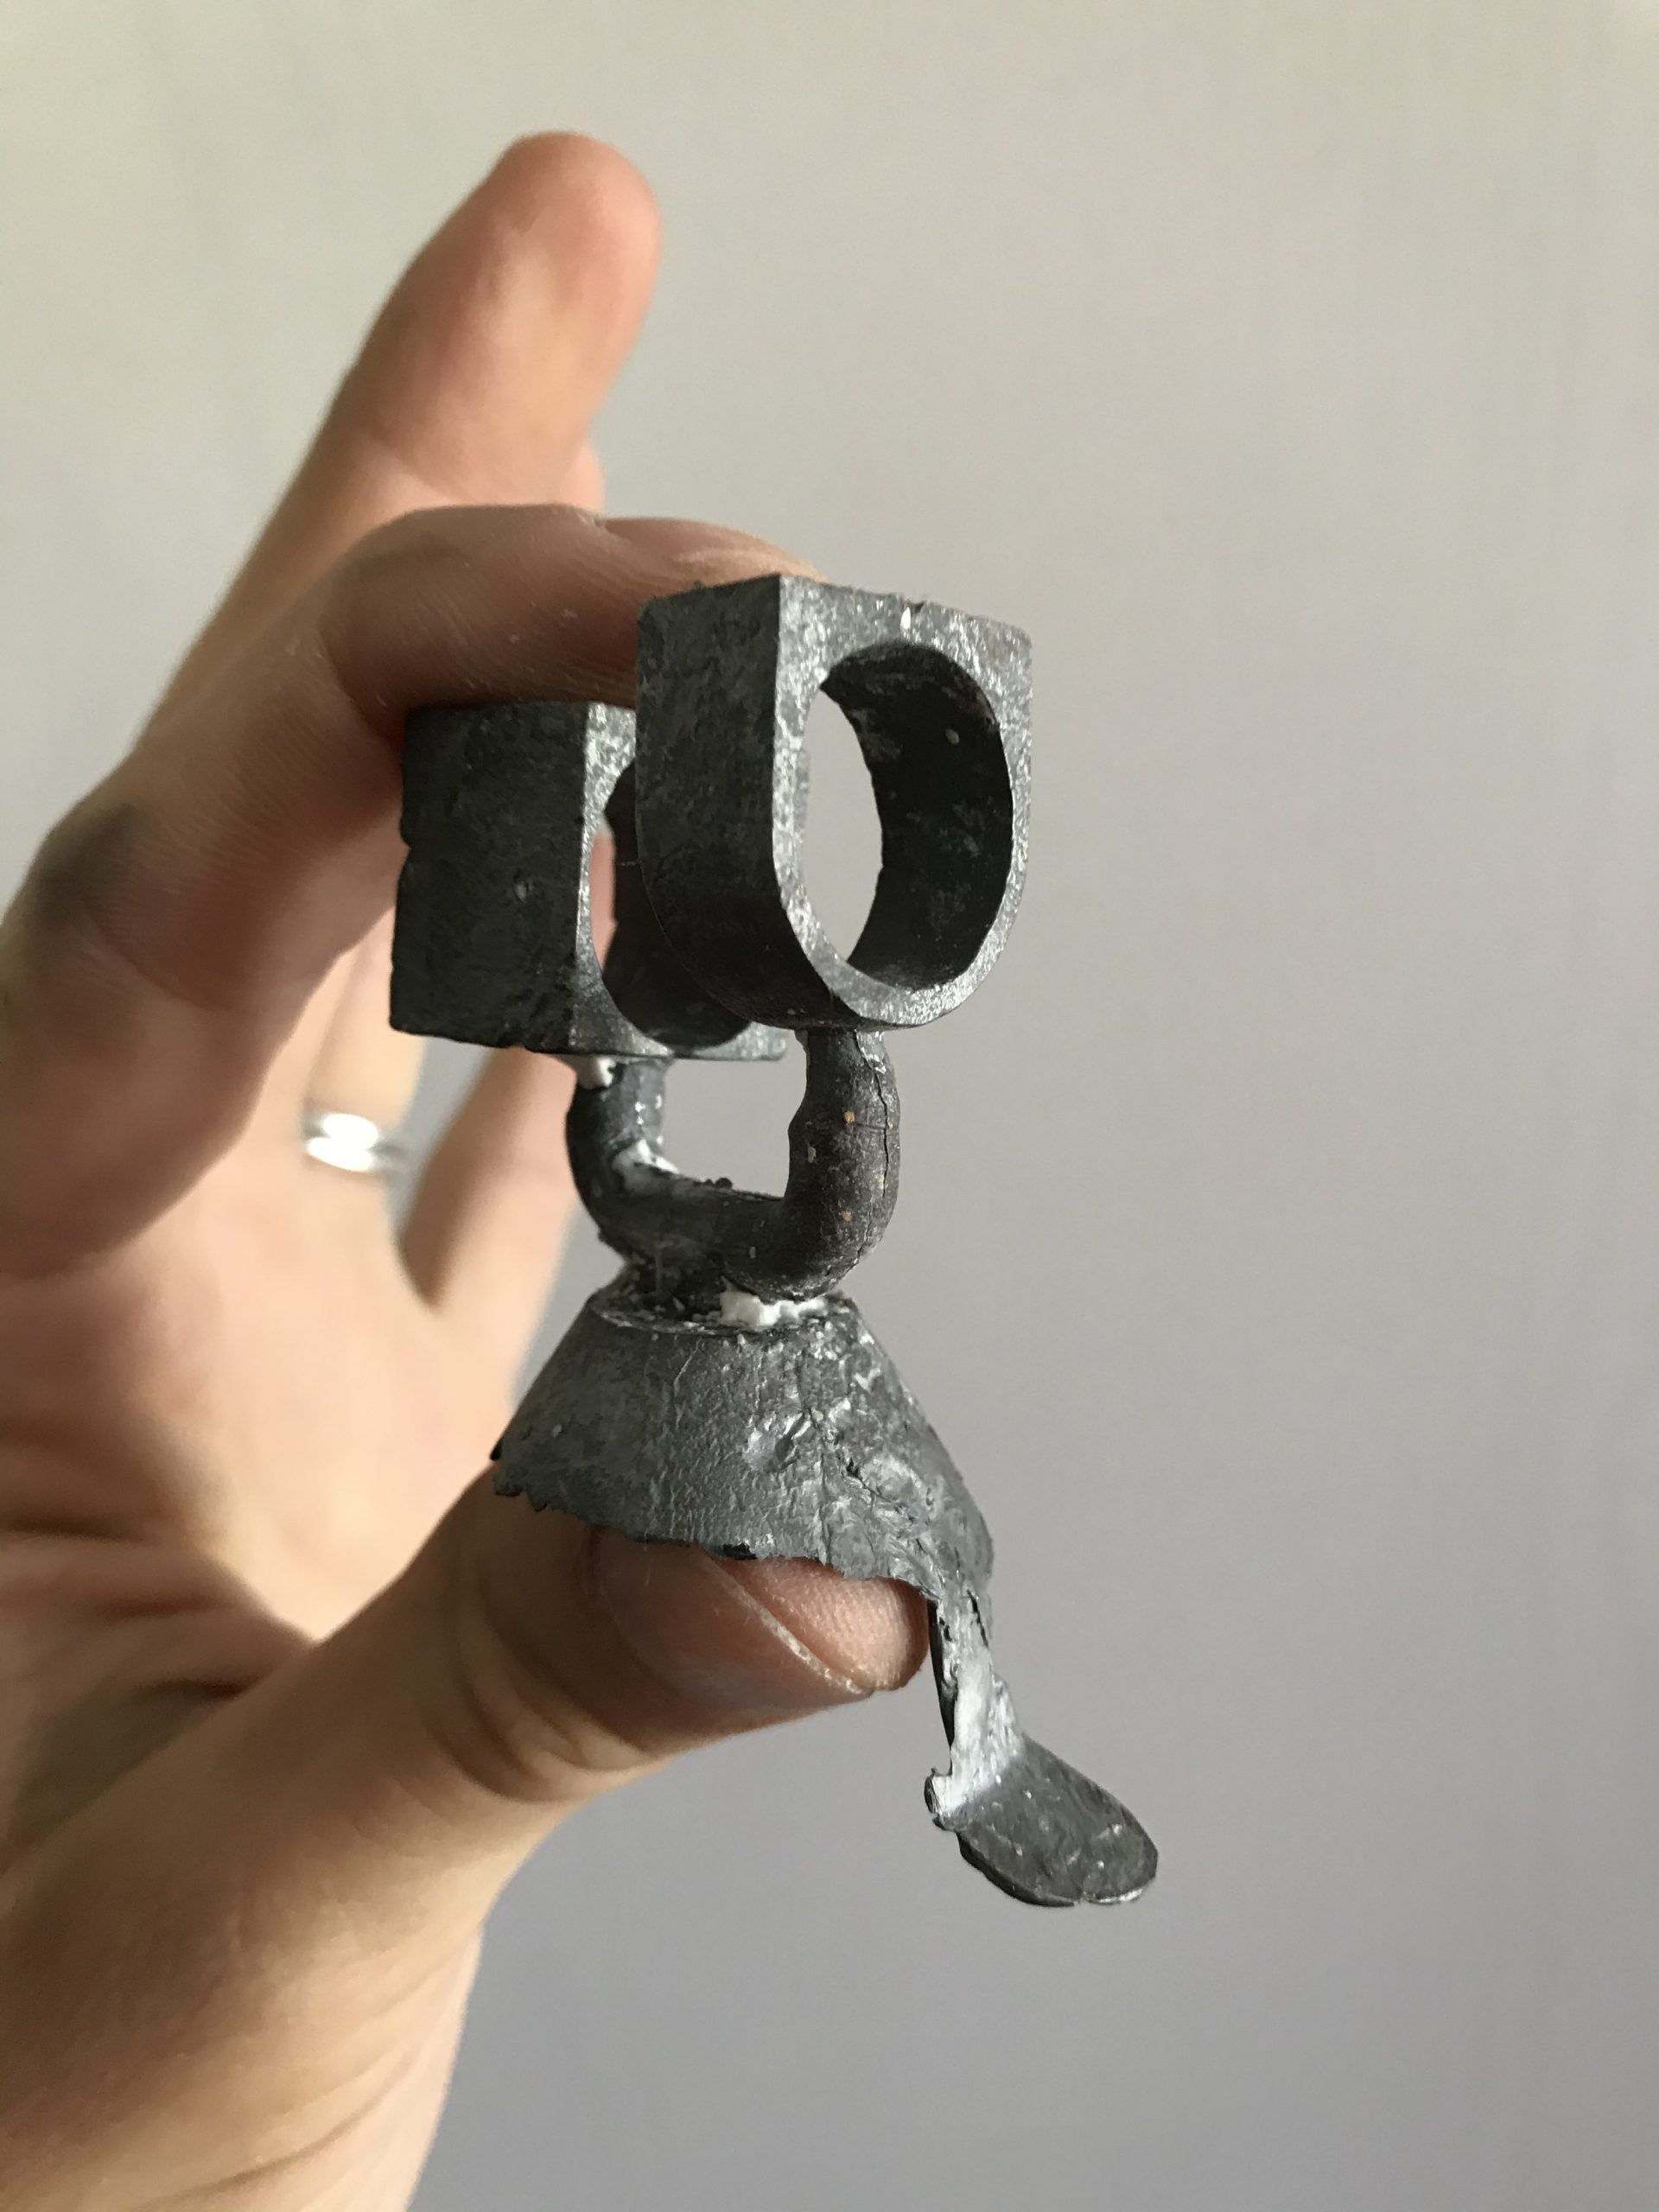
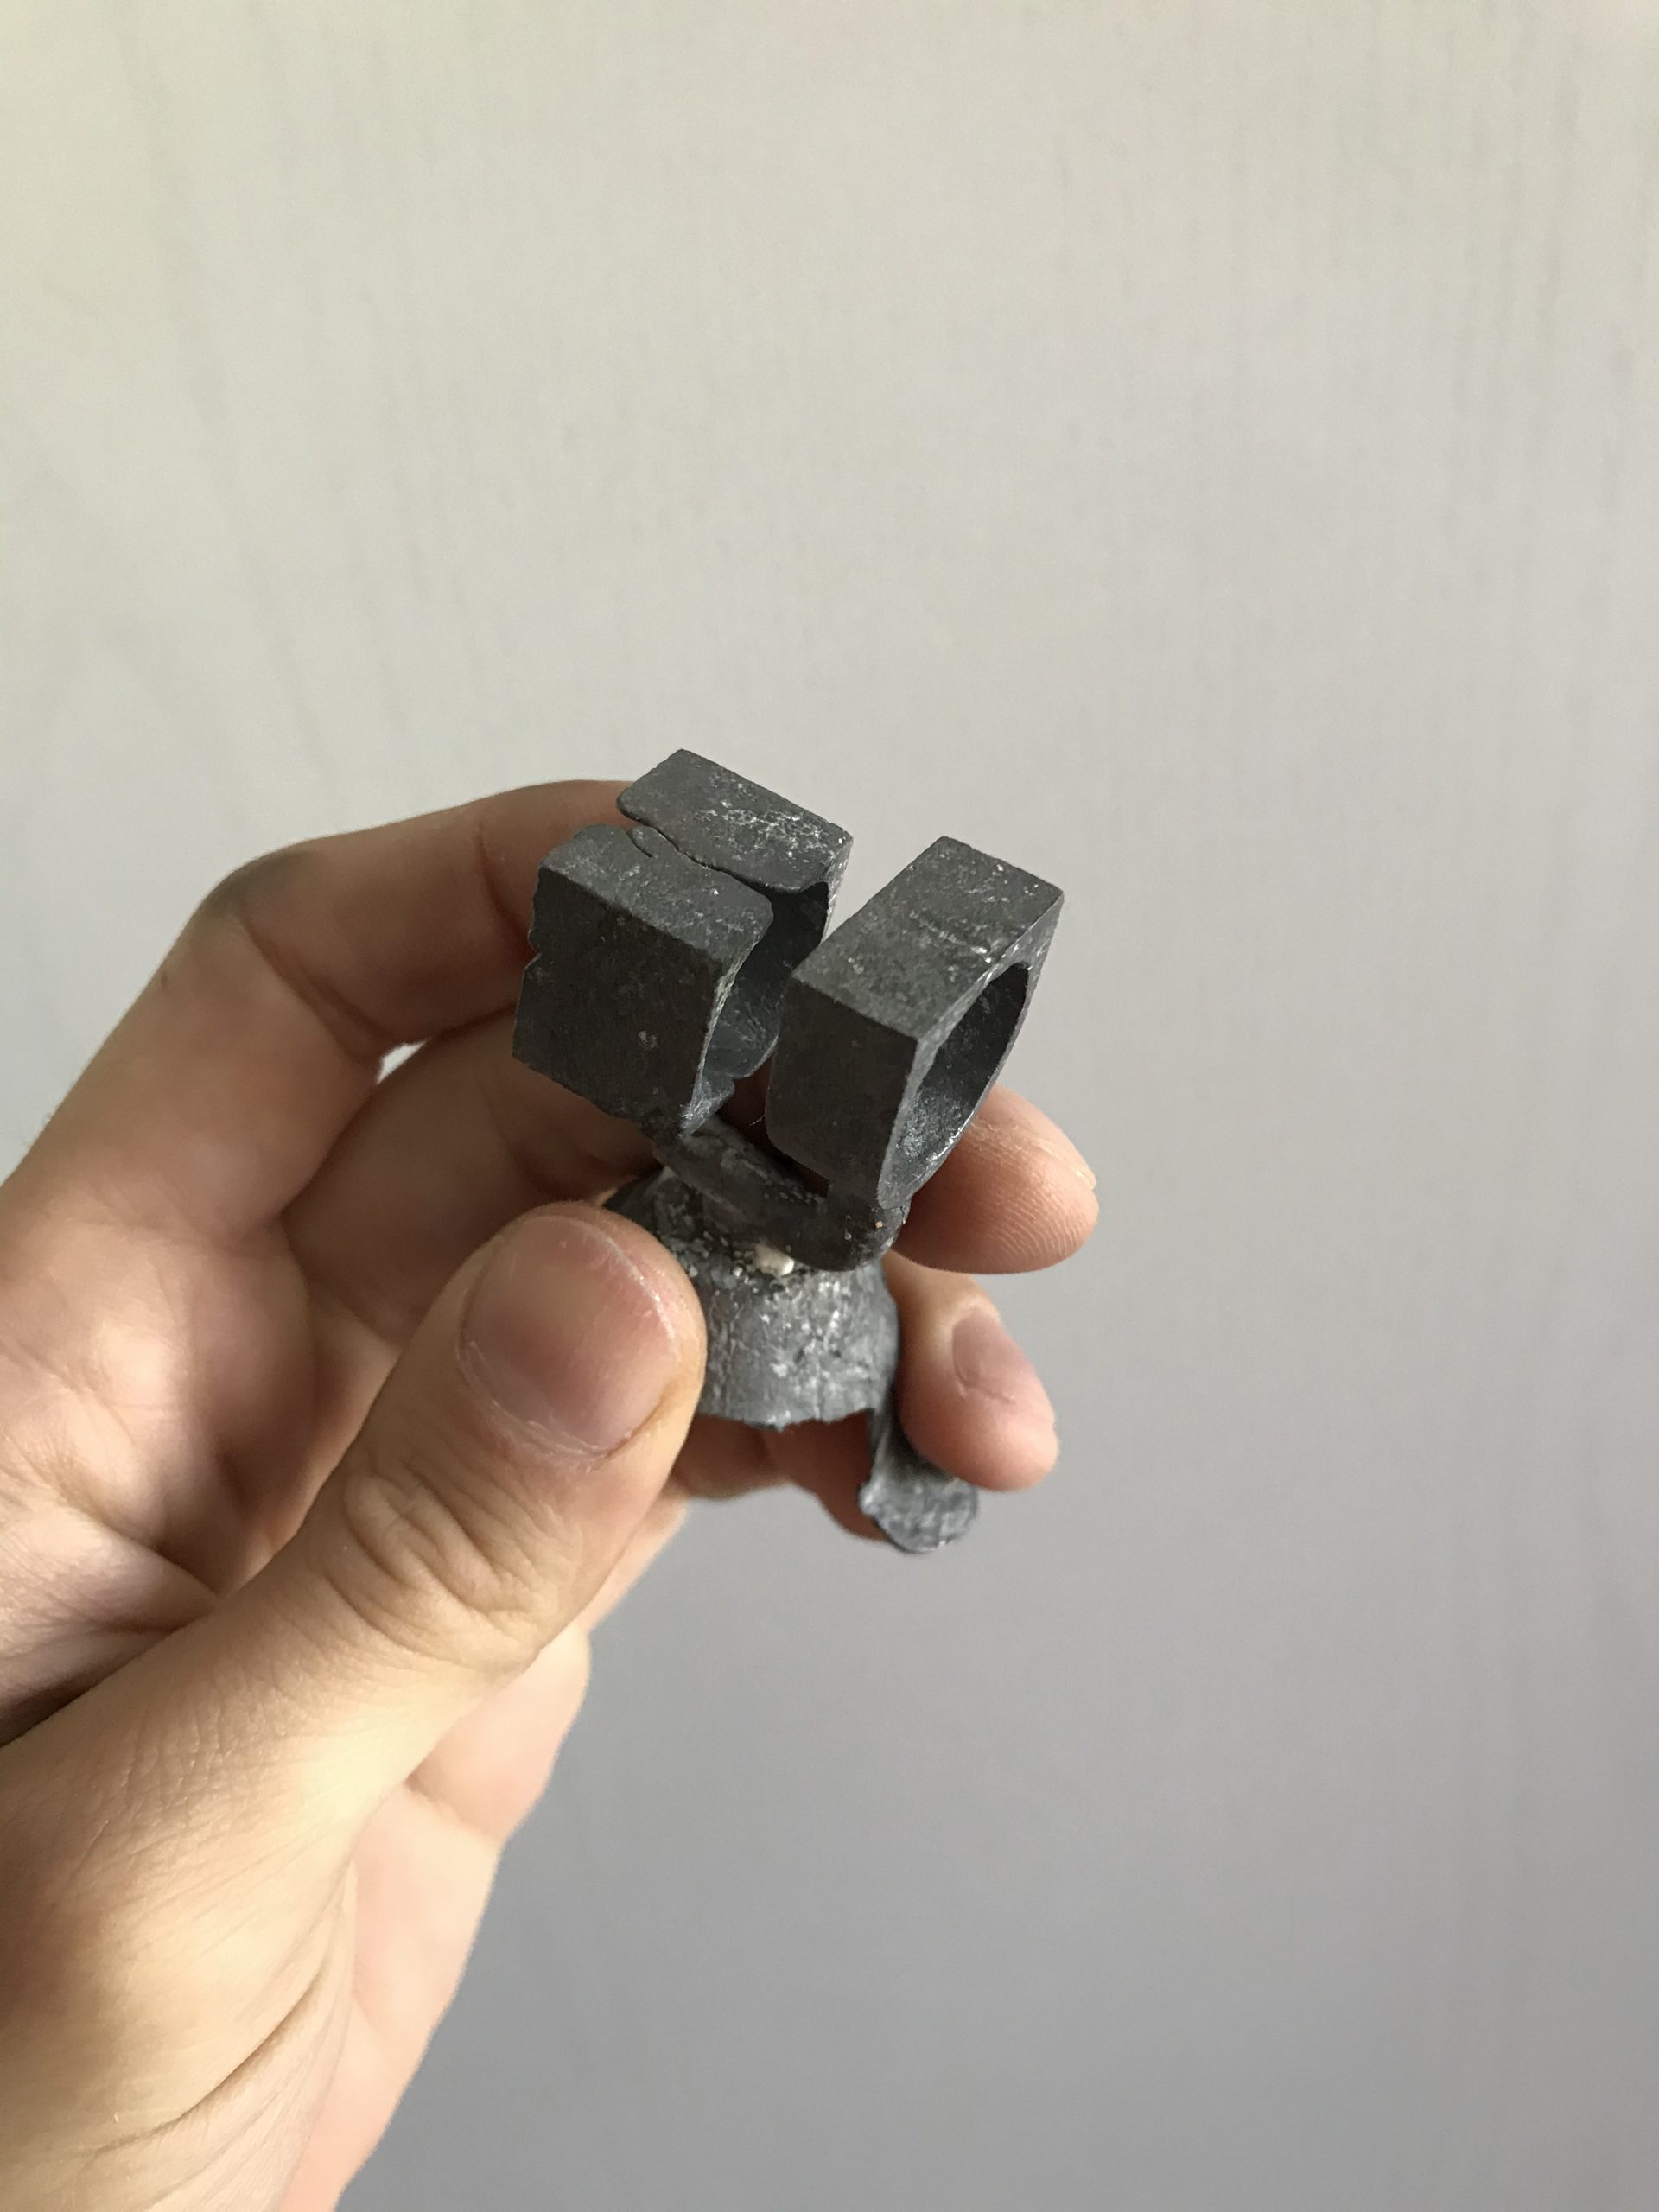
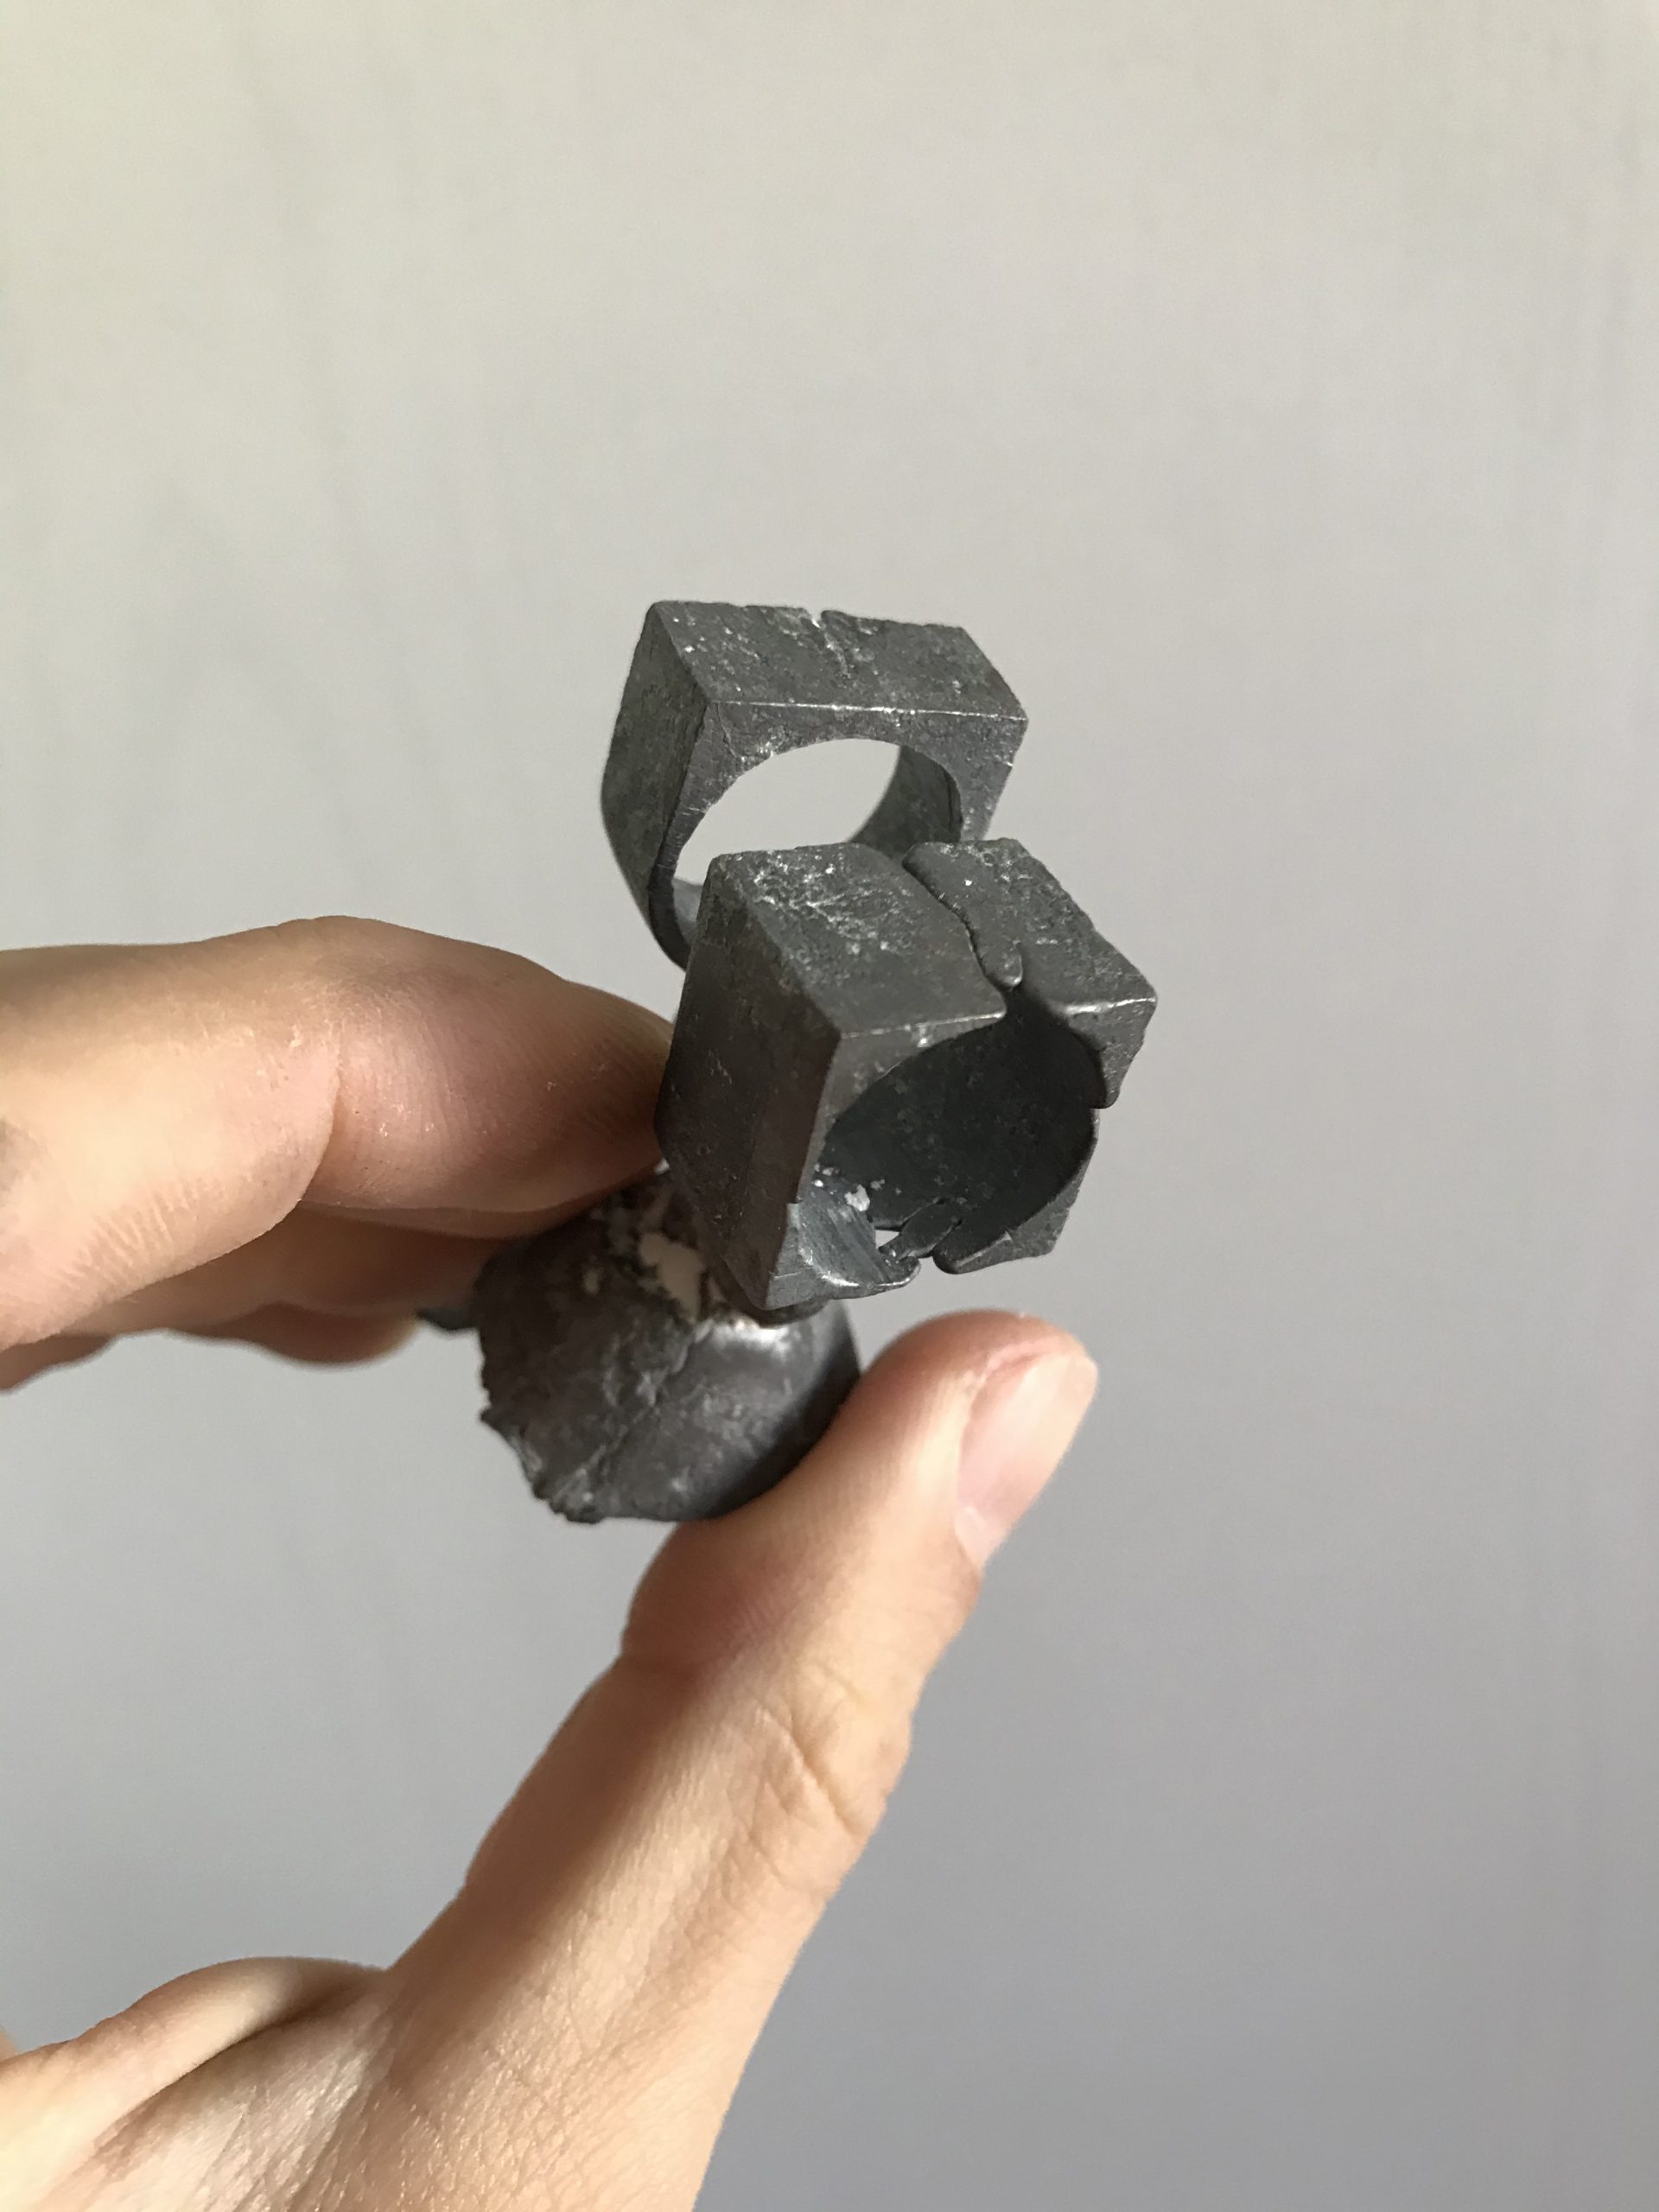
There are a lot of things wrong here, but it’s a start.
- Incompletely filled mould. This was probably caused by the room temperature pour and the lack of more inner sprues to guide the silver up to the top of the rings.
- Rough surface. I’m assuming this is also caused by the cold pour.
- Air bubbles. One of the rings has sharp edges and they are not filled completely. This is either because of the orientation of the model, the cold flask or the lack of a vacuum pull while pouring the silver.
We’ll try once more with a 600C flask temp when casting and see what changes. Fingers crossed!
Leave a Reply