
My first prop! – Iron Man’s Arc Reactor
I decided to build myself an arc reactor, because, really what’s a workshop without an arc reactor? The style I chose was the one that Tony Stark builds in order to escape from the cave he was kept in, because I thought this one looked more elaborate.
Started off by making a quick design in Solidworks, because all the components were to be printed or laser cut.
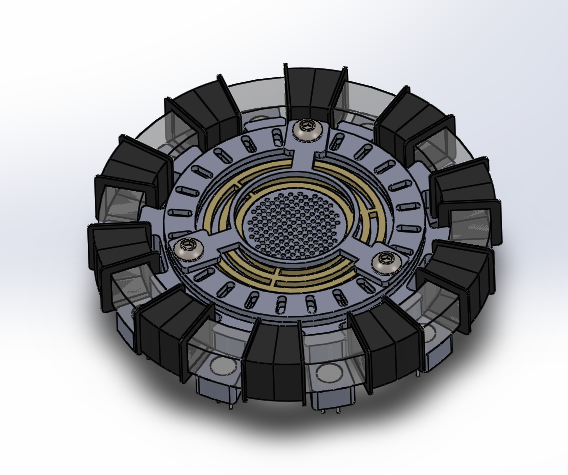
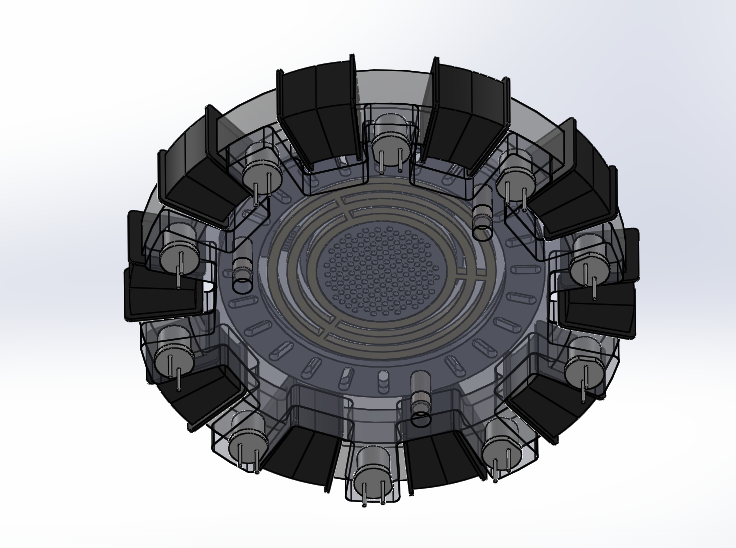
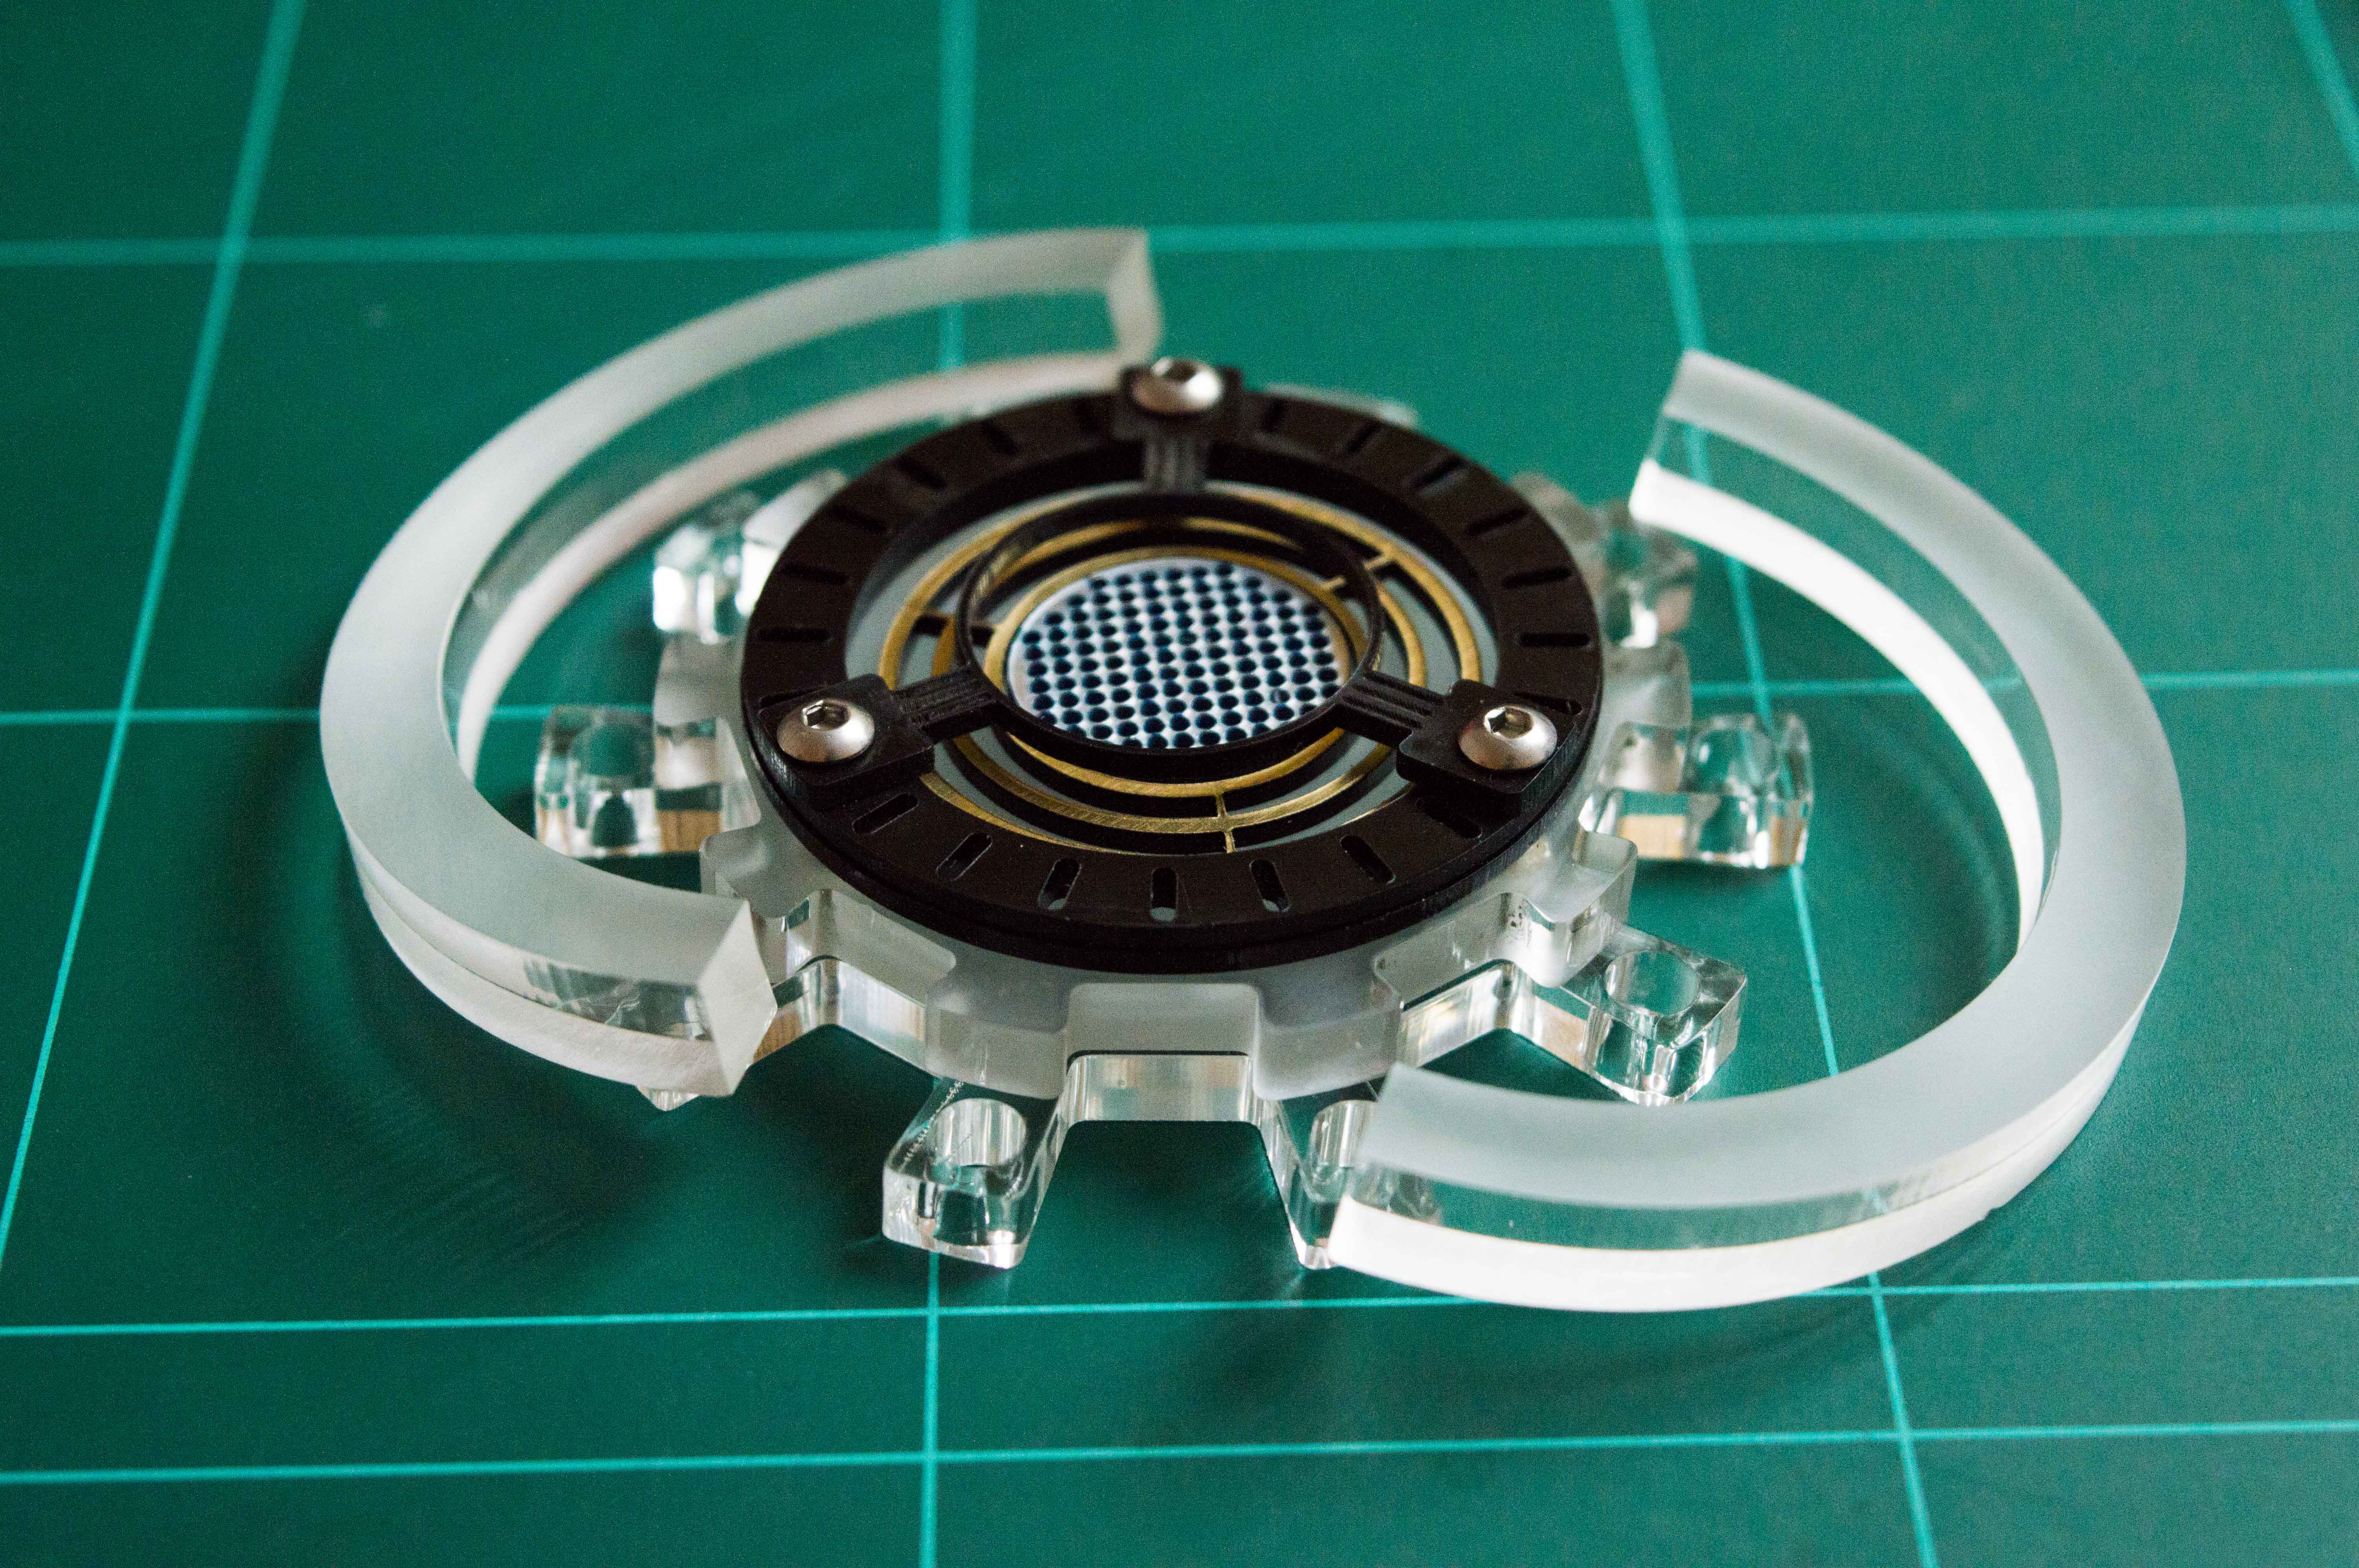
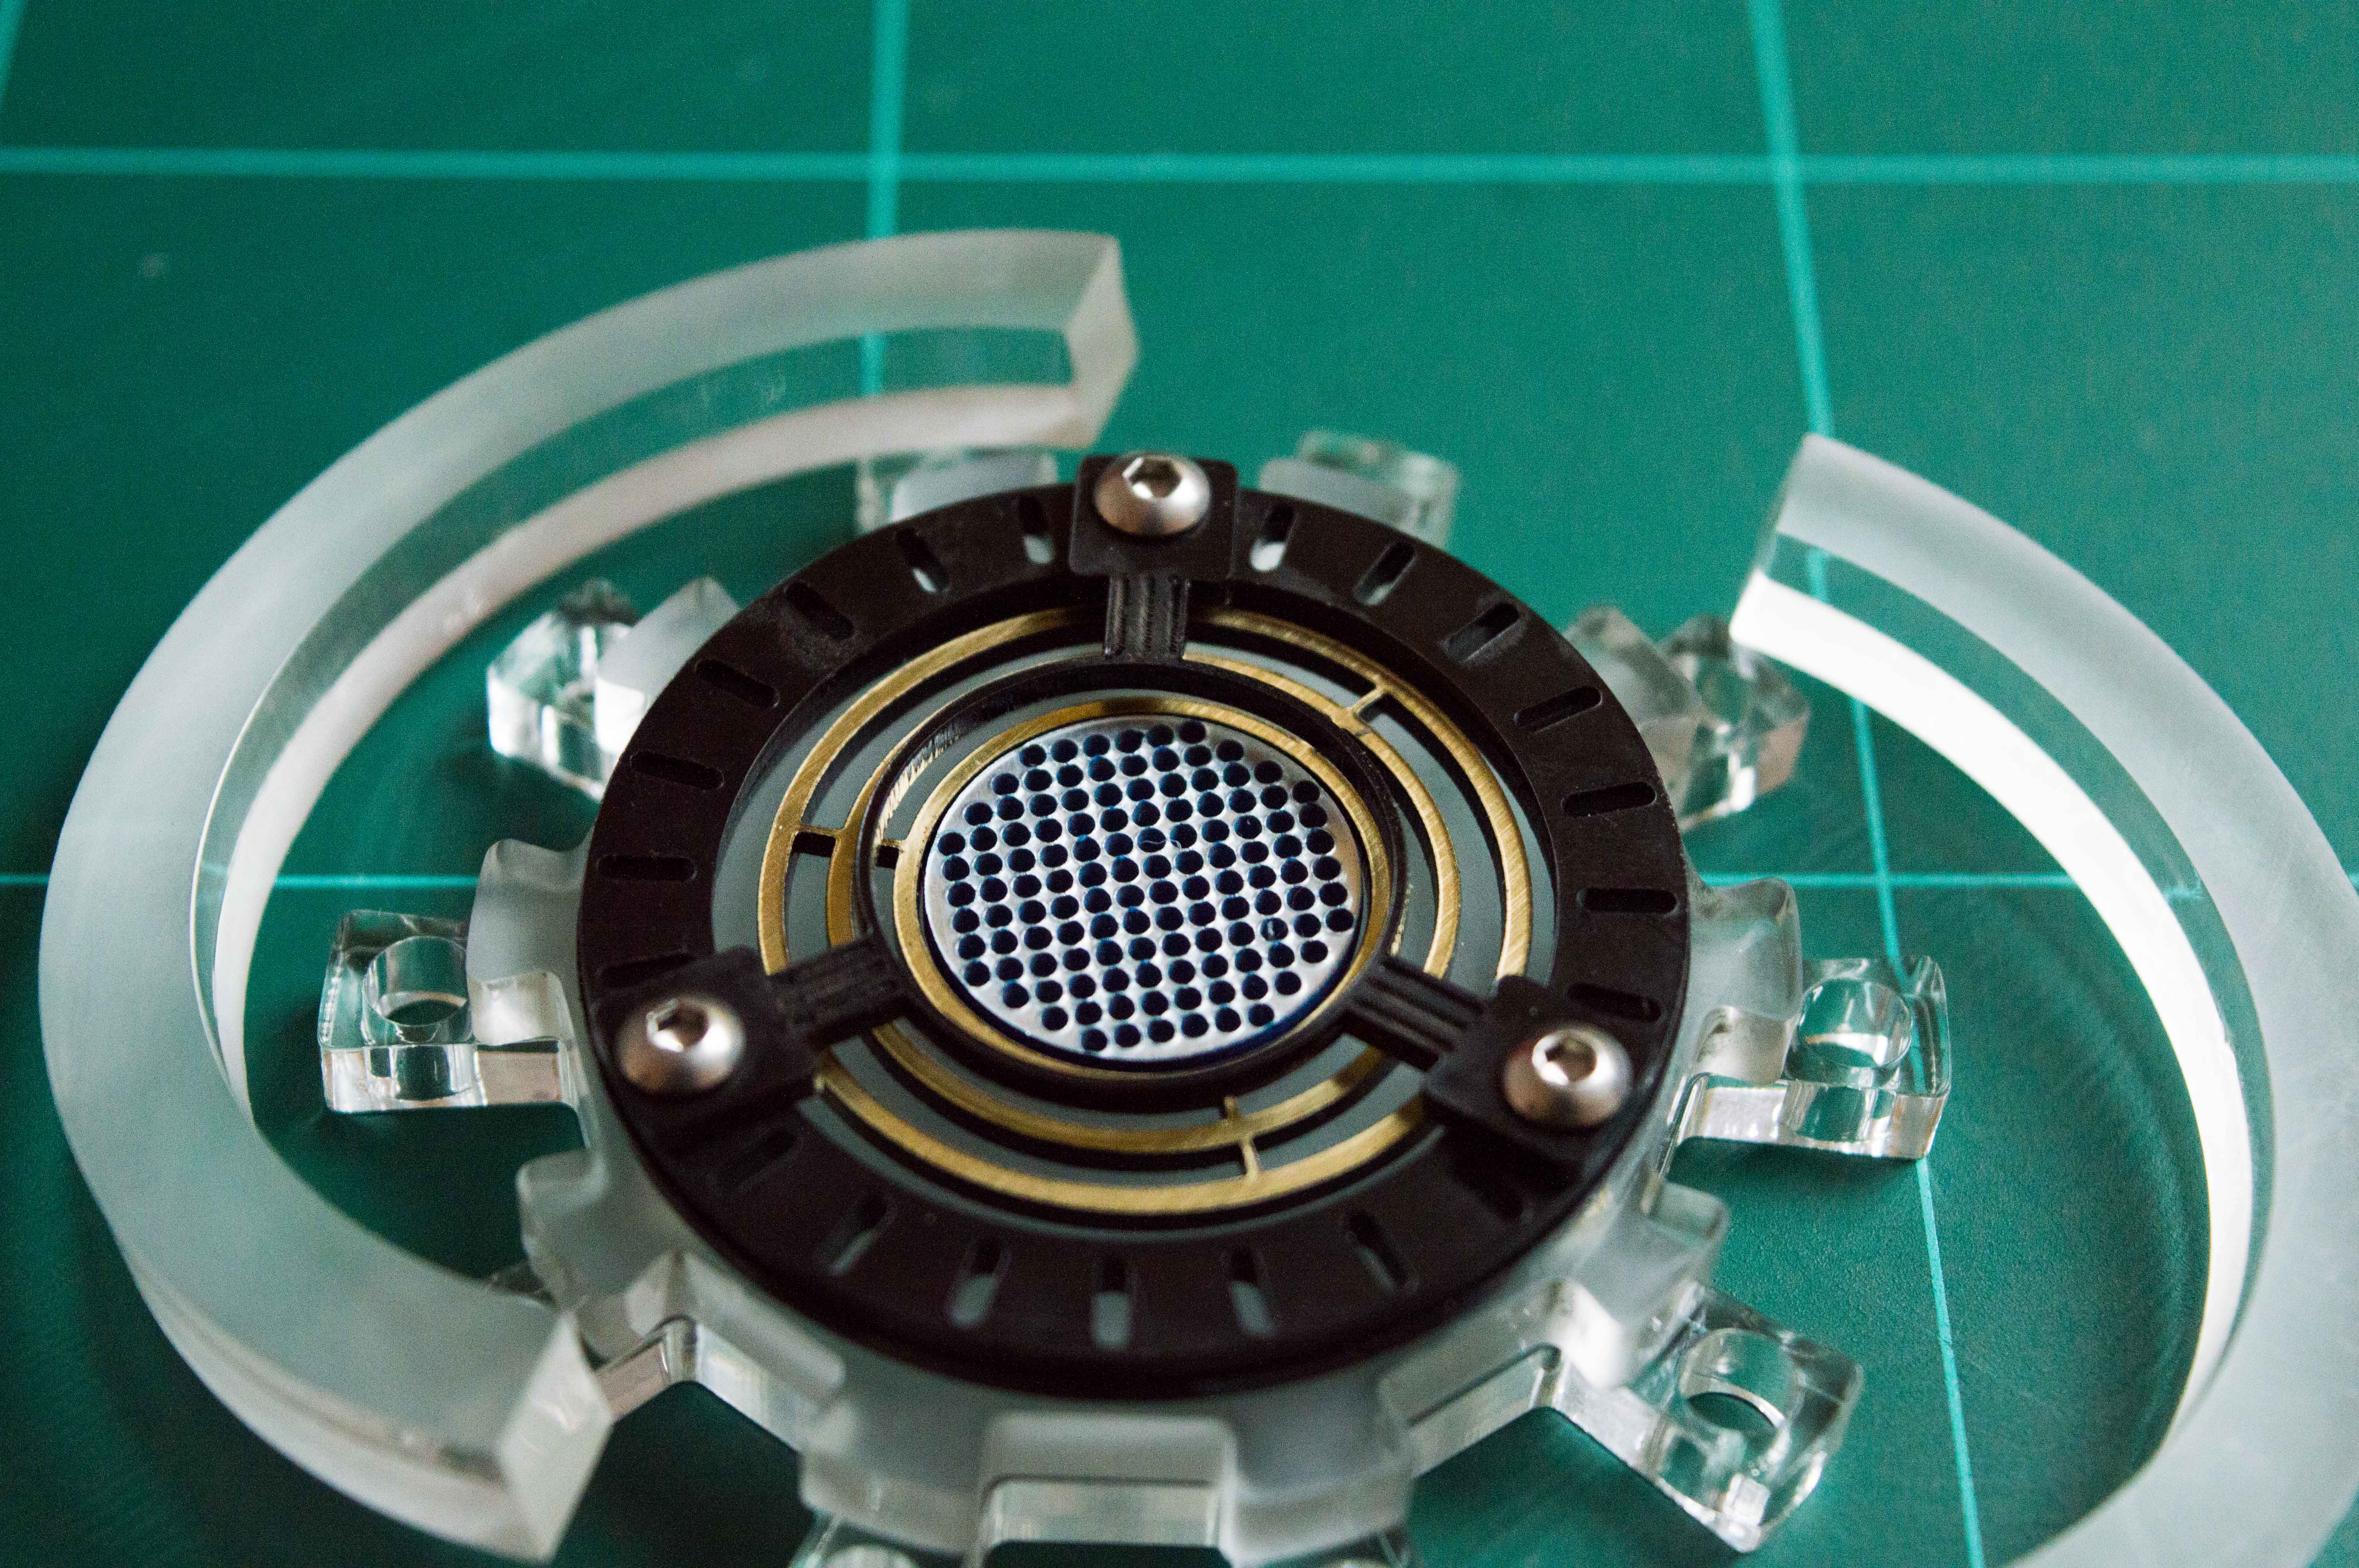
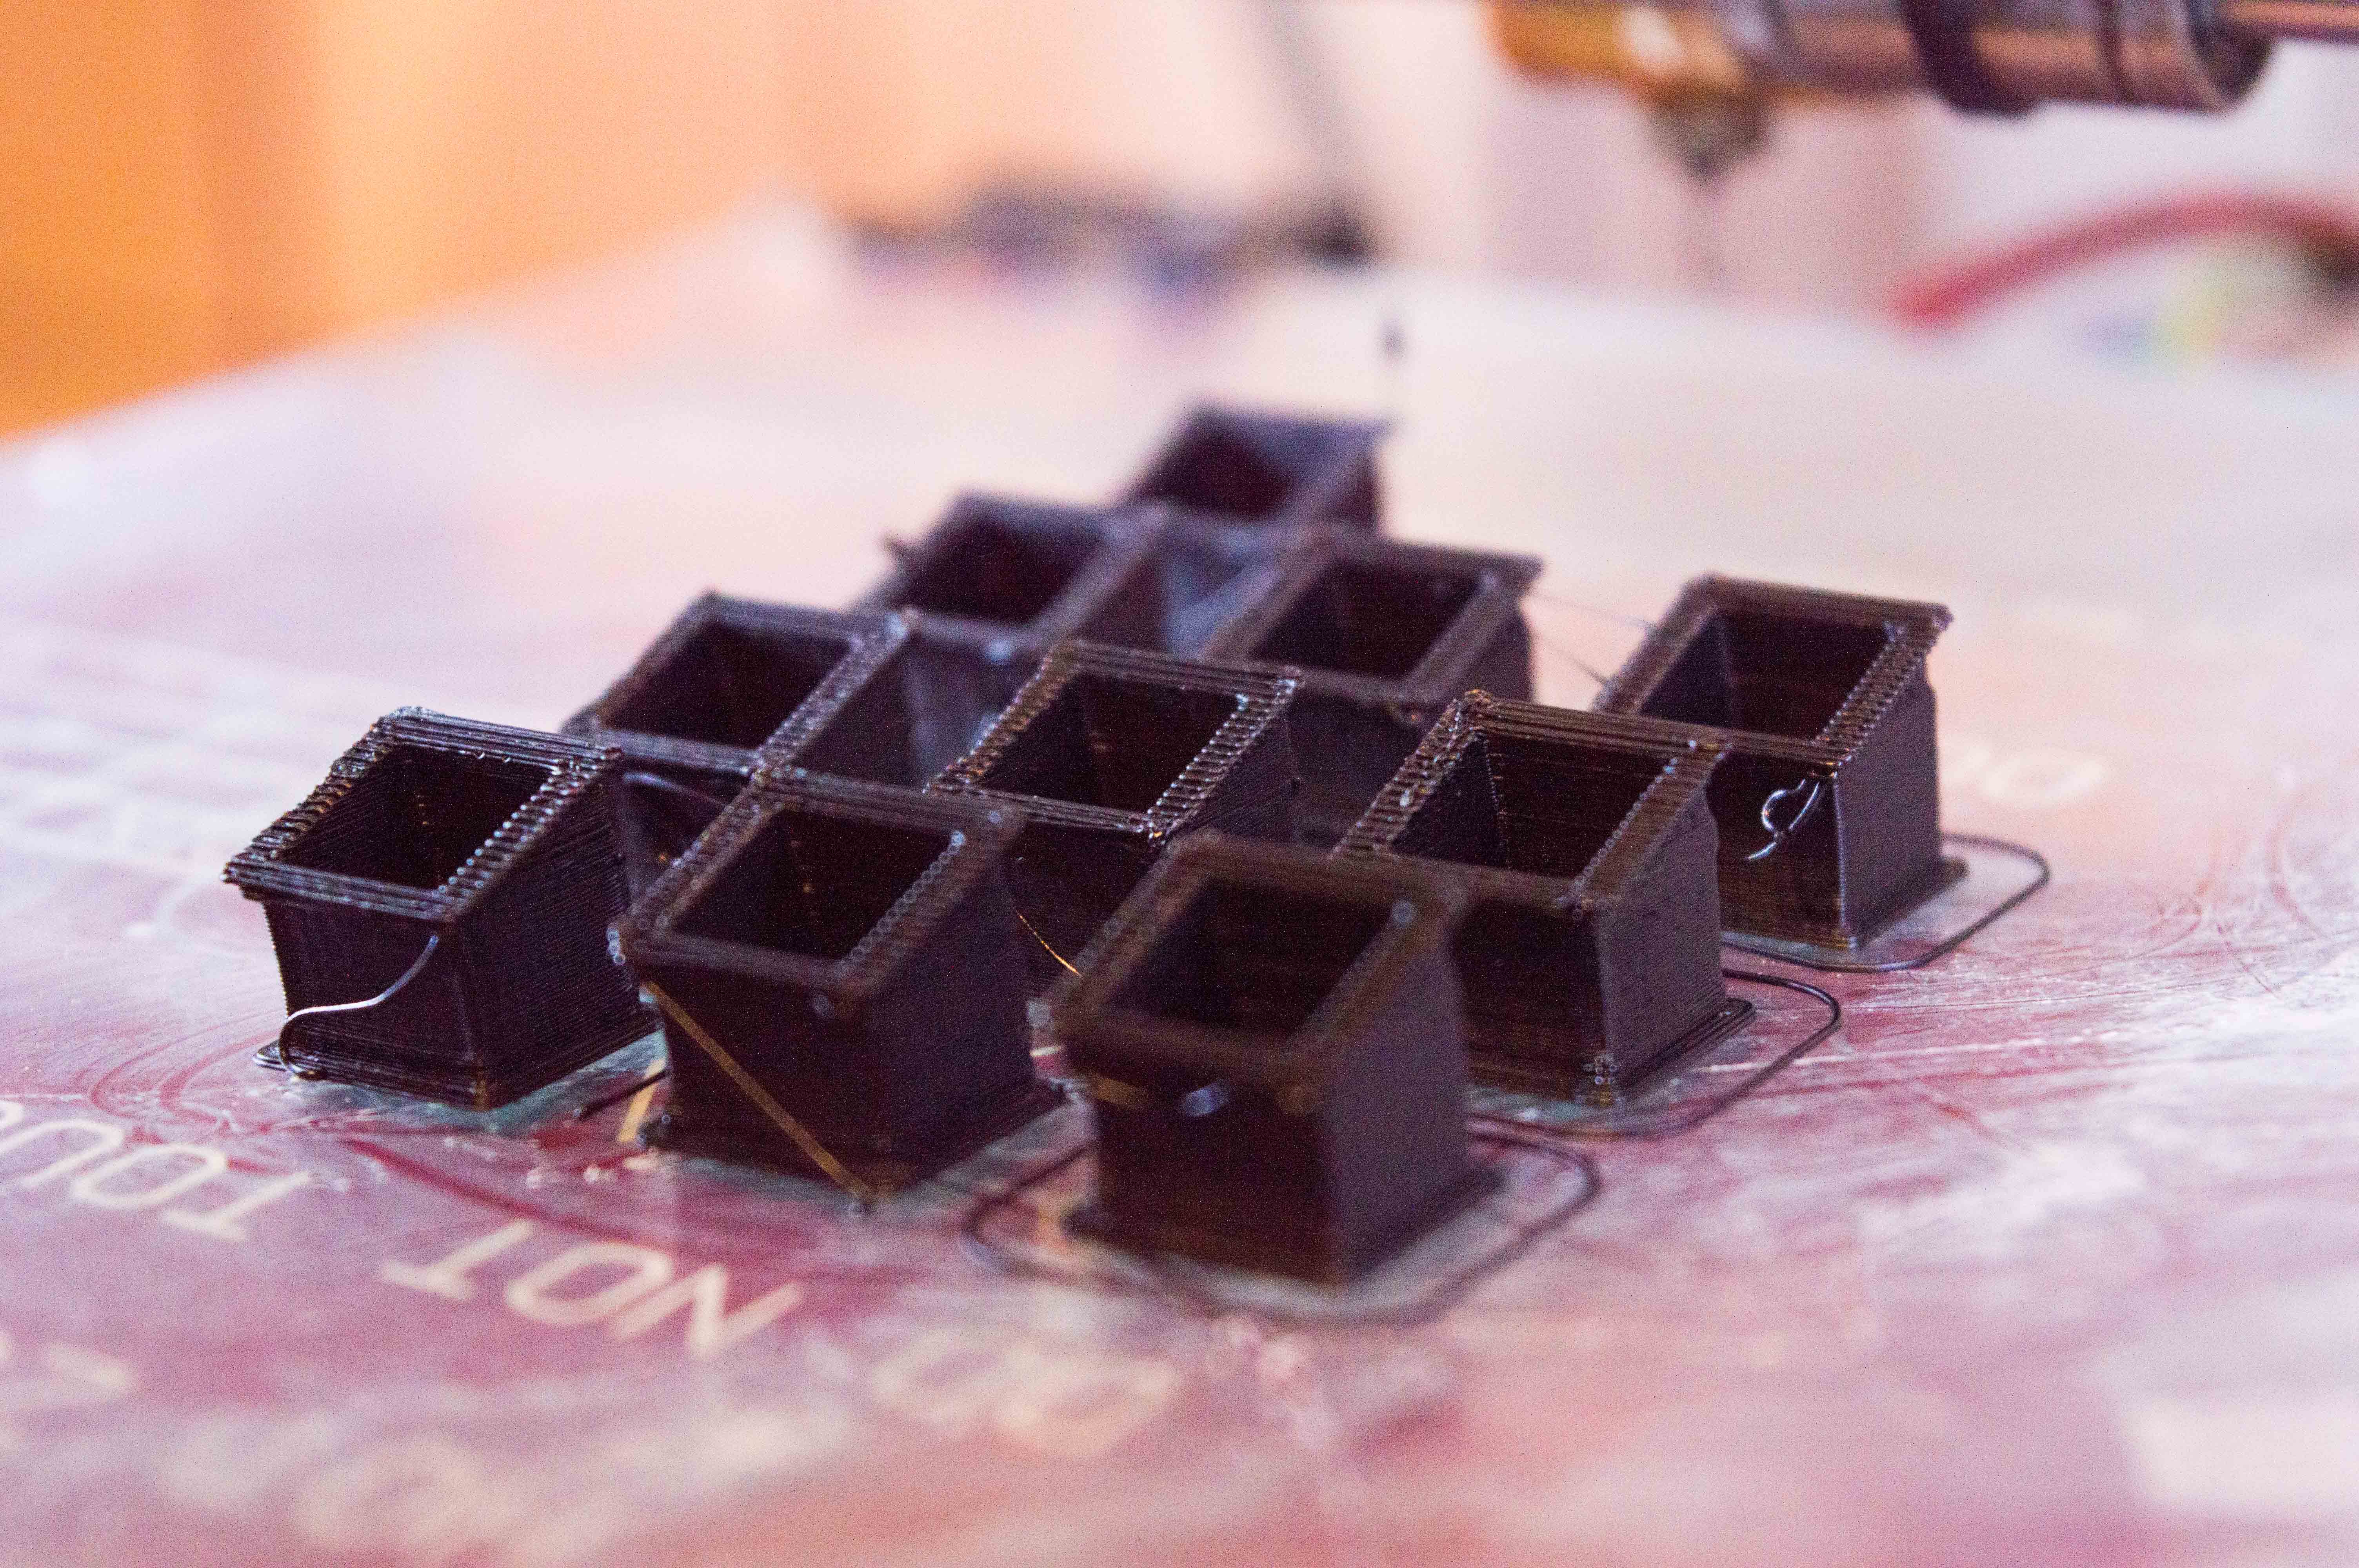
This was what I came up with. The bobbins of the ten coils to be 3d printed, and all other parts laser cut out of clear acrylic or two colour ABS. Thankfully I had some left over 1.5mm Black-Gold ABS which came in handy for the components in the middle of the reactor, because those were all black and gold. The center grill was cut out of silver and blue ABS. The ring and back plates were cut out of 5mm clear acrylic.
What is still missing from the design is a way to illuminate the middle of the reactor and also a housing. This is because I thought a NodeMCU would fit inside to maybe serve up a web page in order to control the LEDs or some fun functionality like that, so I didn’t want to rush it.
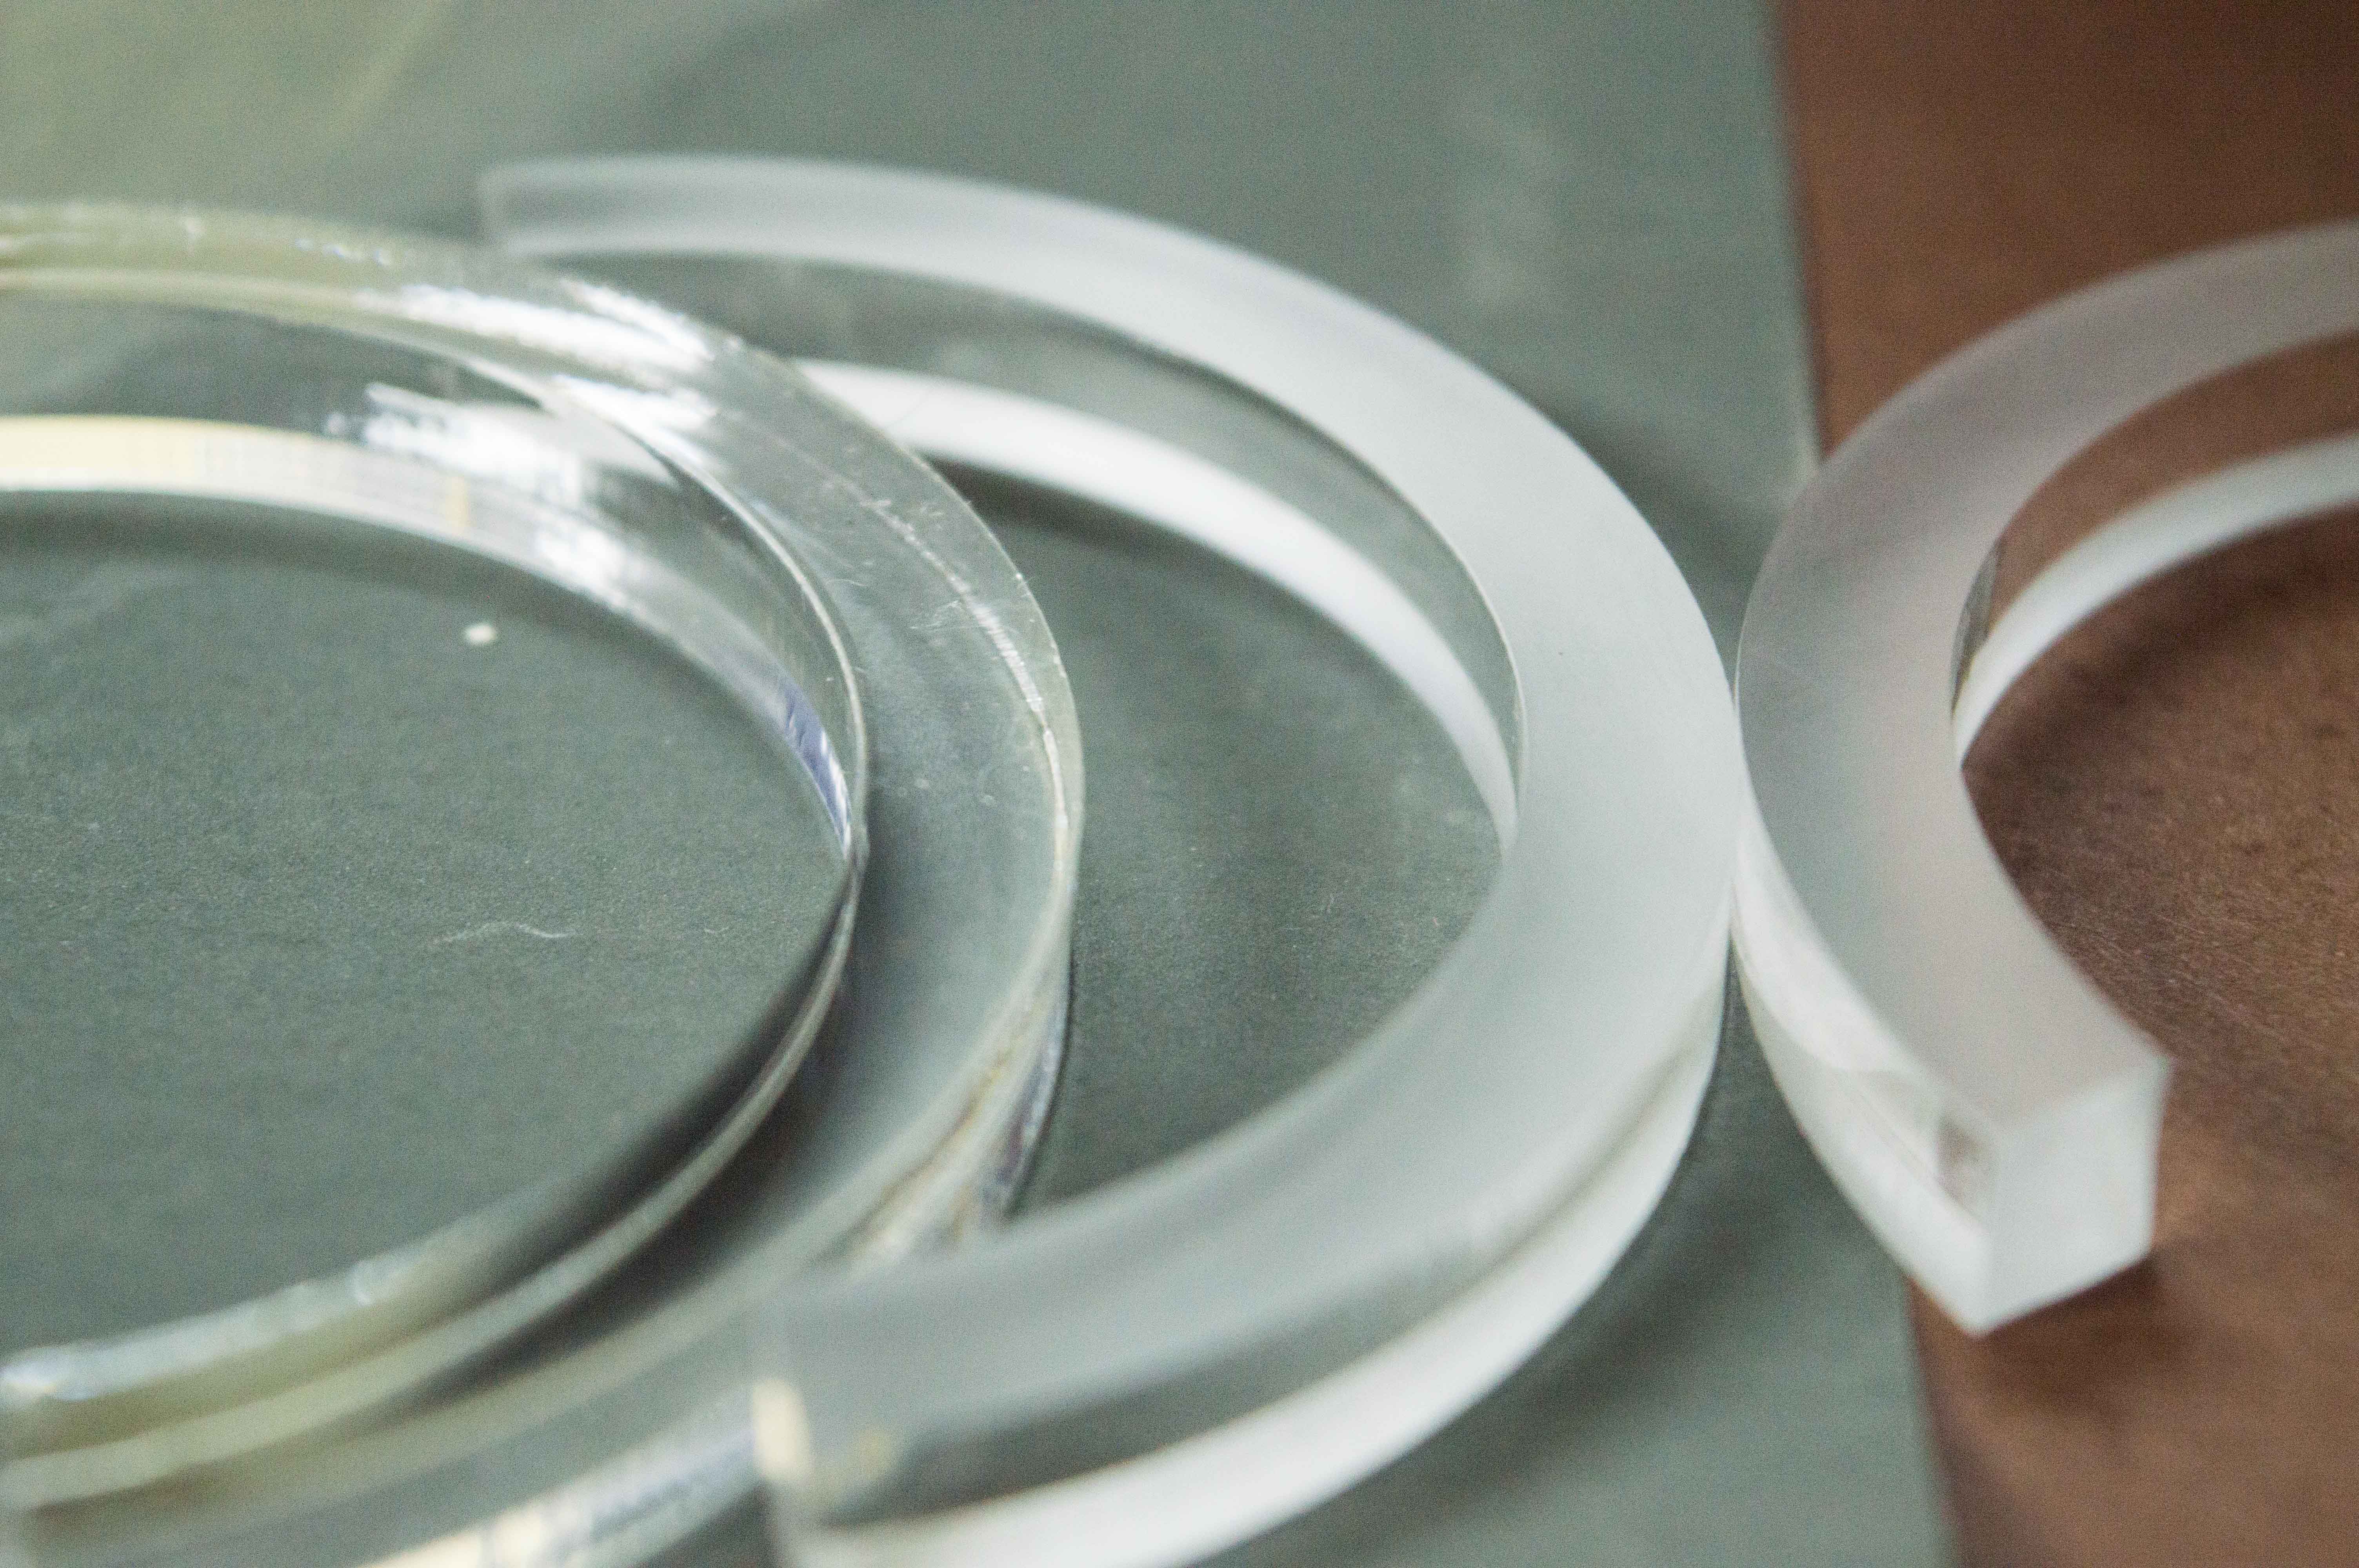
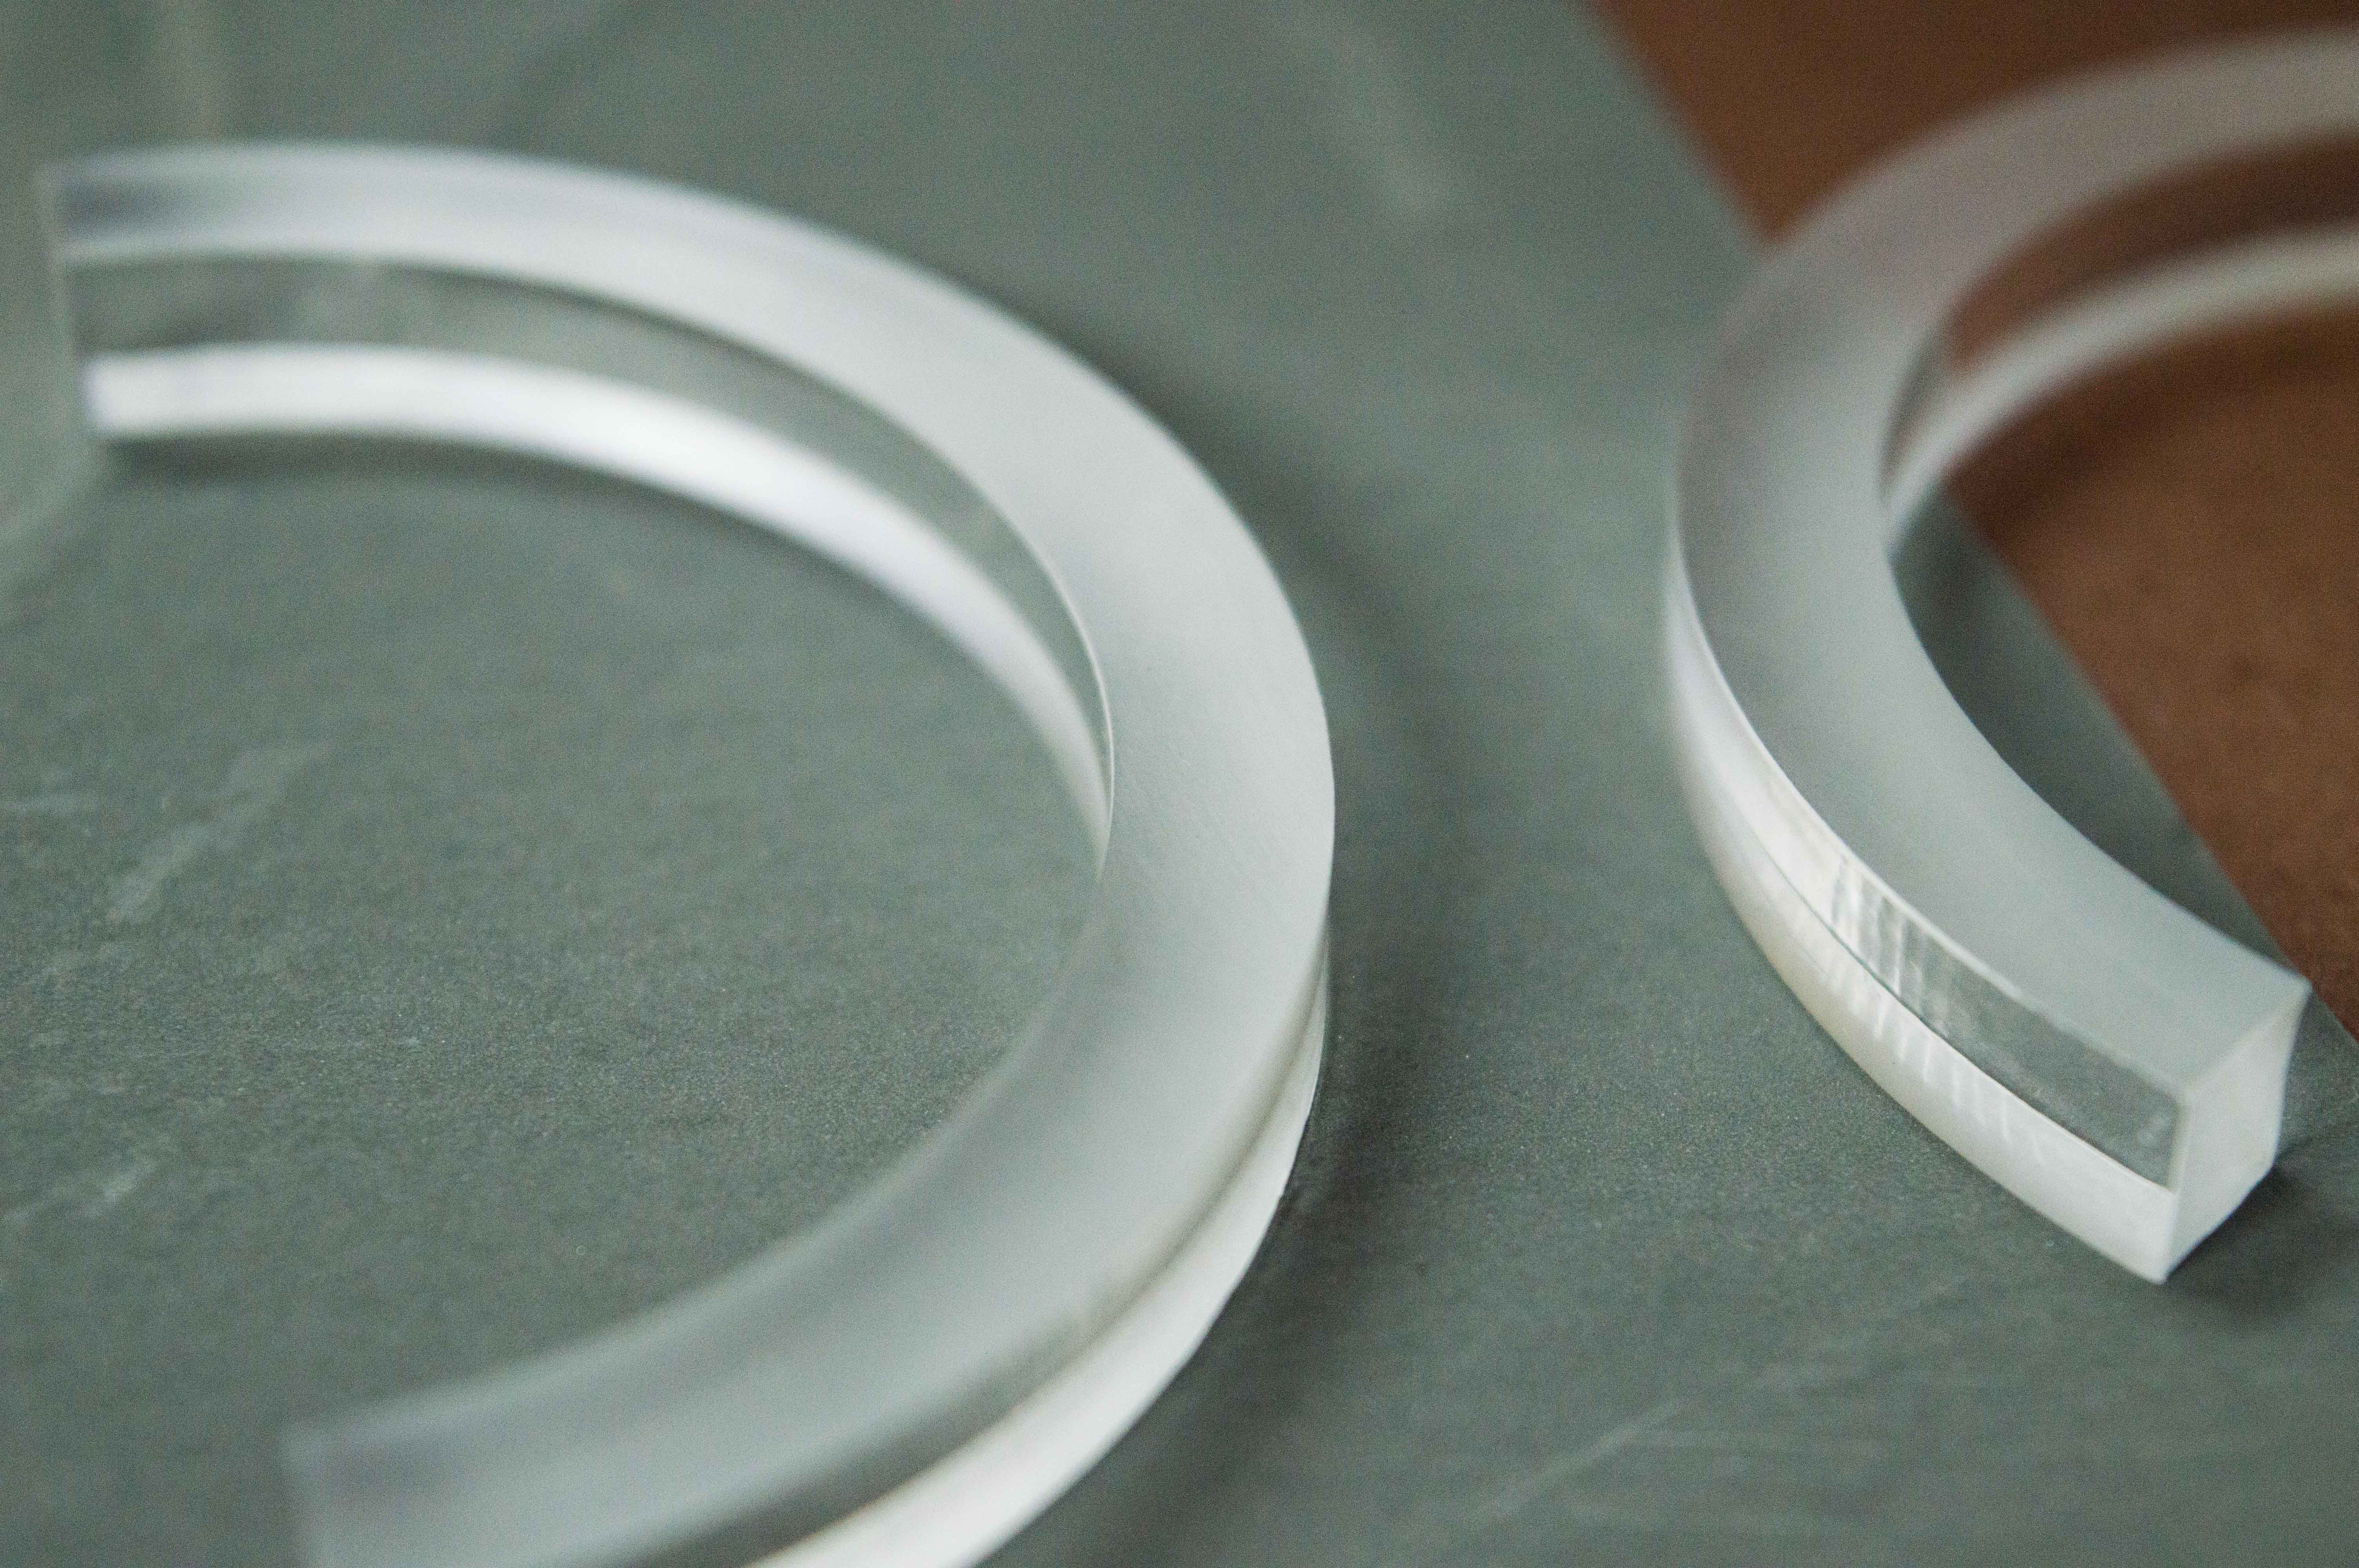
I then got started on cutting the acrylic parts. I didn’t have any frosted acrylic so I sanded it with 800 grit sandpaper and some WD-40. Worked like a charm:

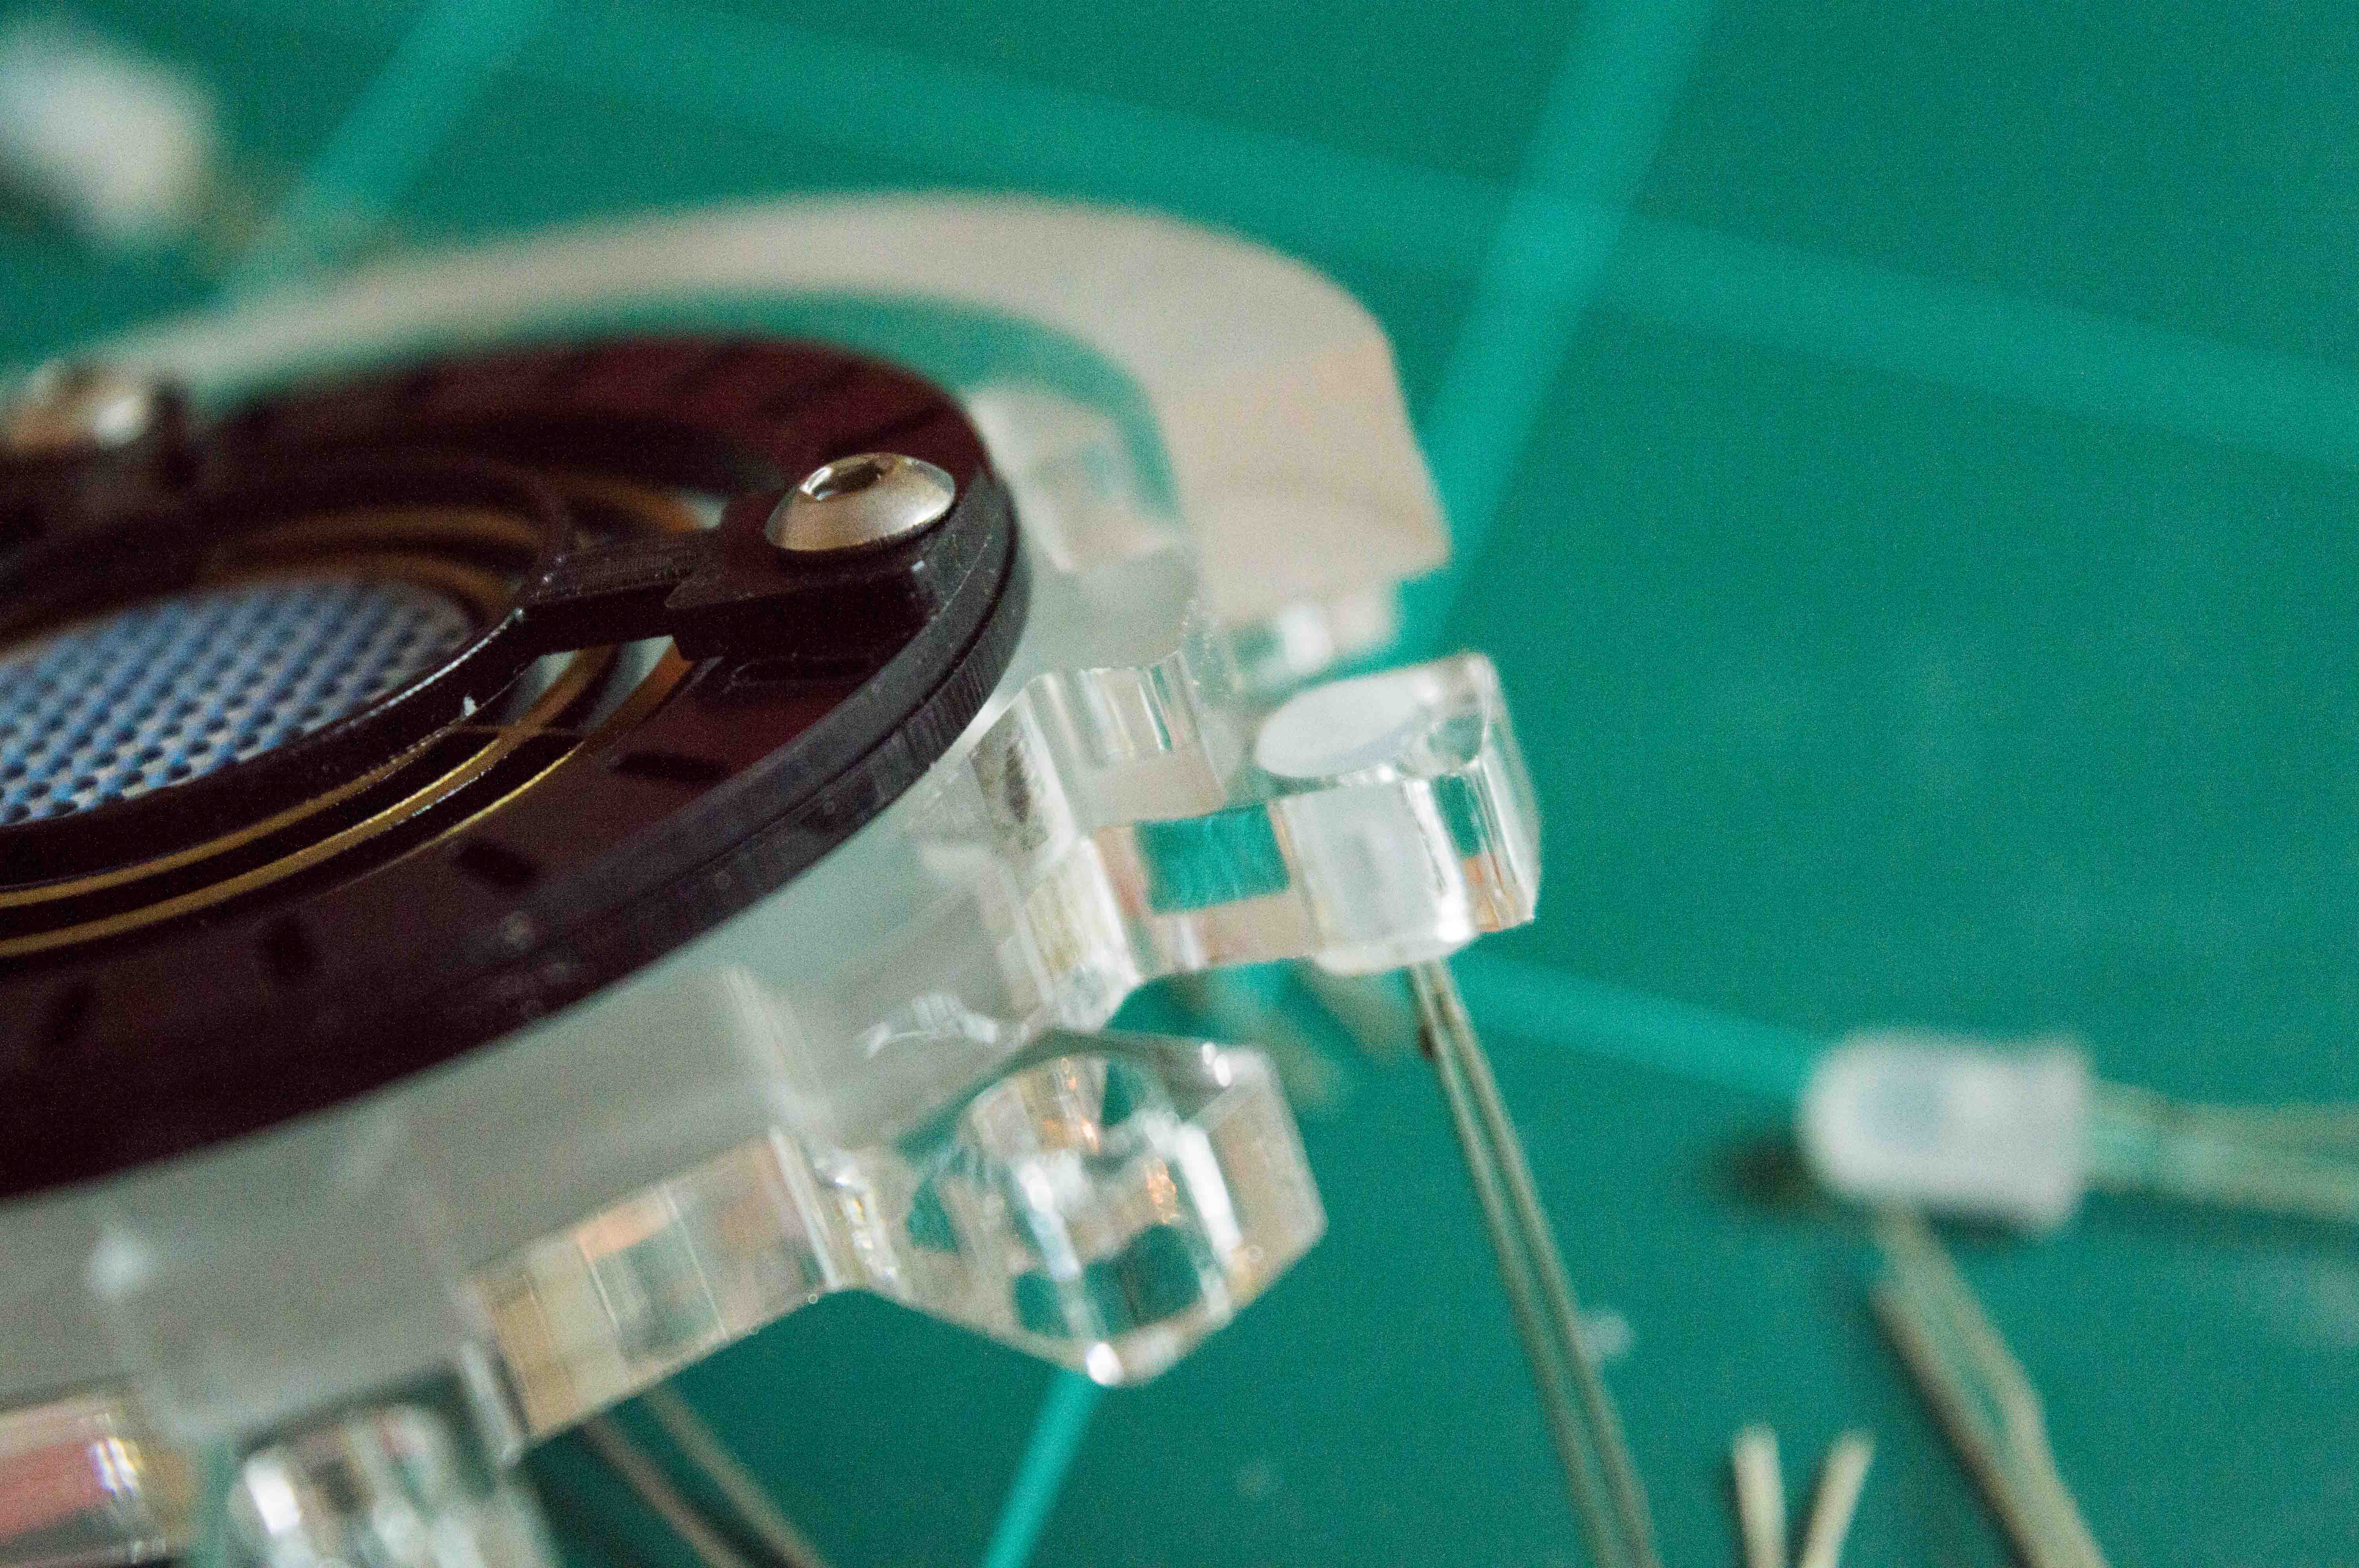
On to assembly while the bobbins are printing:
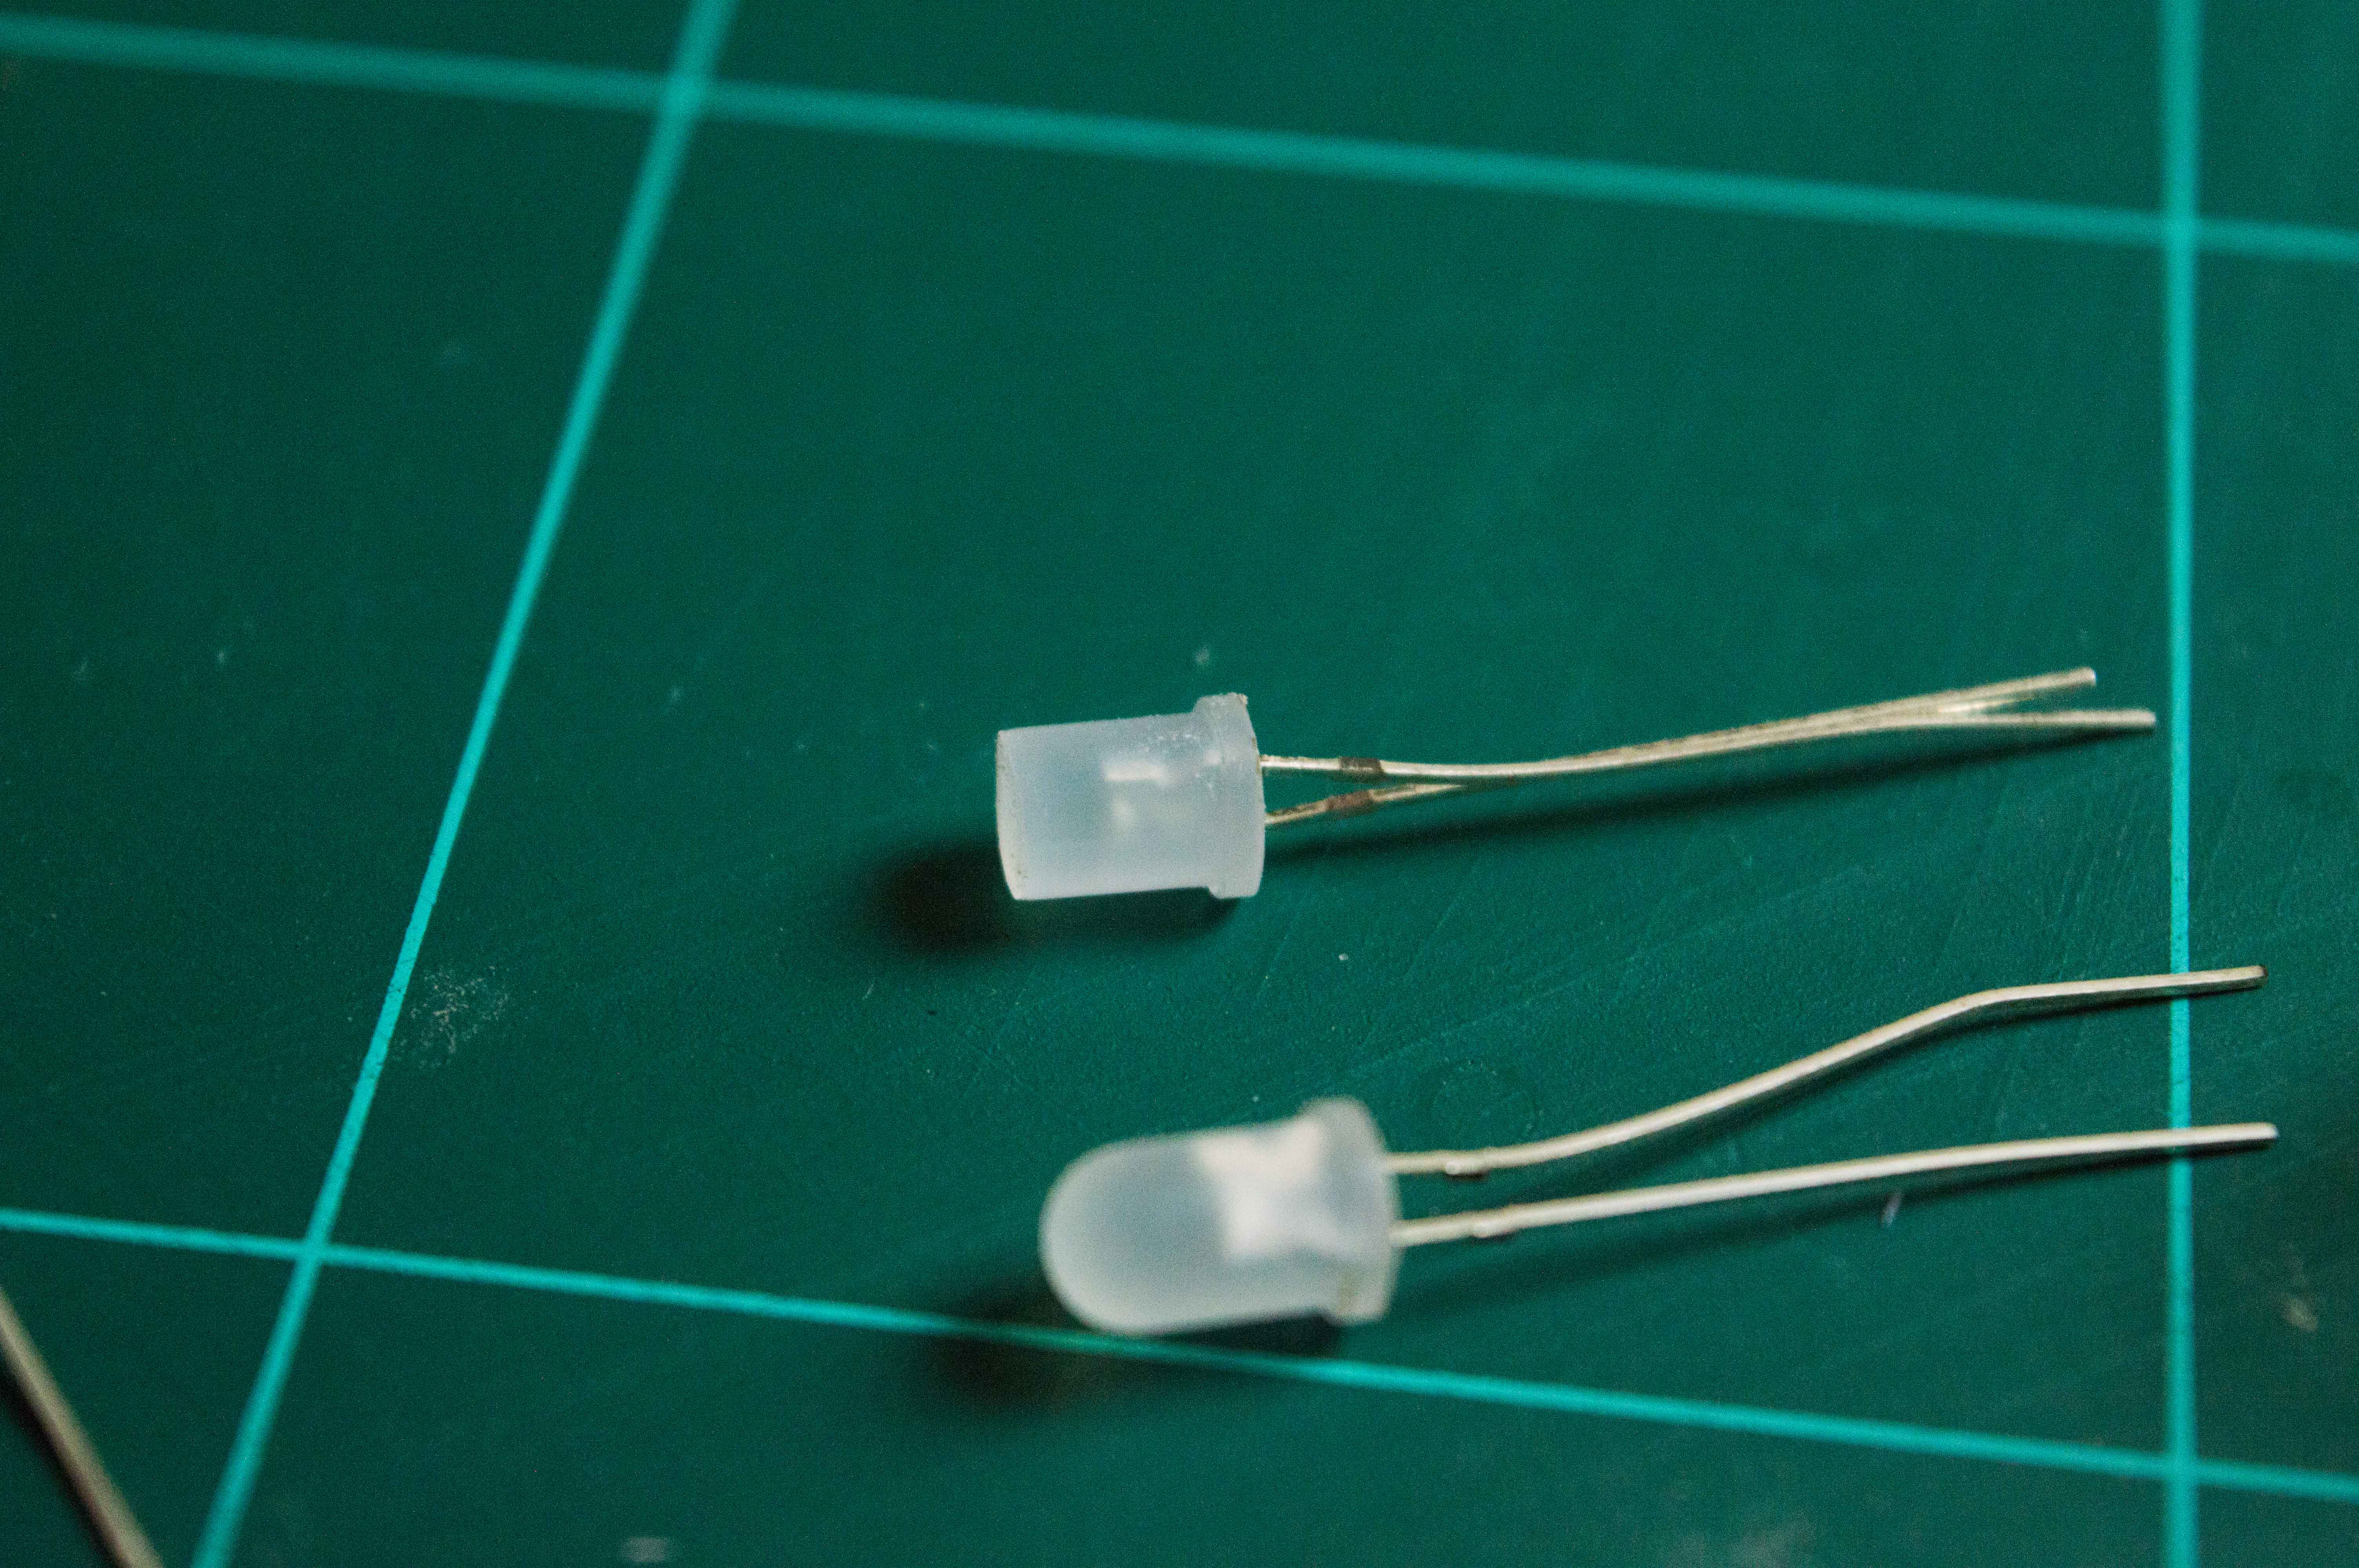
I had to sand down the leds in order for them to fit into the 5mm acrylic base plate:

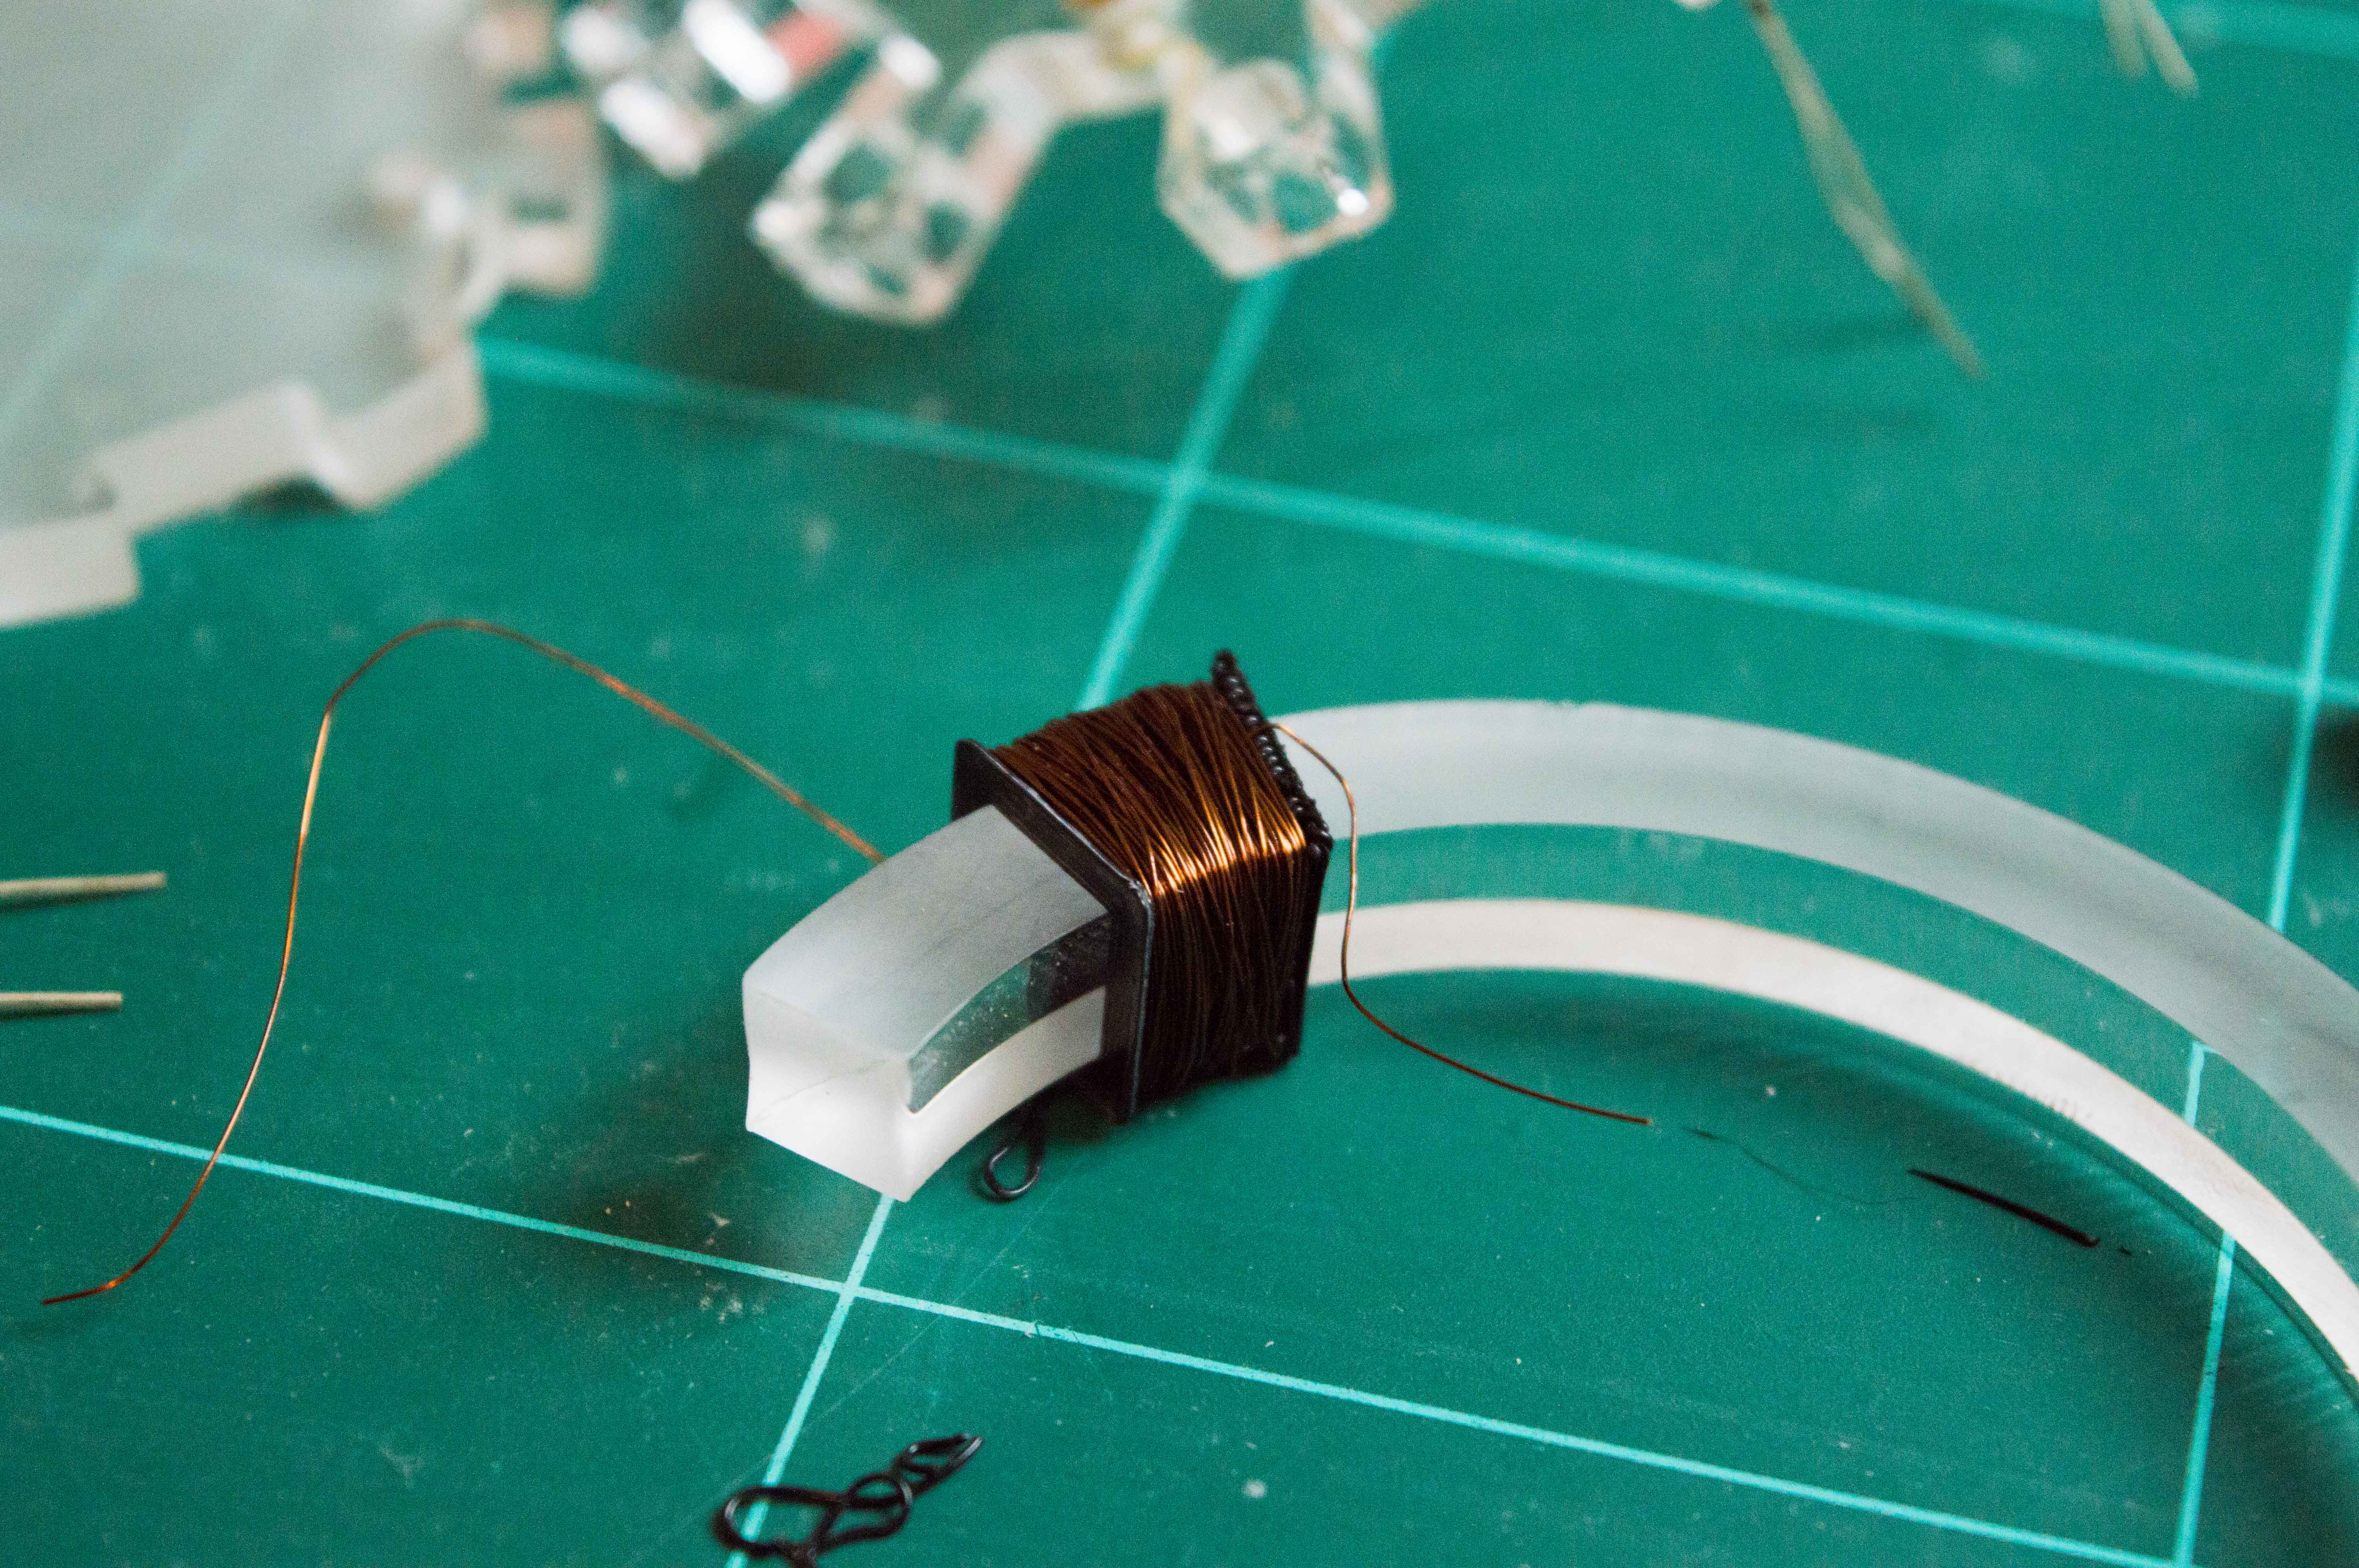
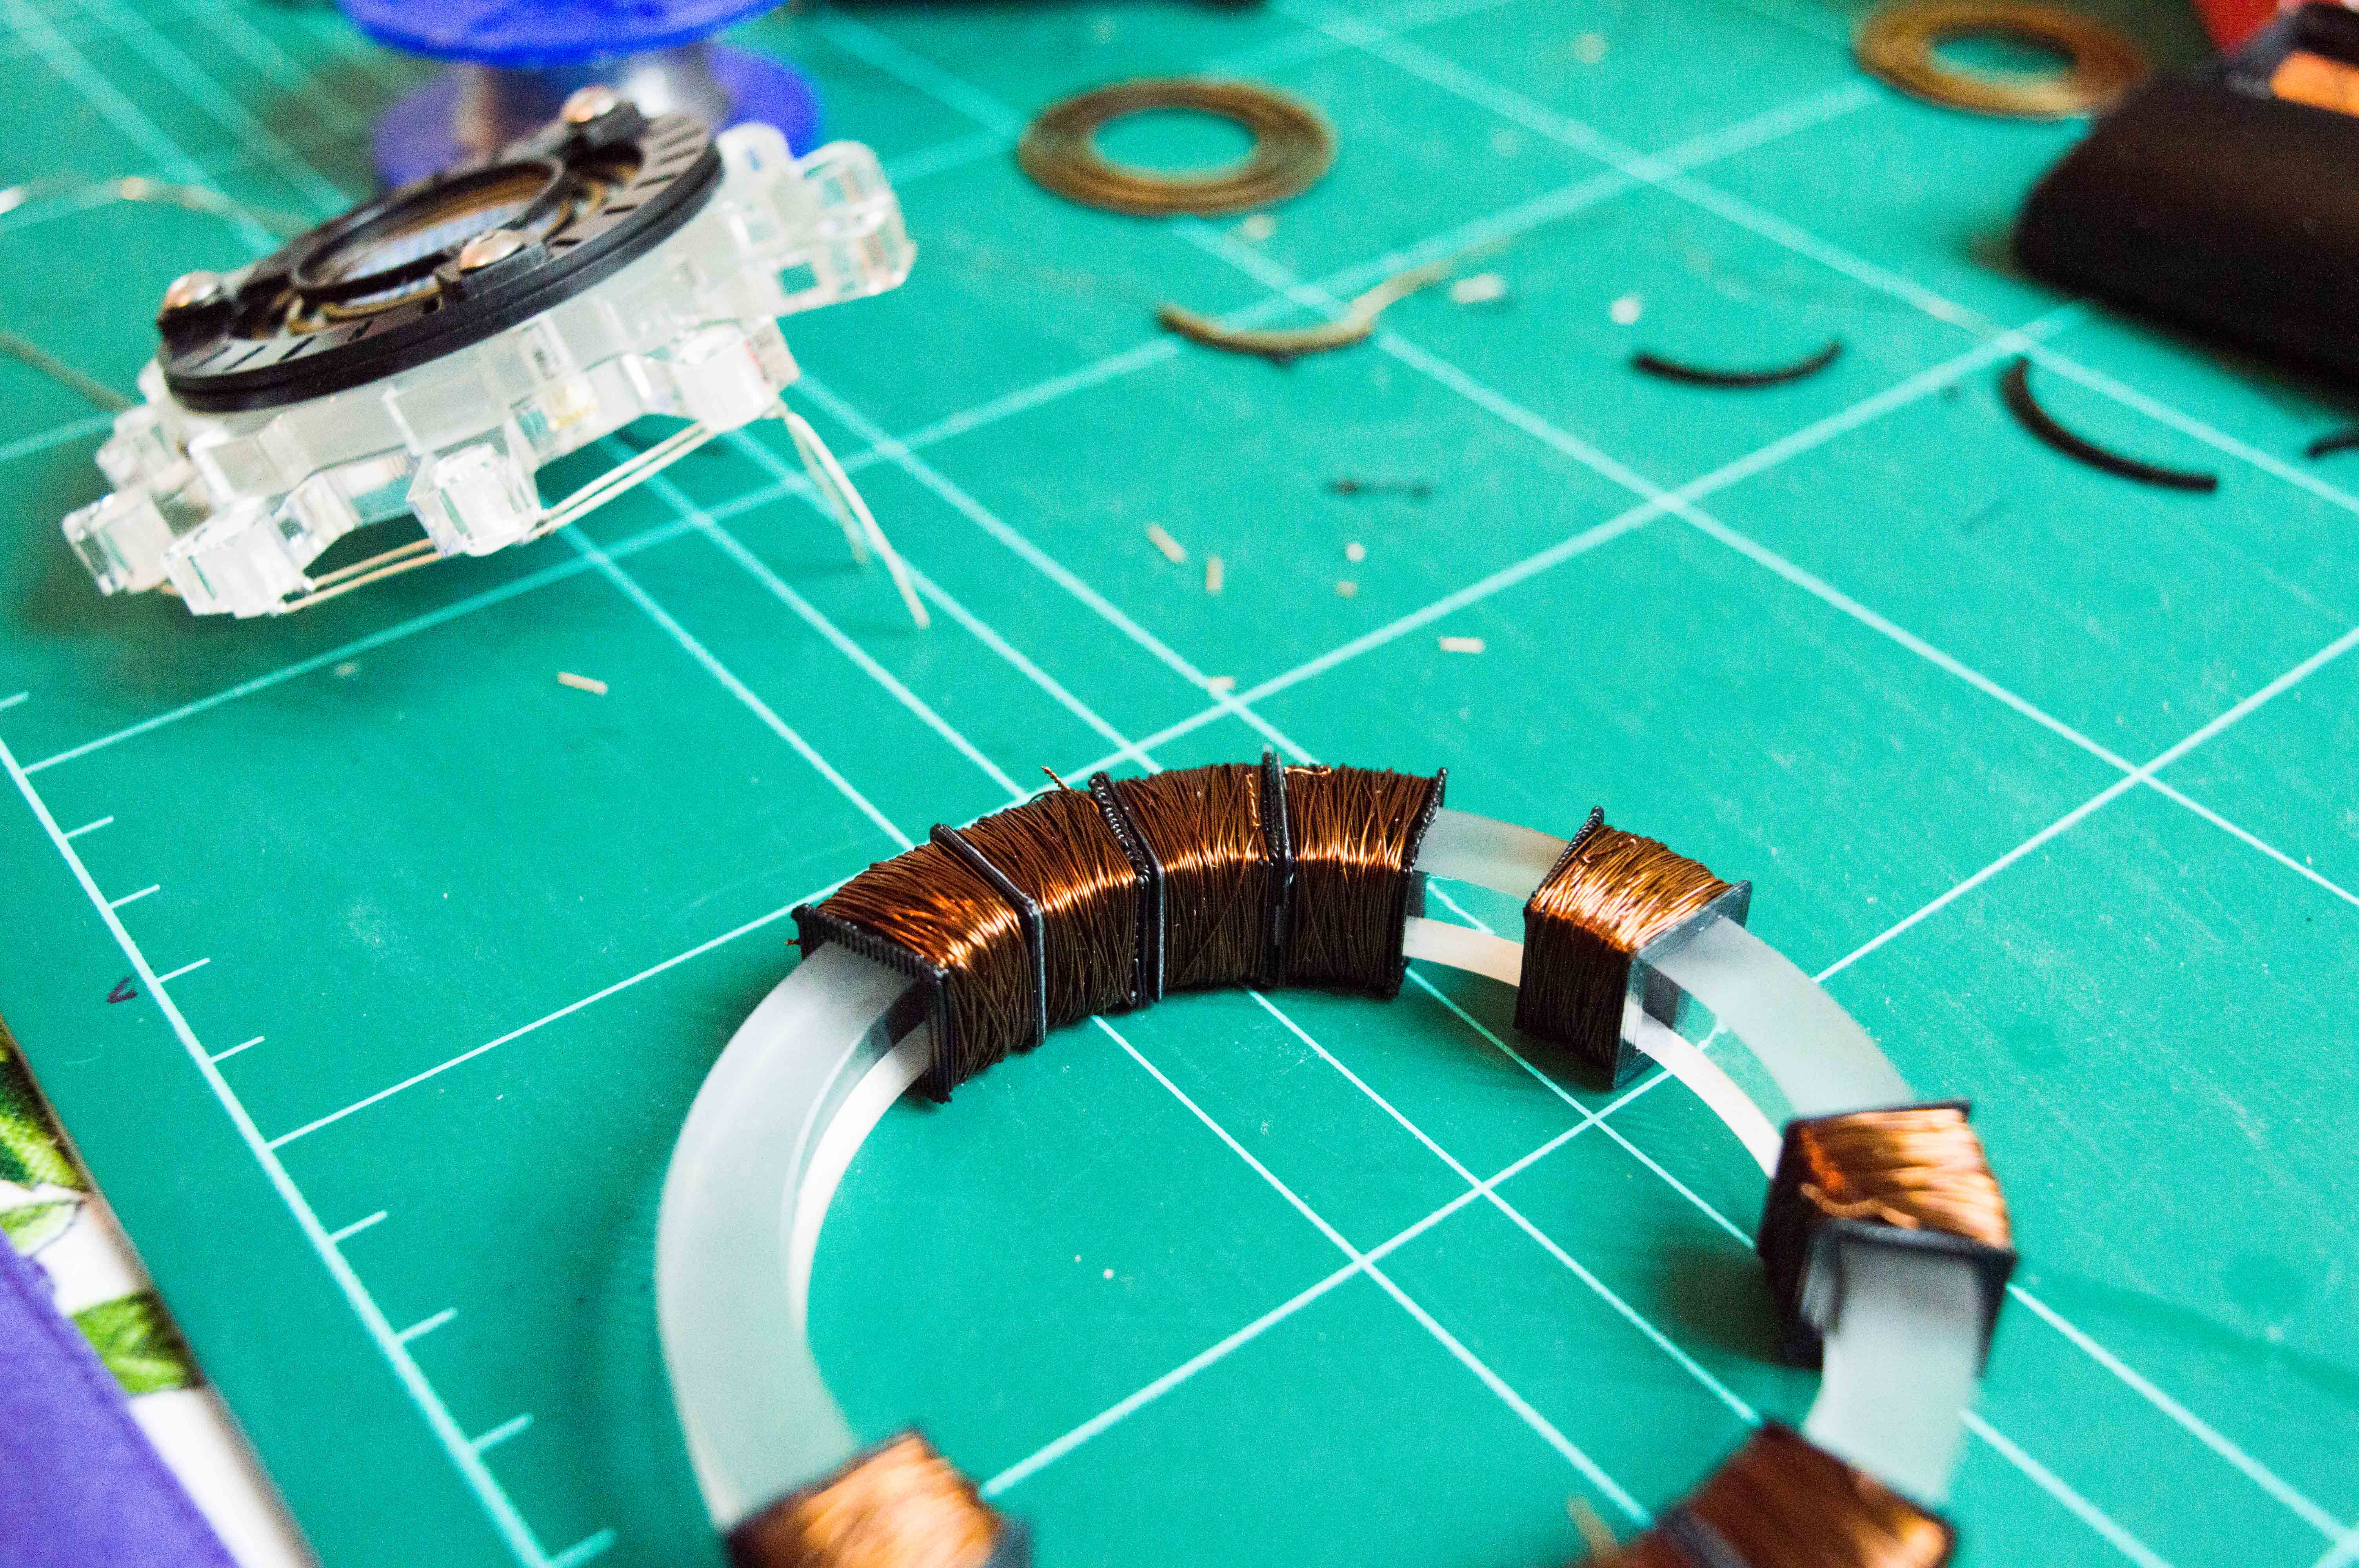
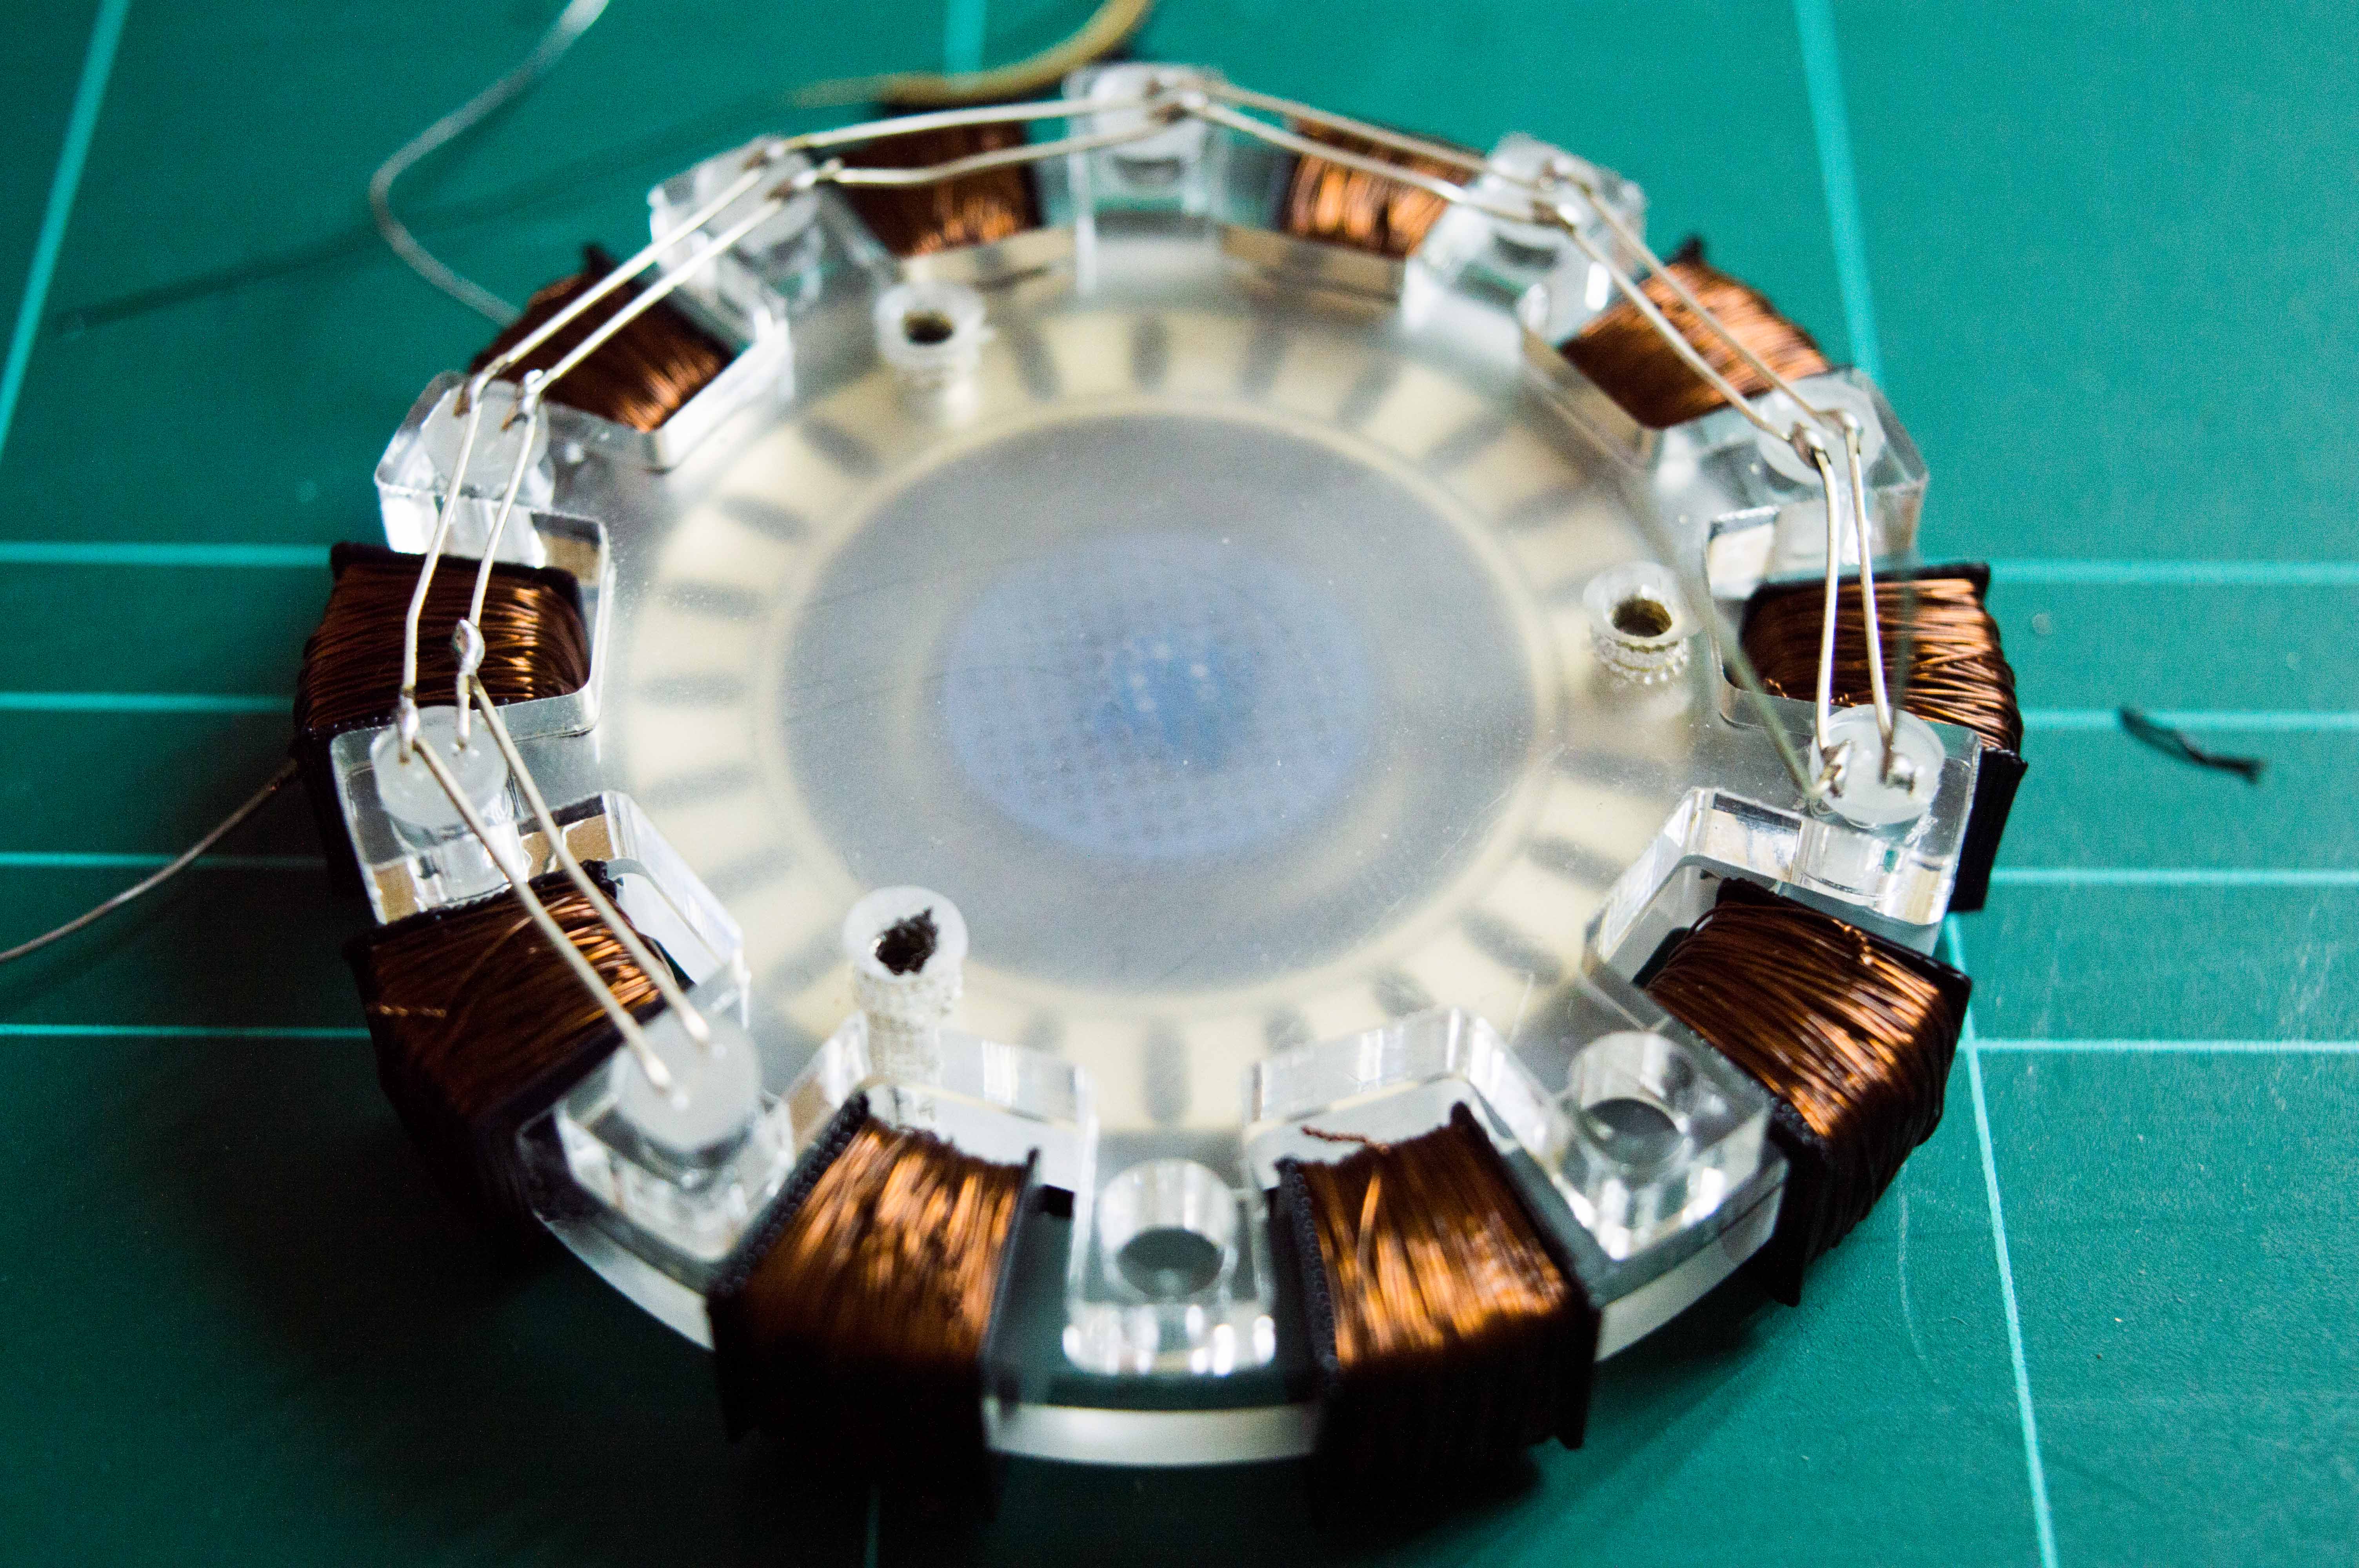
After that, I could start winding the coils. I didn’t count the number of turns because, well, you know…
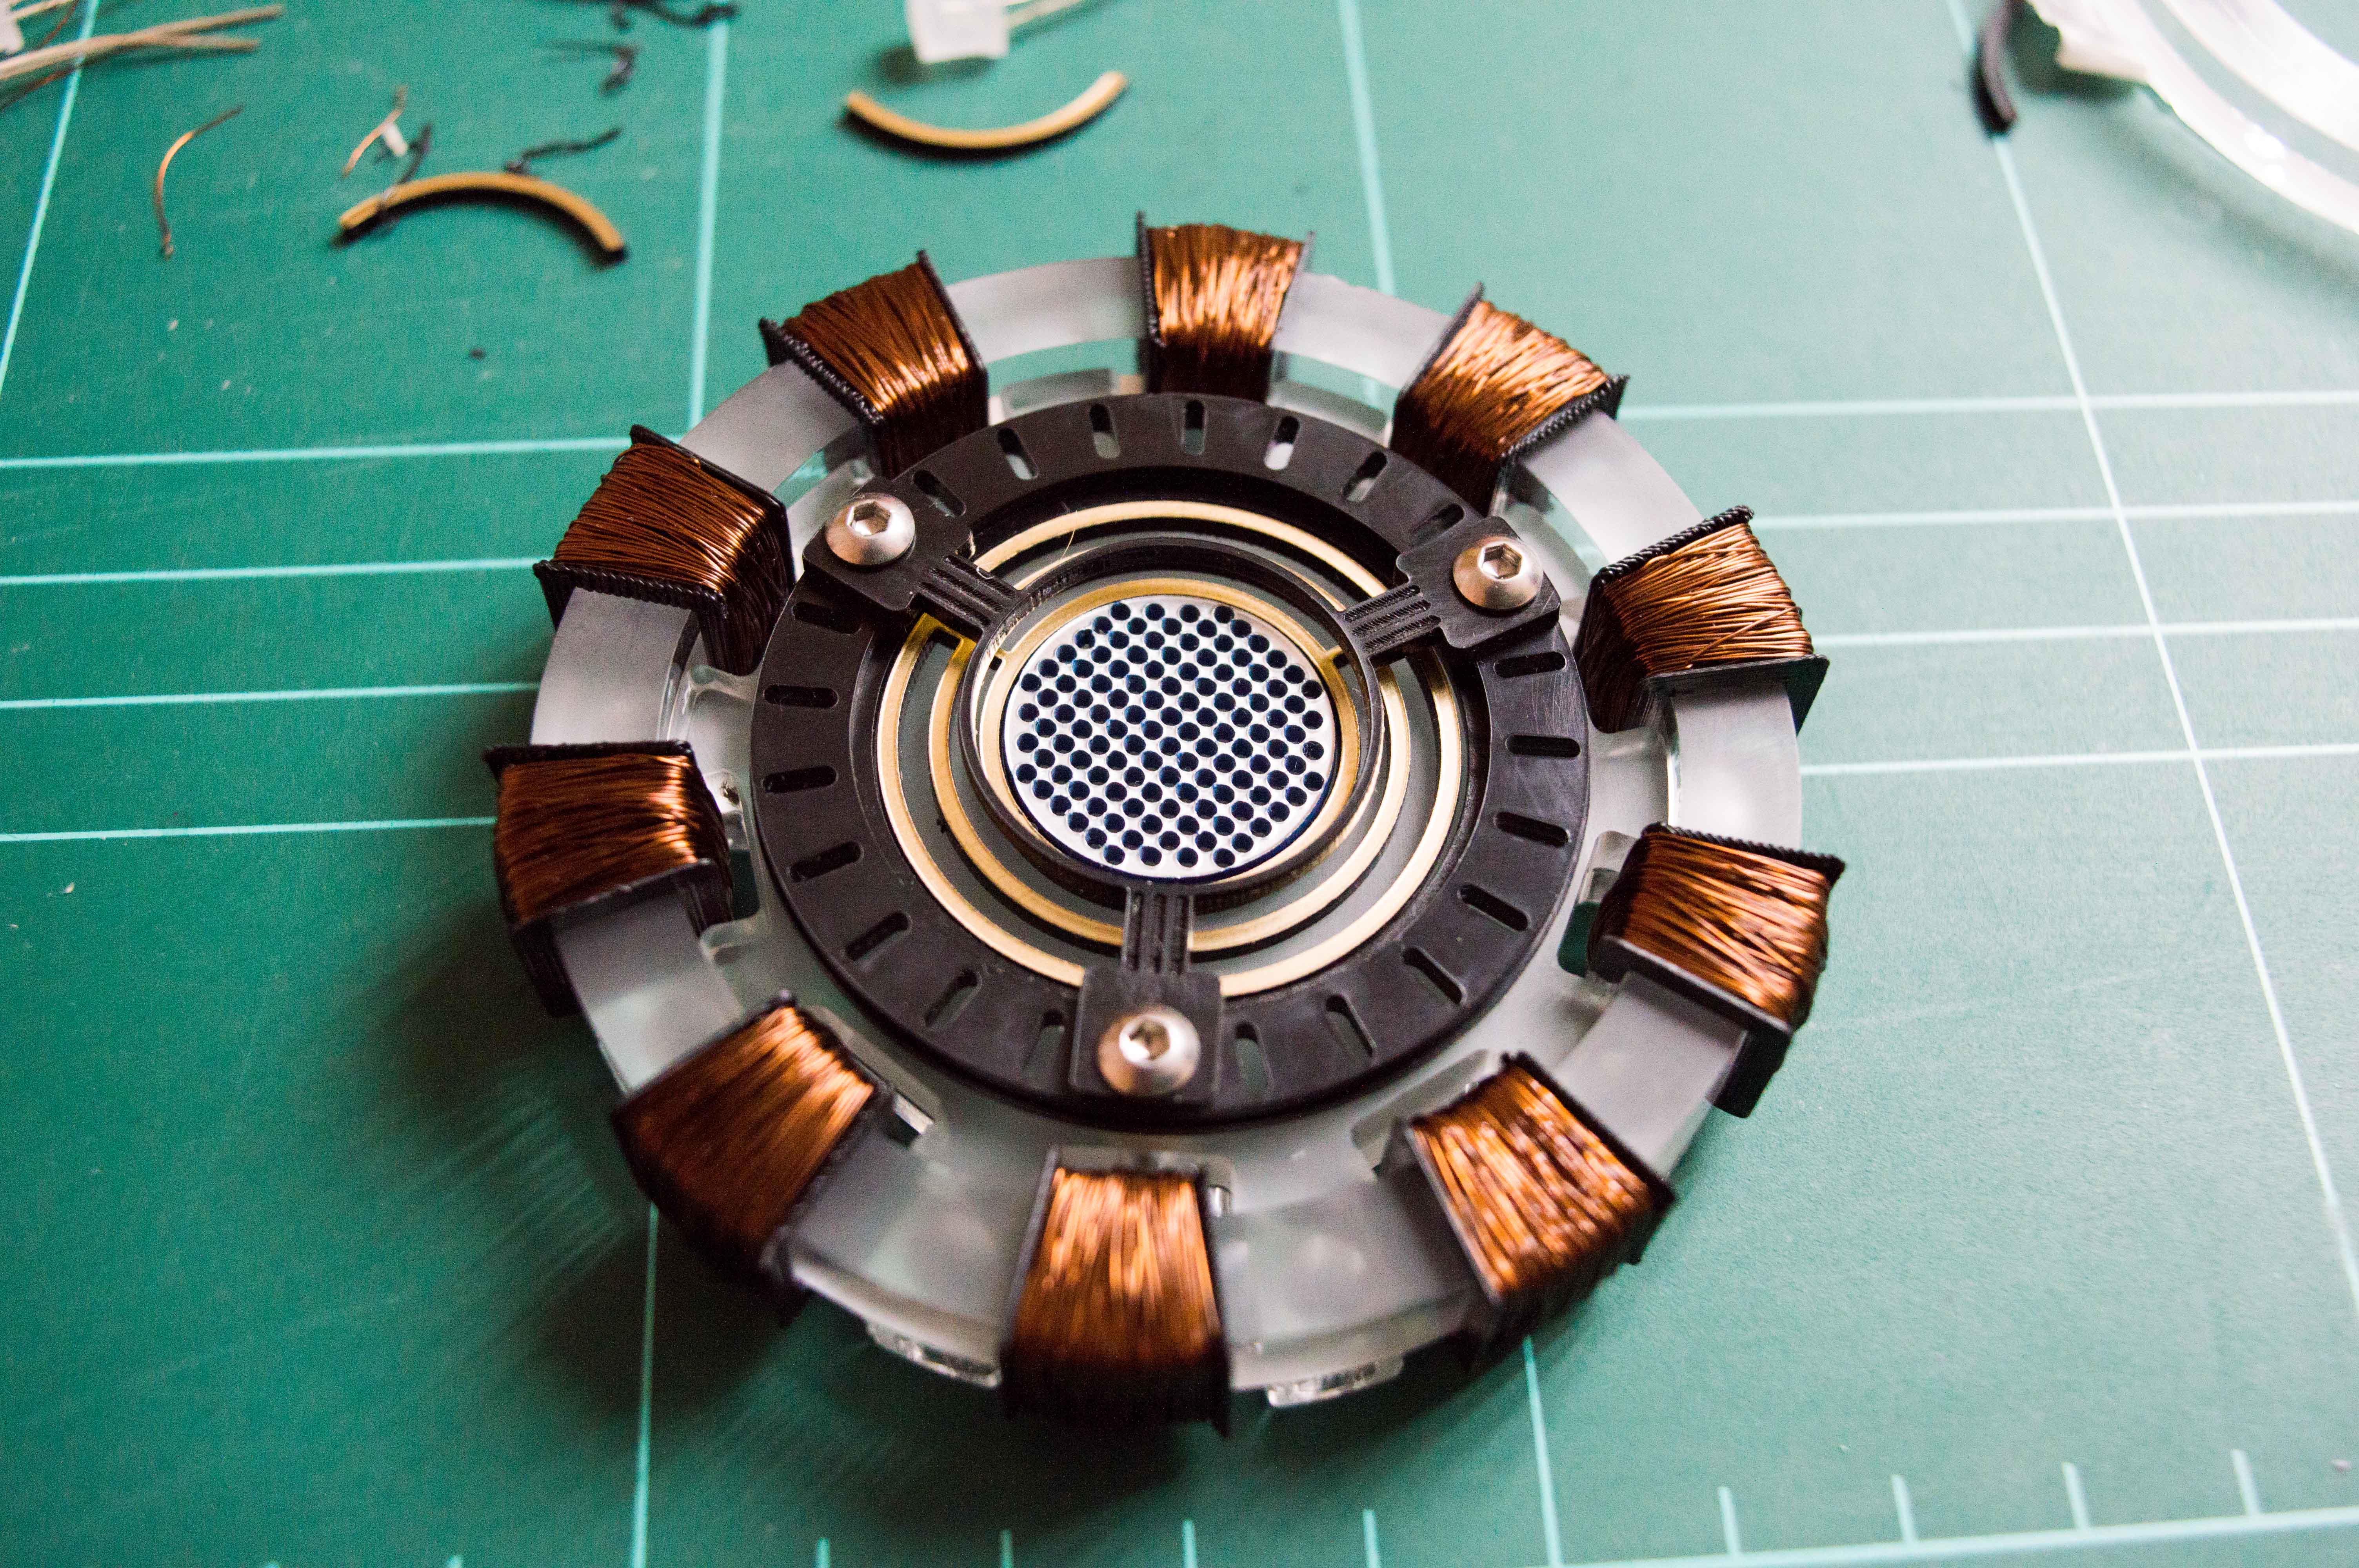
I ran out of luck with the leds and only had 8 out of 10 I needed, but they were enough for the initial lighting test. PSA: Don’t use cyanoacrylate on transparent acrylic if you need it back-lit. It is noticeably more opaque.


I hope I’ll be able to continue this project soon, even though I’m really low on free time.
Leave a Reply