
Electro-etching steel. Part two
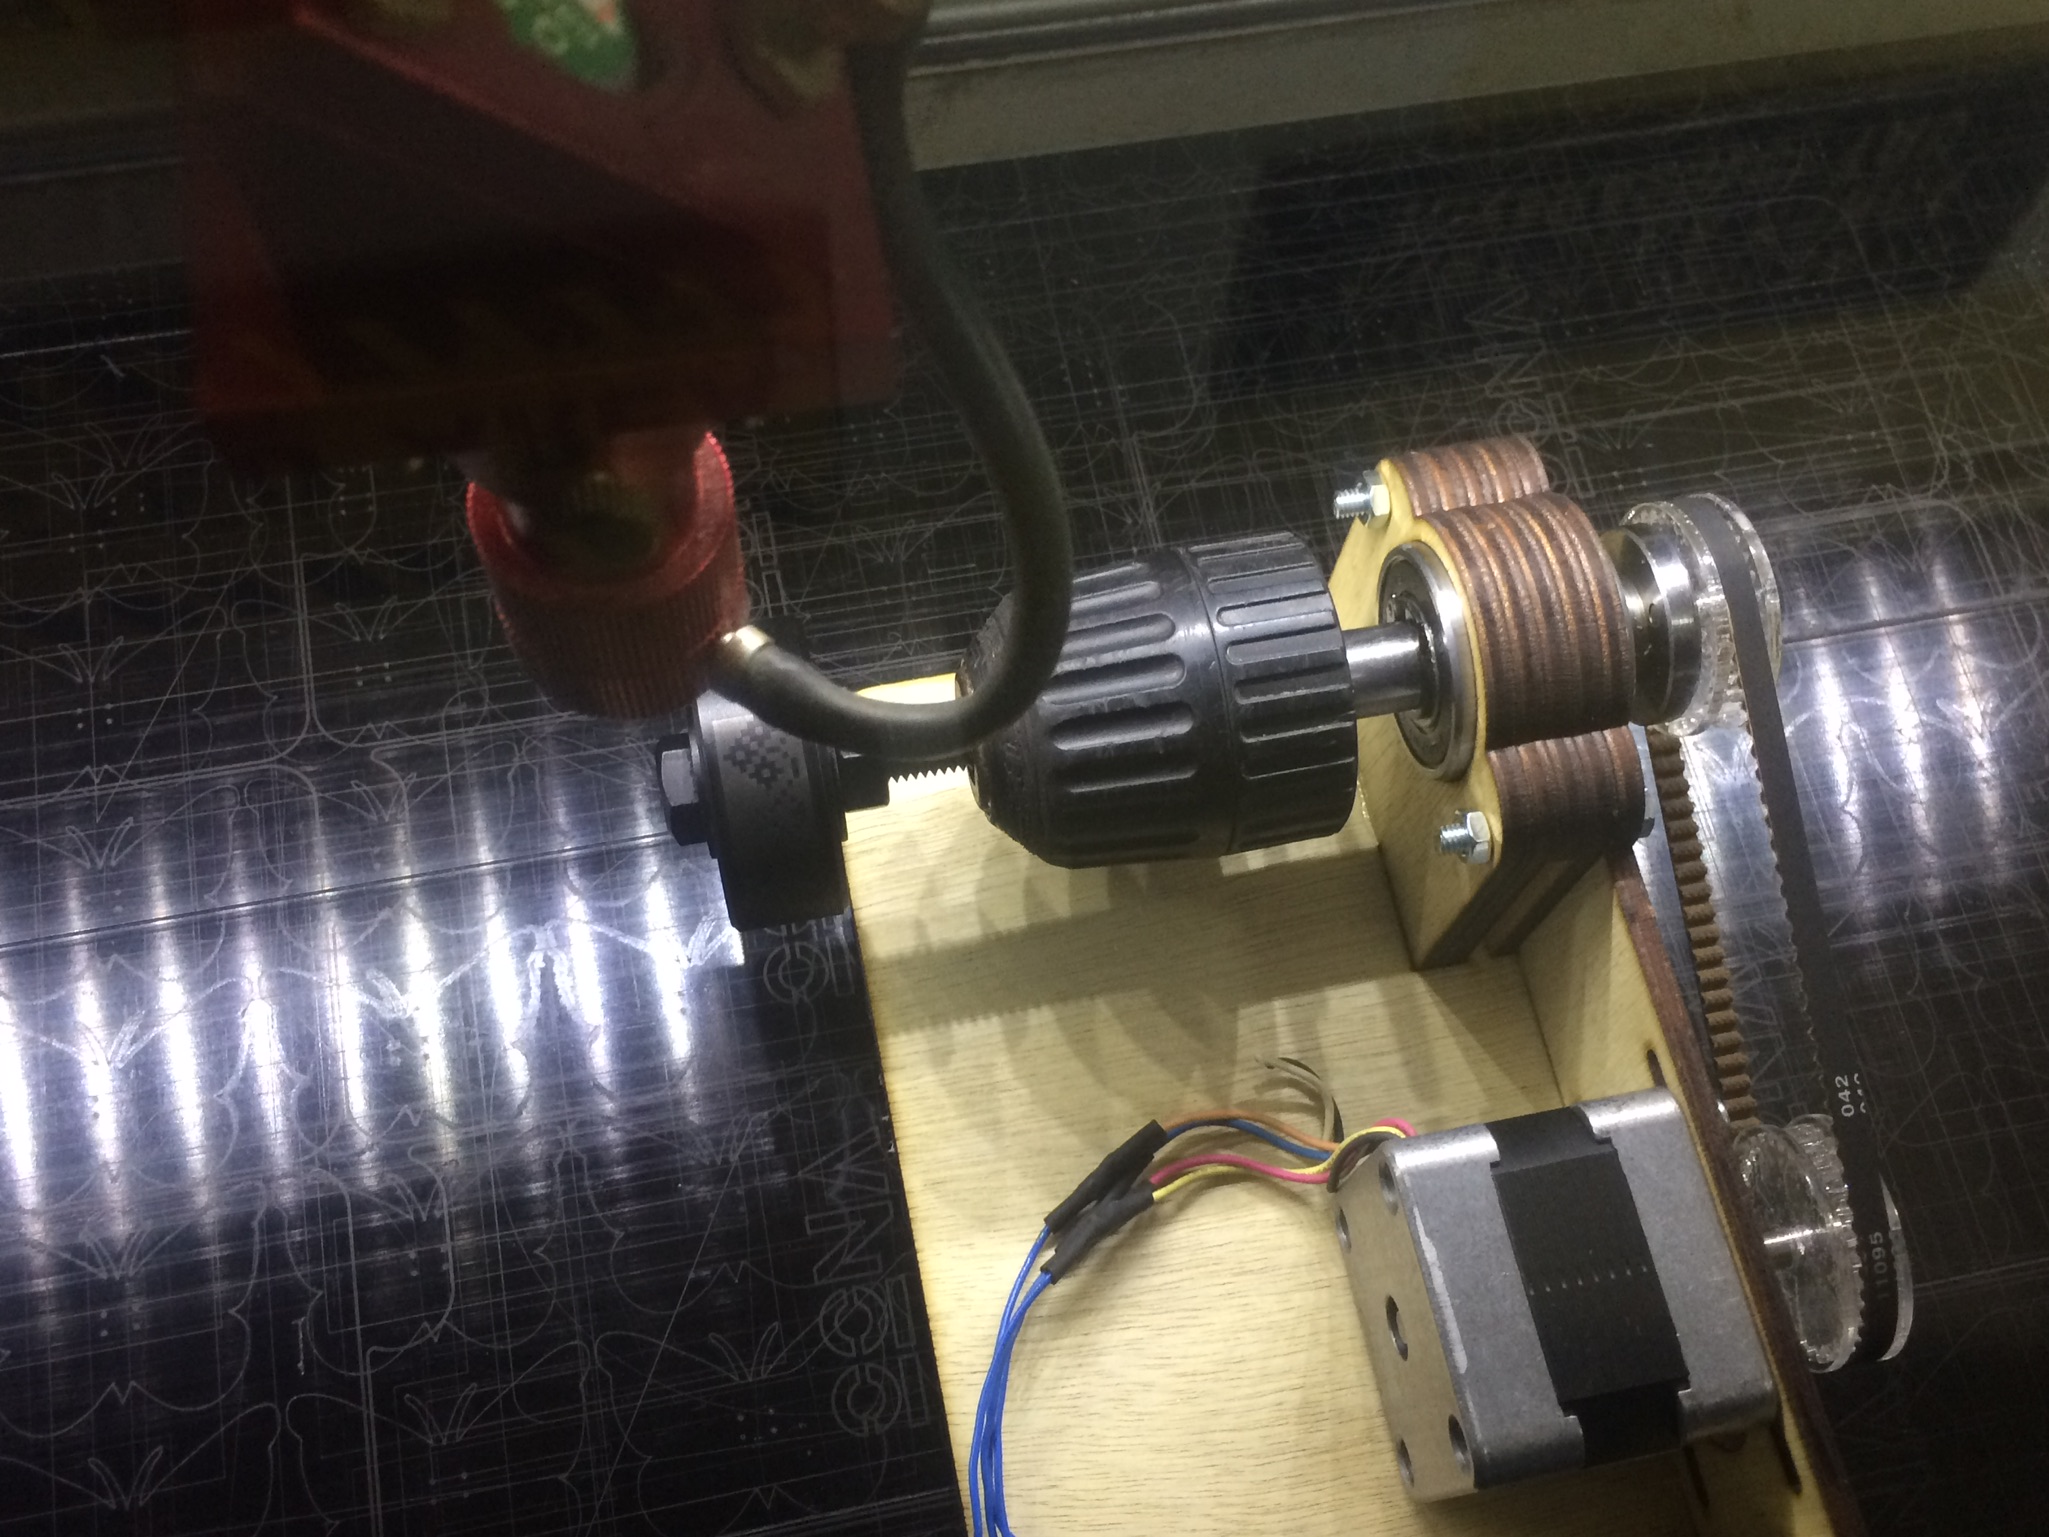
Getting closer now. After the first tests with the piece of pipe, I ordered some turned roller blanks. The vinyl mask used last time wasn’t up to the task though. The final design has to be less than 8 mm wide. This meant that the traditional design, which looks like pixel art, would consist of squares smaller than 1 mm. The vinyl cutter barely managed to cut the design square enough, and even after it did, it was nearly impossible to weed and stick to the (poorly) machined surface. Here the rotary axis for the laser cutter comes into play.
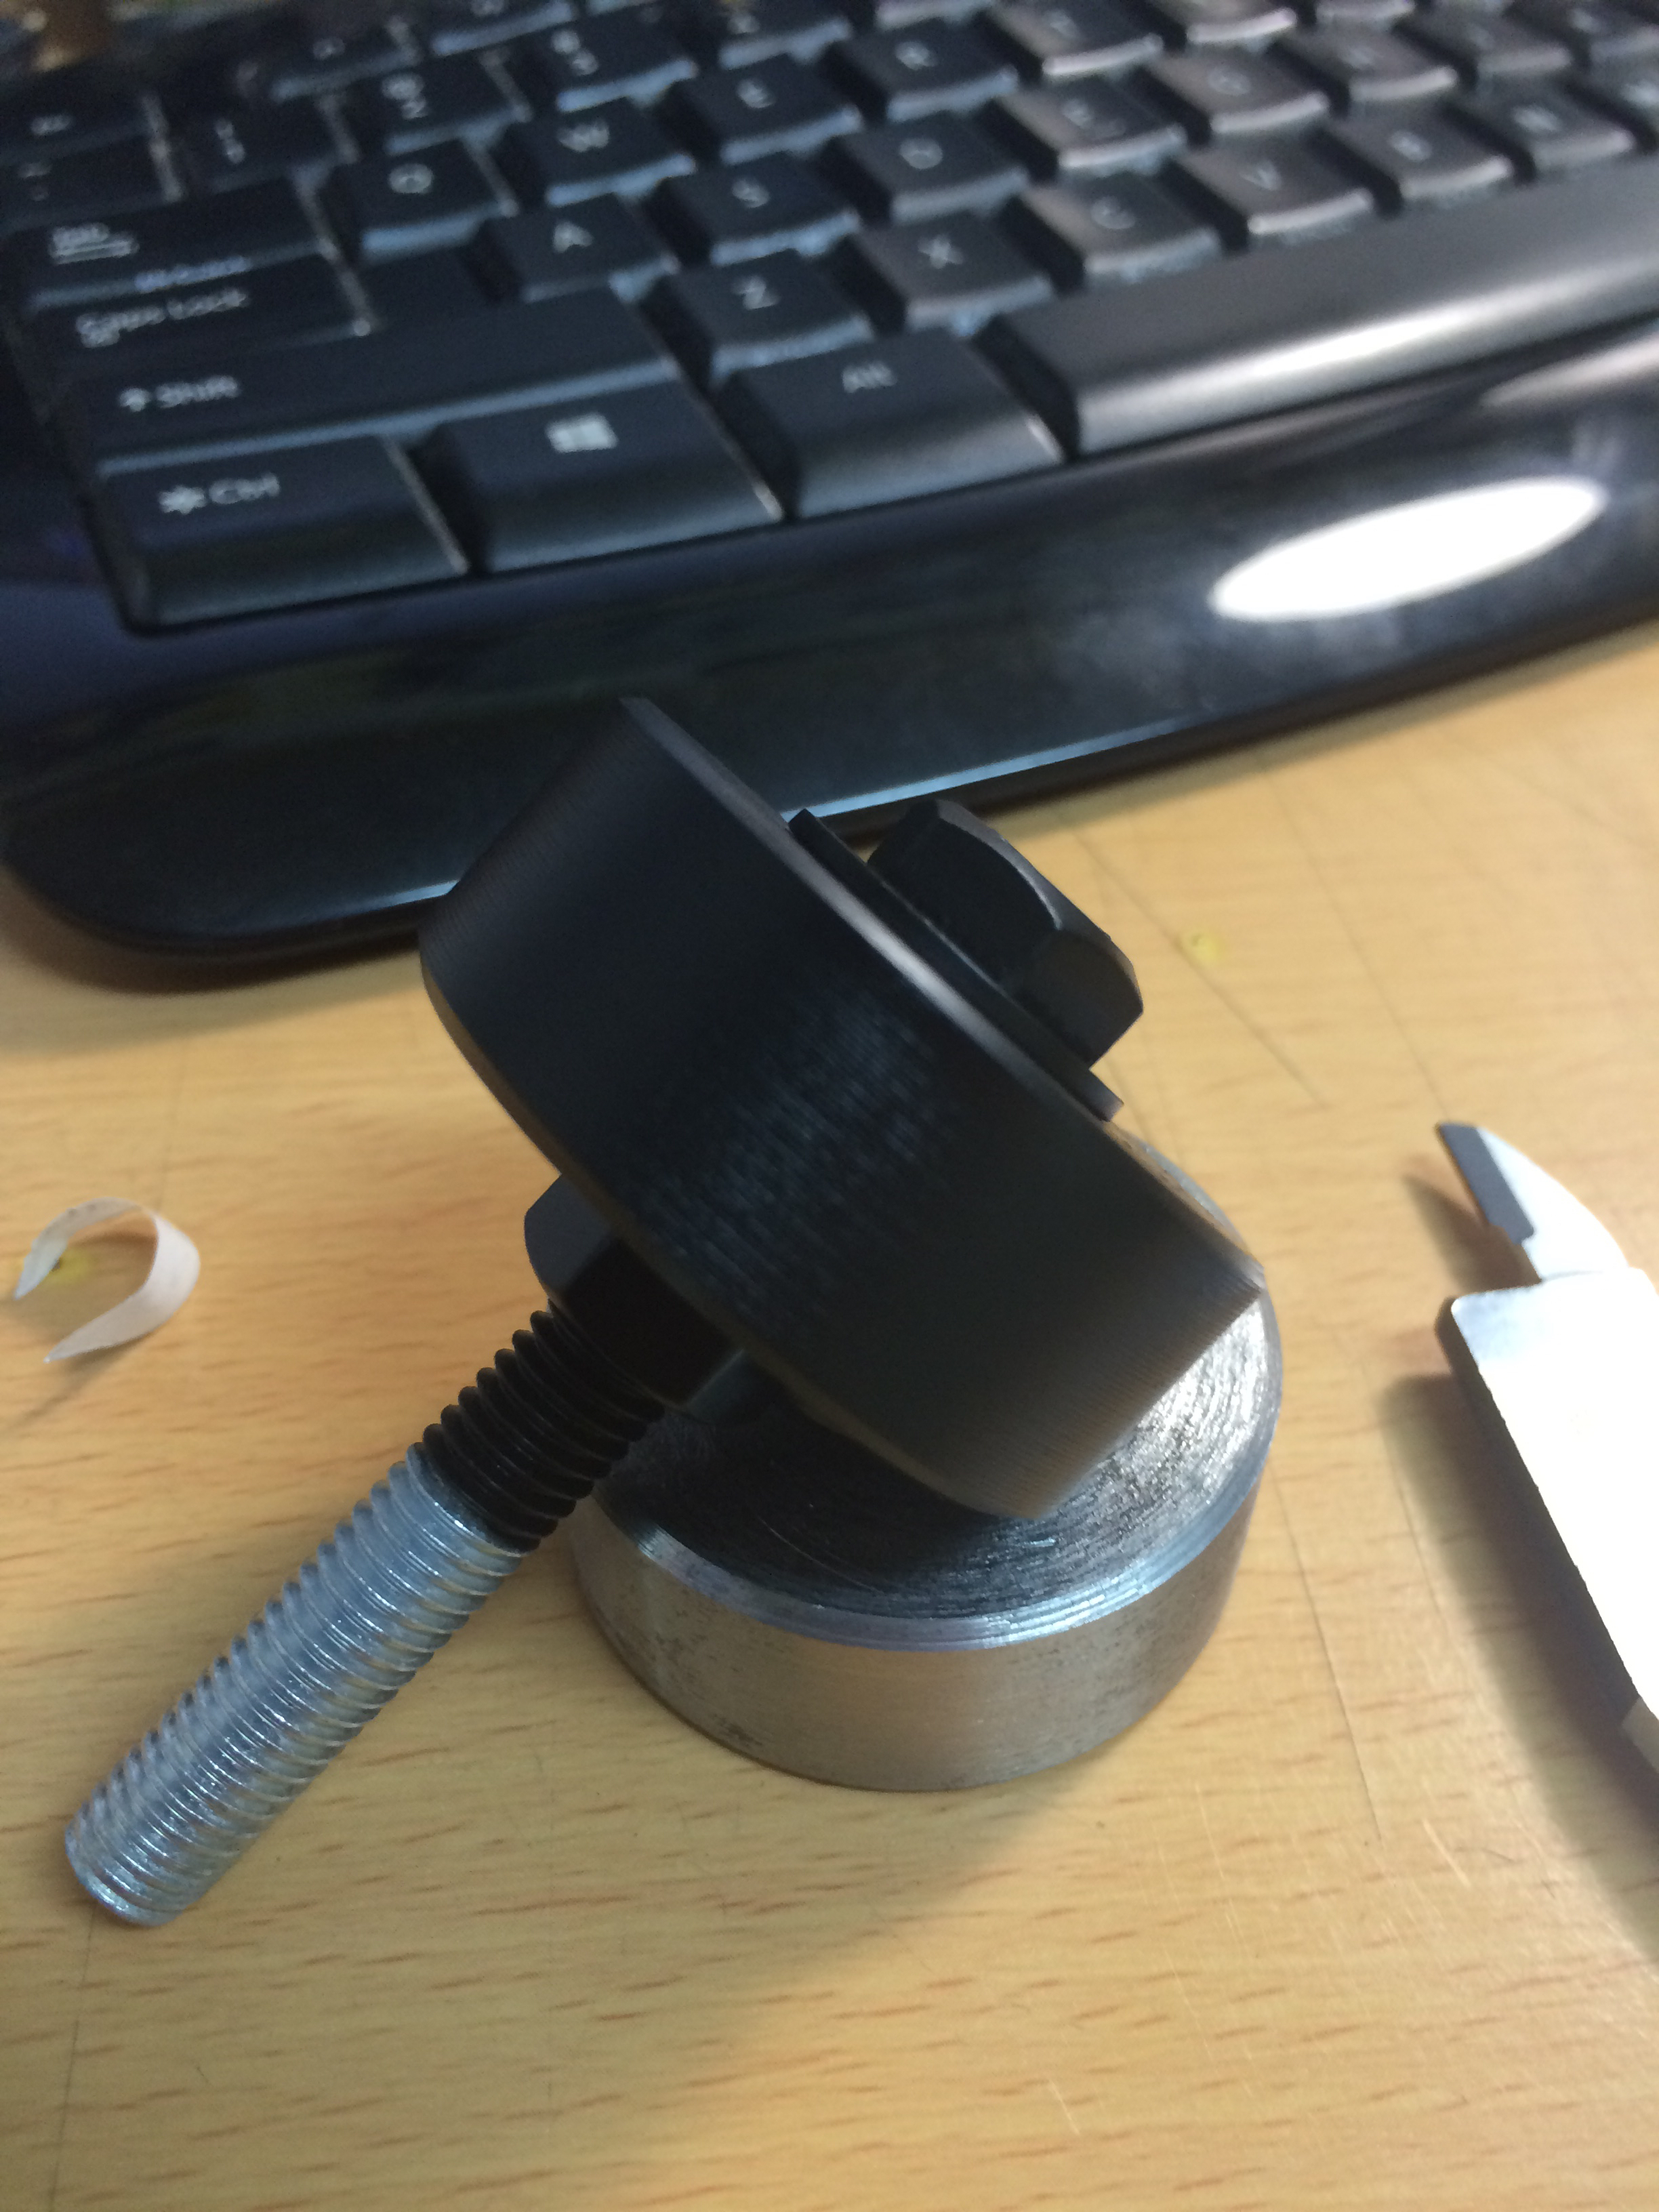
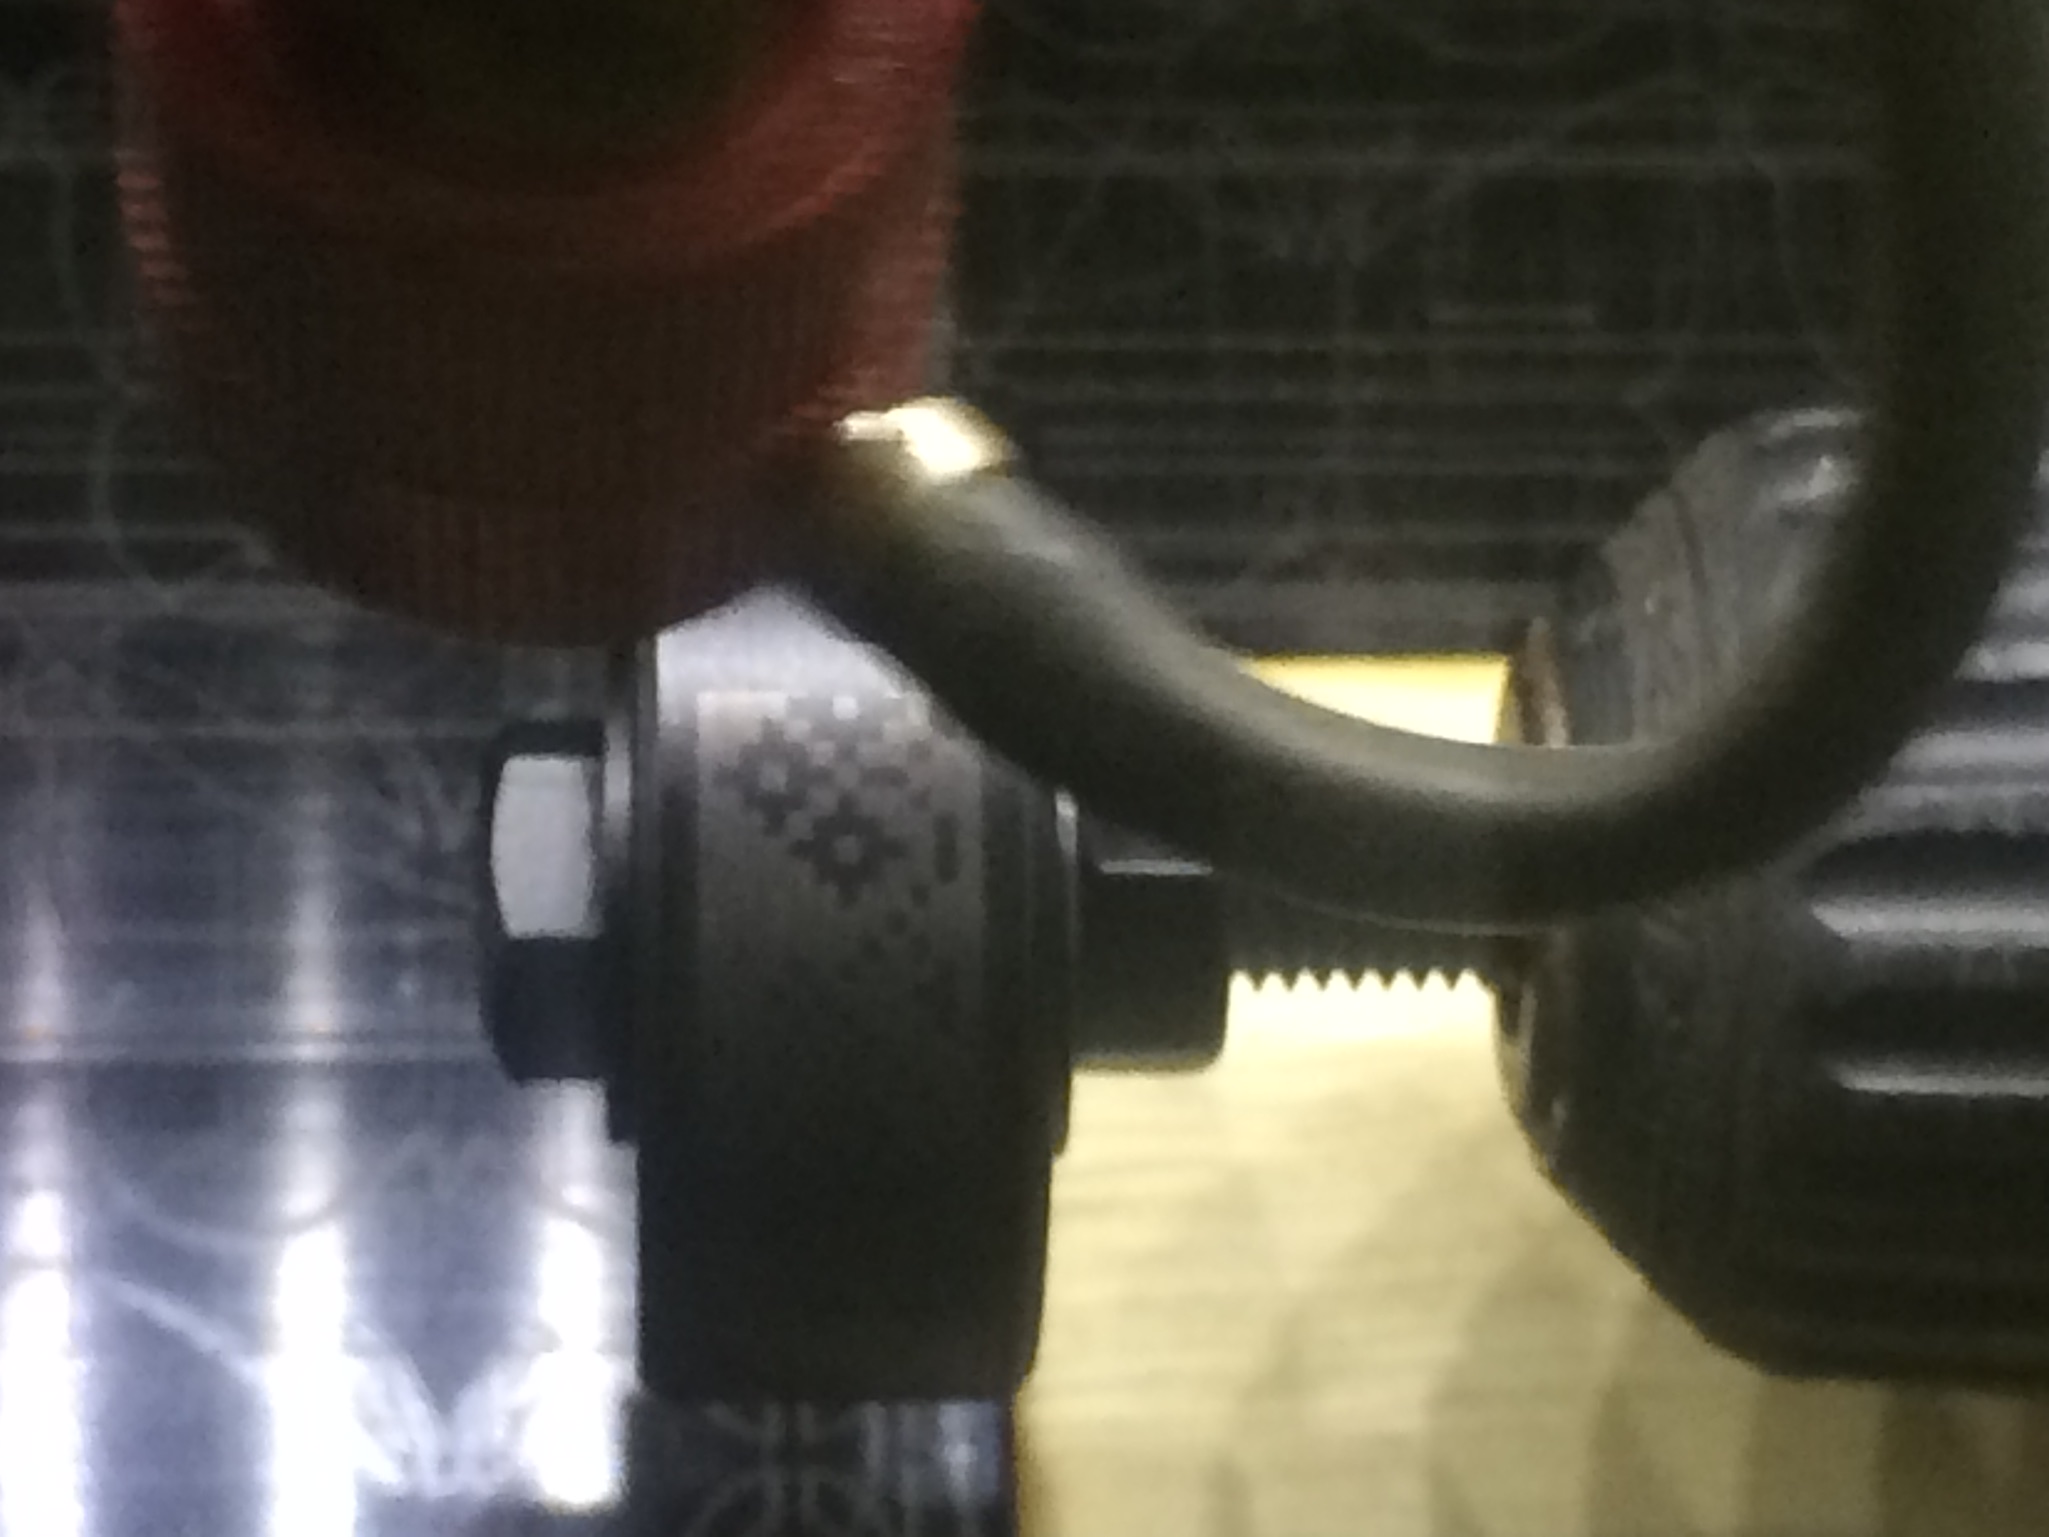
I mounted the roller onto an 8 mm threaded rod with some spacers and washers, and then painted it with a thick coat of matte black paint (not sure if it matters, just had black laying around). Mounted it into the rotary axis chuck, and engraved the paint off, where I wanted the design etched.
After engraving, there is a residue of burned paint left behind, which needs to be cleaned off. Even though the first engraving went well, the coat of paint wasn’t thick enough or dry enough, and when I tried cleaning the residue off with some rubbing alcohol, it smudged and came off. So I cleaned it all off, applied two thick coats of paint, and left it dry overnight.
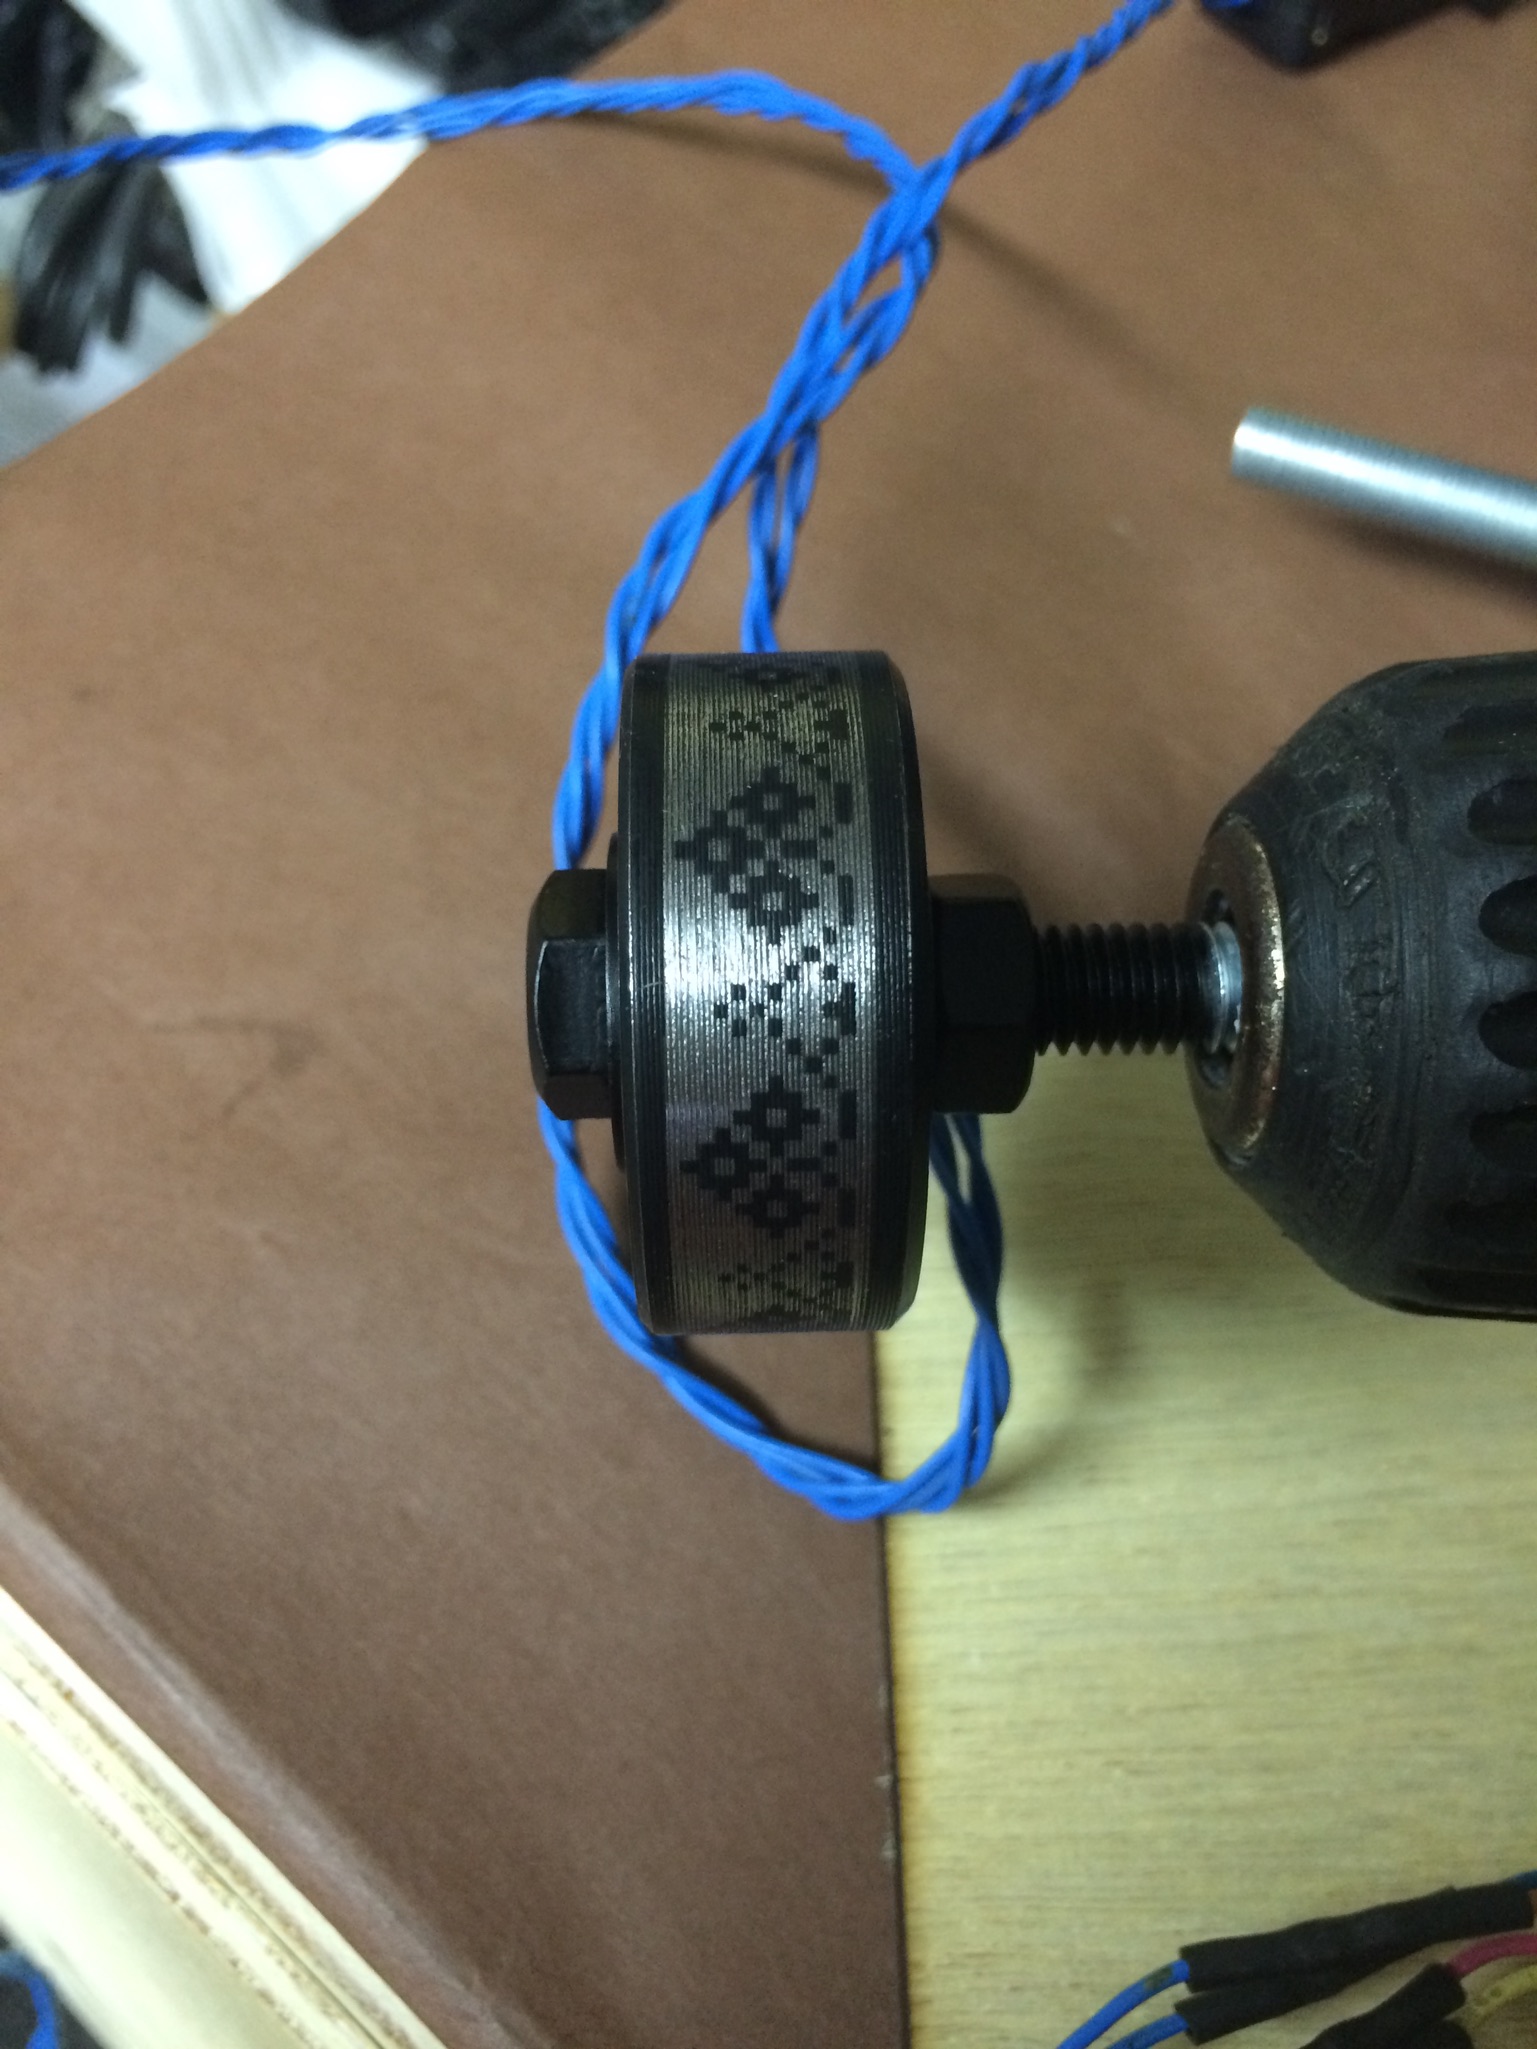
The next day I tried again and this is what it looked like:

Much more awesome. Etching went about the same, I just exchanged the power supply with a PC PSU and used the 5v line to decrease the amount of pitting and get a smoother etched surface. Also, I used a round piece of copper plate as a negative pole to get a more uniform etch around the part. After an hour of etching this was what I got:
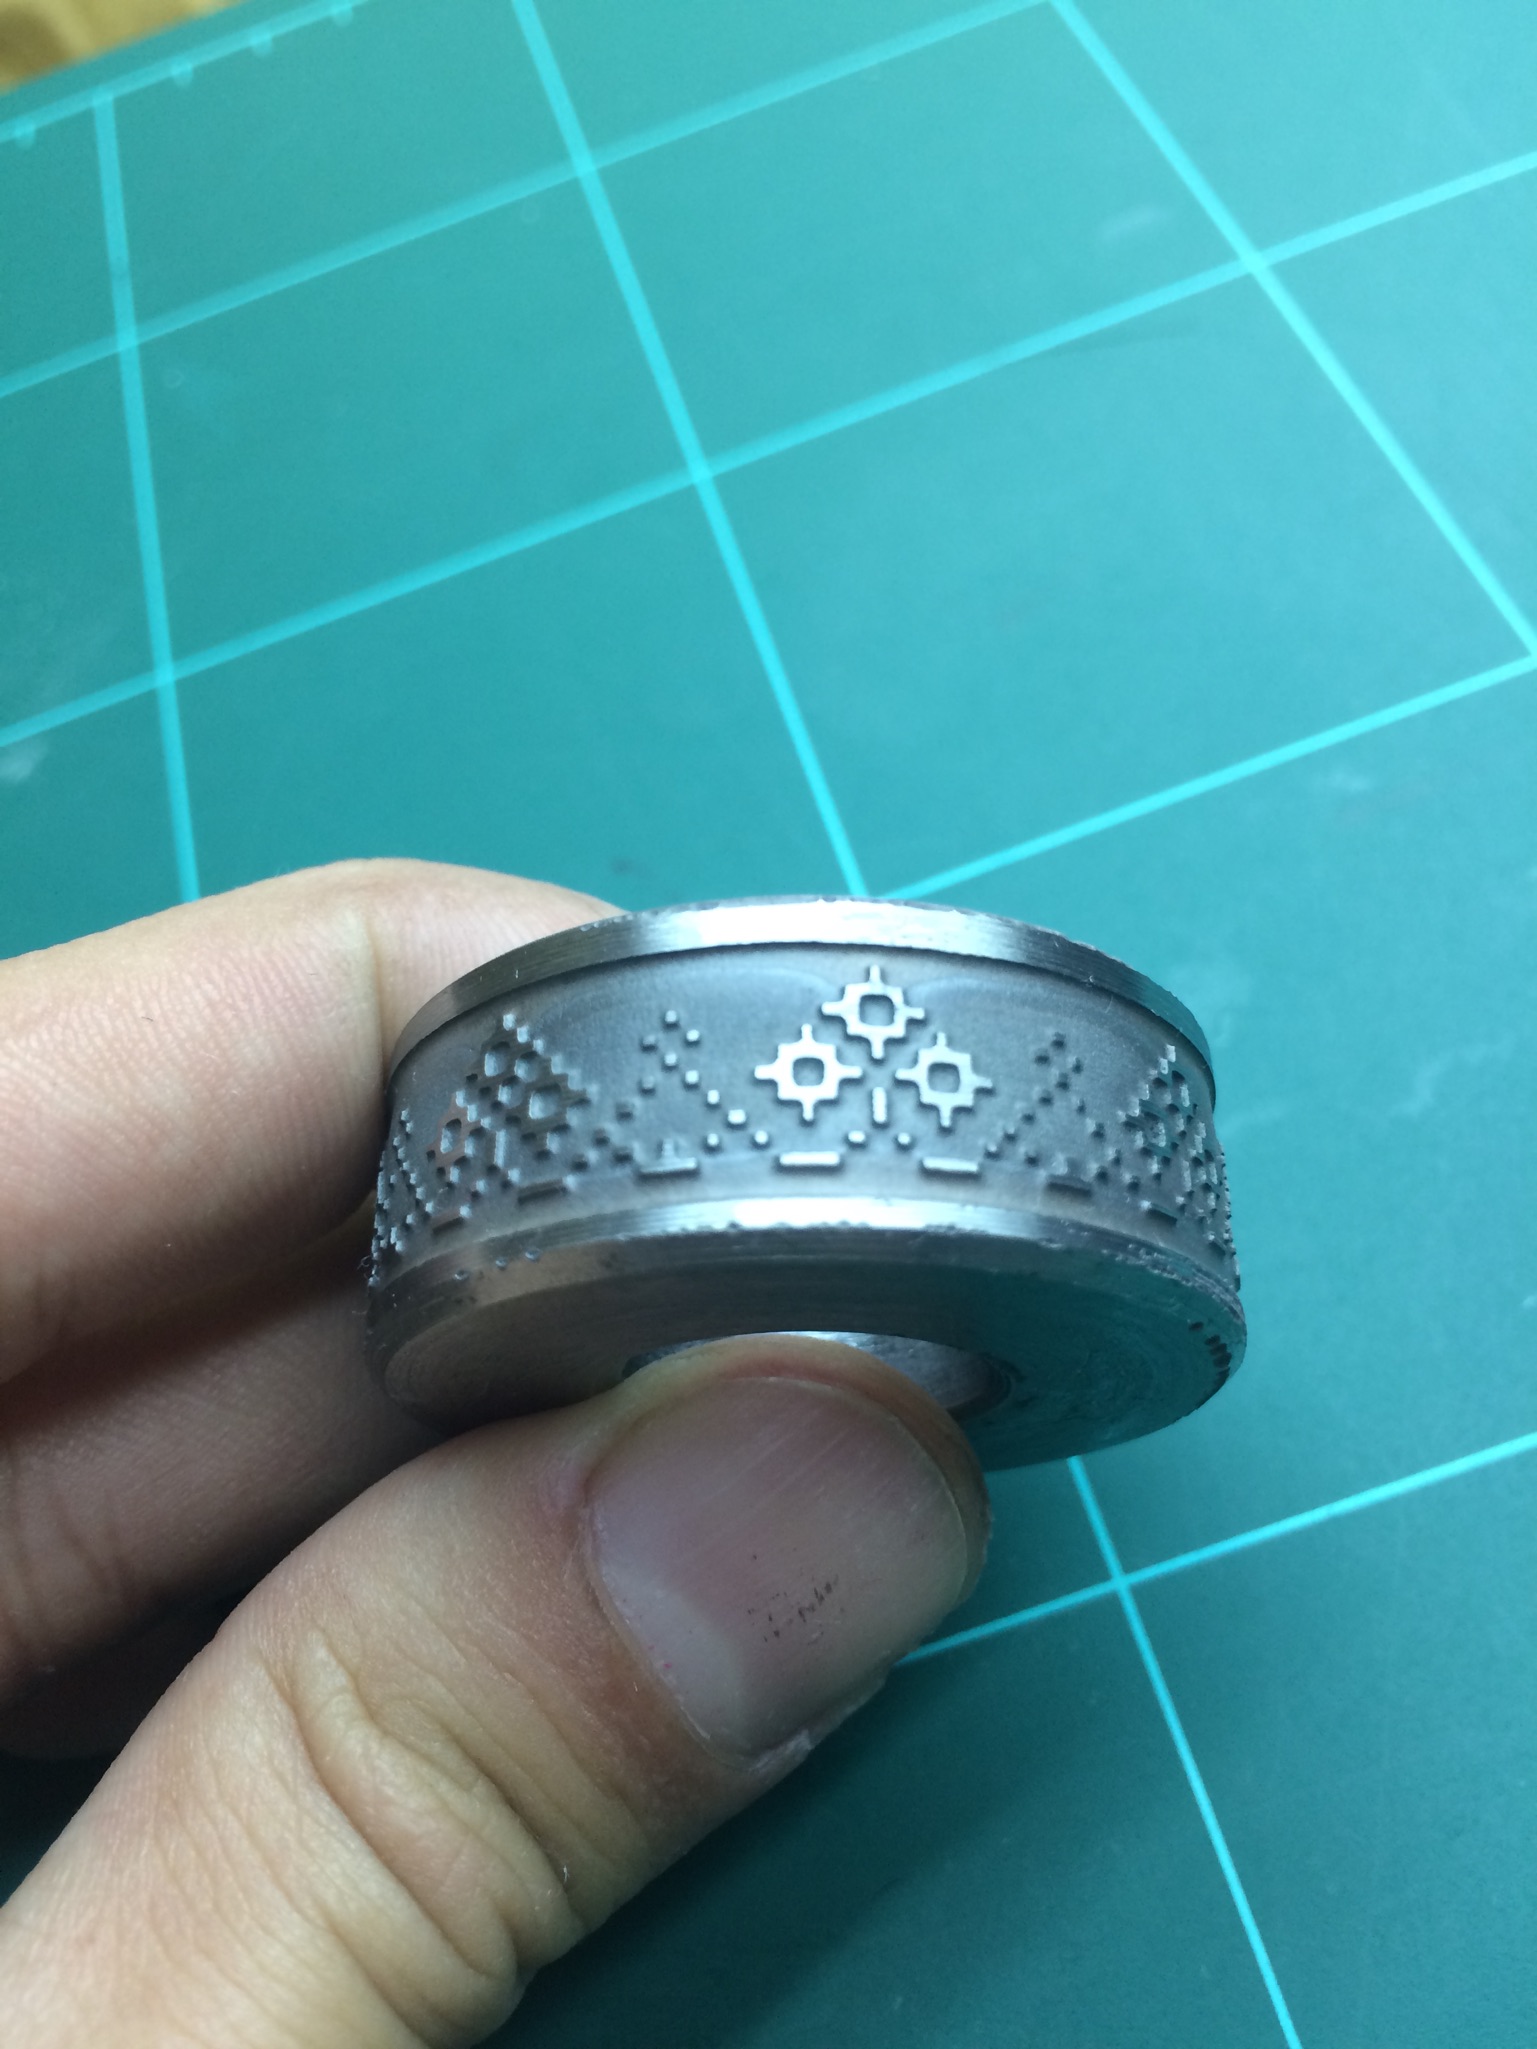
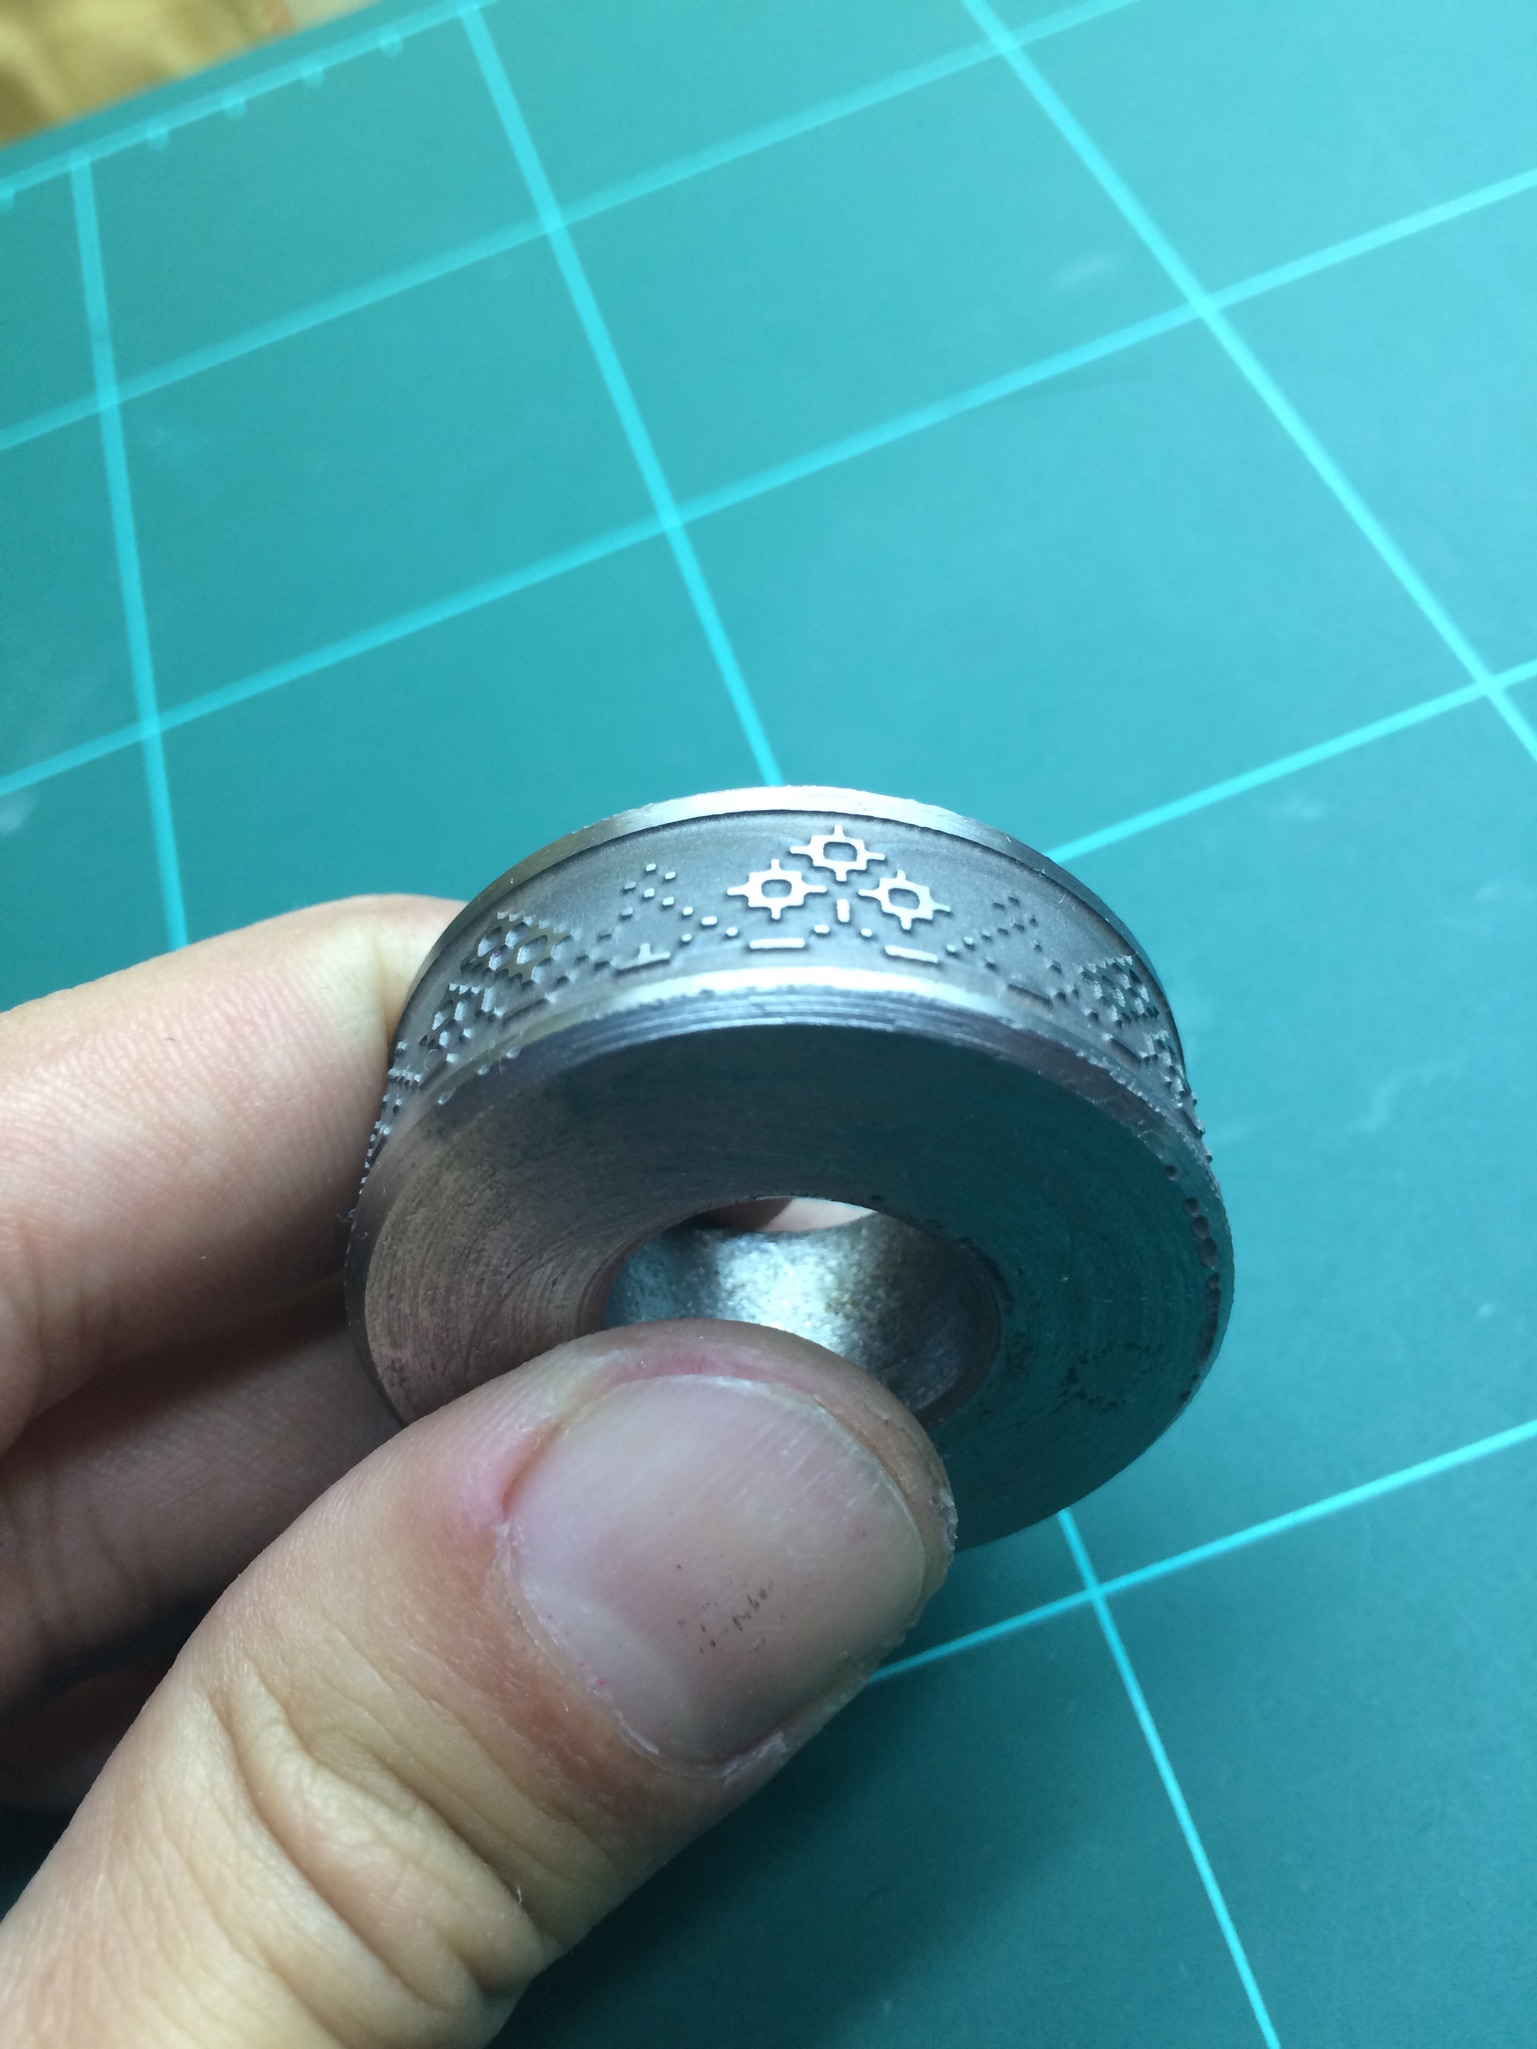

I’ve since sent it to the customer for testing on leather and I’m looking forward to seeing some stamped leather!
Thanks for reading!
really great article 🙂
Hello would you know if you would make this cylinder on order, and if it was a price, the cylinder would be wide 30 mm and the average something about 6cm, it would look like it would come out a pattern Thank you Michal Zoľák